Introduction
In at the moment’s article, we’ll take a look at a characteristic of Microsoft Azure, which is Microsoft’s Cloud providing. One of many most important providers supplied with Azure is Cloud Storage. This enables us to retailer totally different artifacts within the Cloud. These embrace Tables, Queues, Information, and Containers. Containers are used to retailer Blobs which could be any kind of file together with textual content recordsdata, picture recordsdata, video recordsdata, and many others. You may learn extra in regards to the various kinds of Blobs on the internet.
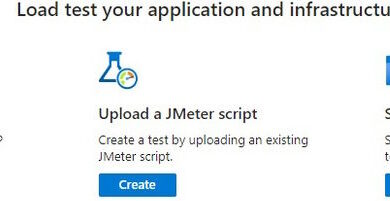
On this article, we’ll take a look at easy methods to create an Azure Blob Container after which utilizing C#, add a textual content file there.
The right way to create the Azure Storage Account and Container
With a view to full this step, you would want a Microsoft Azure account with an energetic subscription. You may get a free one for preliminary use. Nonetheless, as my free subscription ended a very long time in the past, I’ve arrange a pay-as-you-go one. Kindly comply with the under steps,
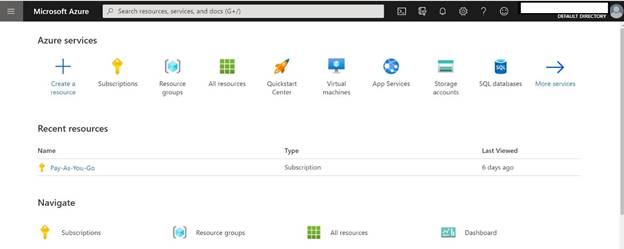
Upon getting created your Azure portal account and subscription, you see the under. You may see I’ve one subscription which is “Pay-As-You-Go”,
Choose “Create a useful resource”,
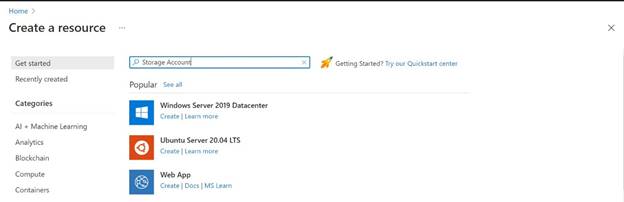
Sort “Storage Account”,
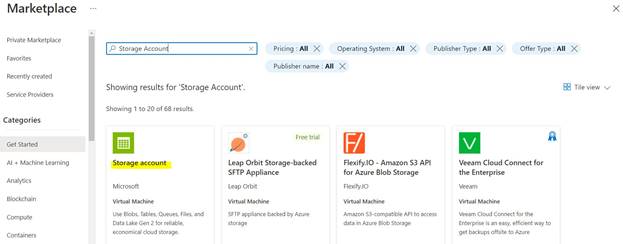
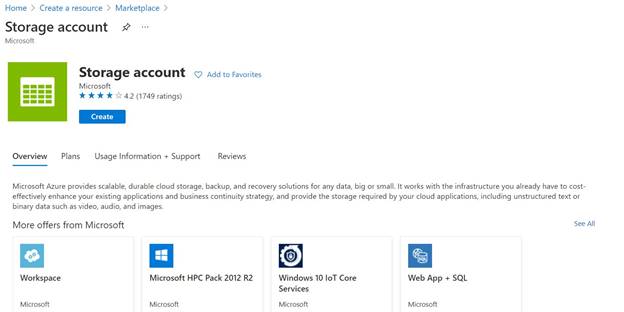
Click on “Create”,
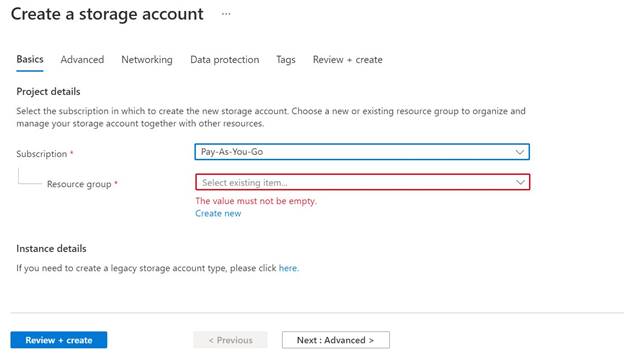
Right here, you choose the subscription and useful resource group (you possibly can create a brand new one if required),
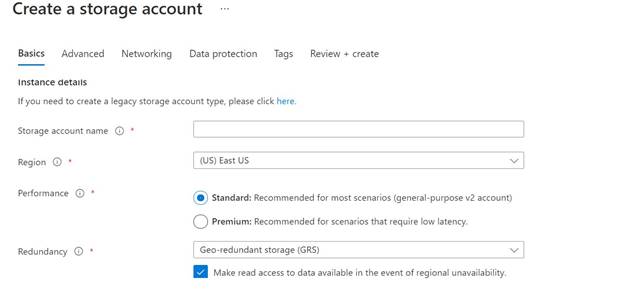
Then, enter a Storage account title, area, efficiency, and redundancy worth. I cannot focus on these choices intimately right here as there are a lot of articles that element them.
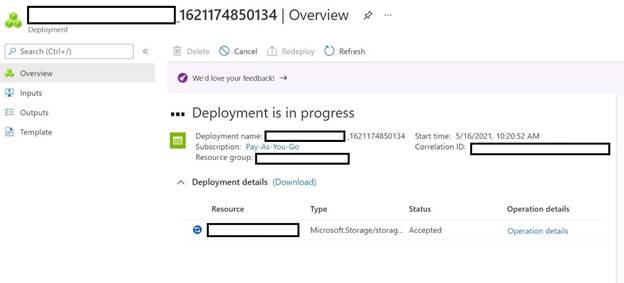
As soon as finished click on “Overview + Create”, you will note the under,
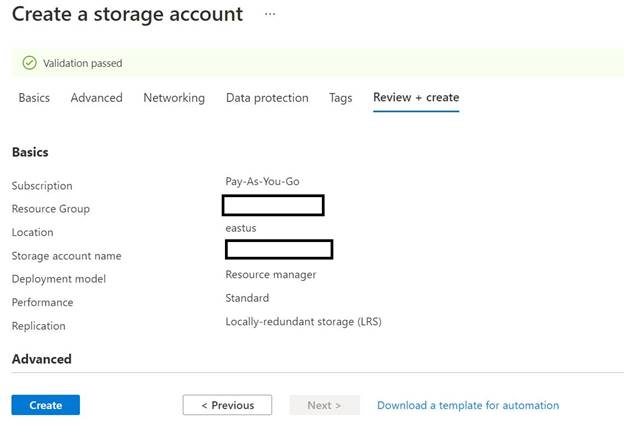
Click on the Create button, useful resource group and storage account shall be created.
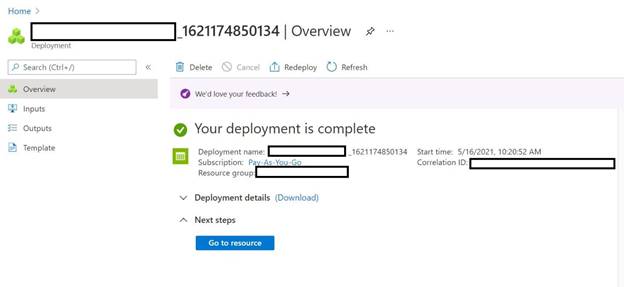
Subsequent, we have to create the container. Go to the principle web page,
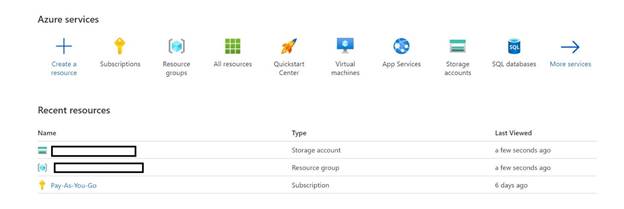
Right here, you see the useful resource group and a storage account you’ve simply created. Choose the storage account after which the “Containers” possibility below “Knowledge storage” as under,
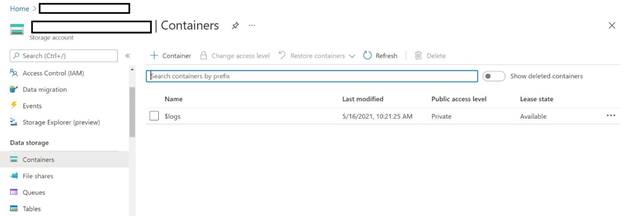
Subsequent, choose “+ Container” so as to add a brand new container as under,
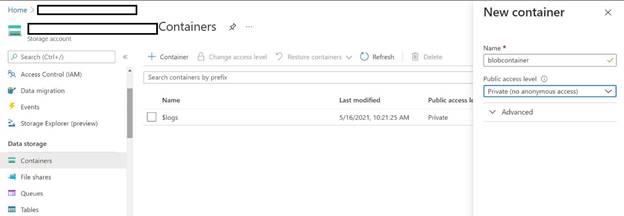
Identify the container “blobcontainer” and create it.
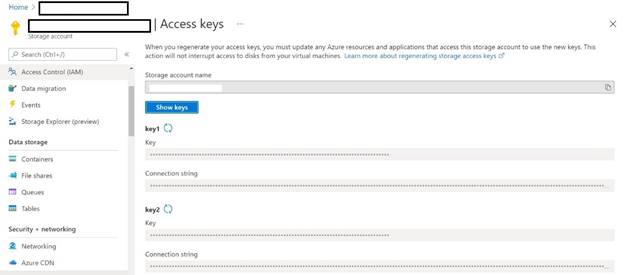
Lastly, copy the connection string from the storage account as that is wanted to entry the container from the C# code.
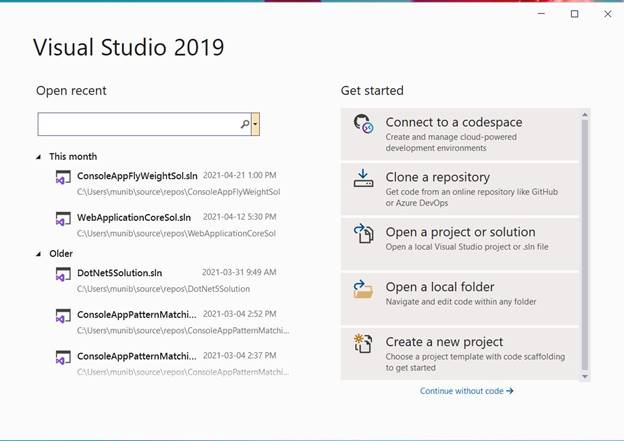
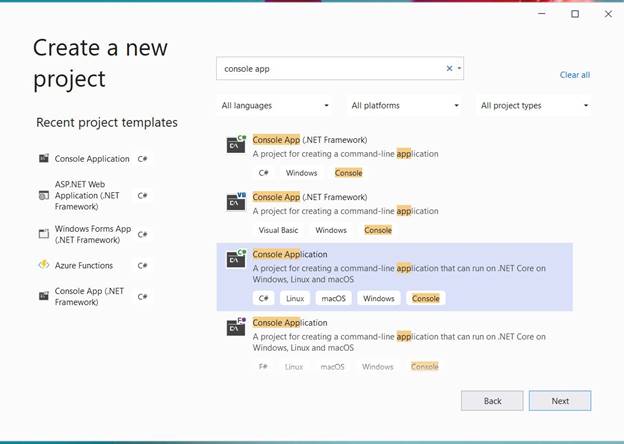
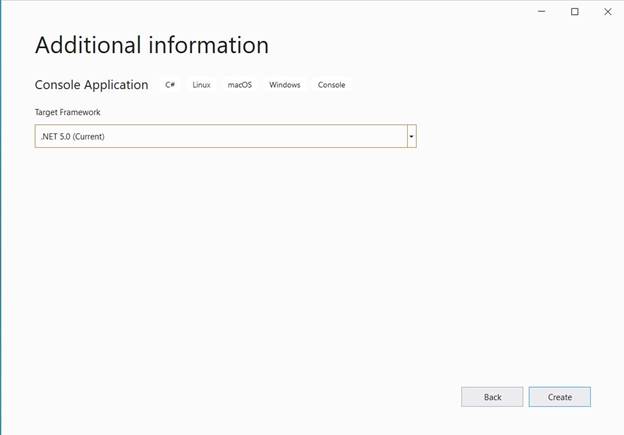
The right way to create the Visual Studio 2019 software
Subsequent, we’ll create a console software utilizing Visual Studio 2019 Group version as under,
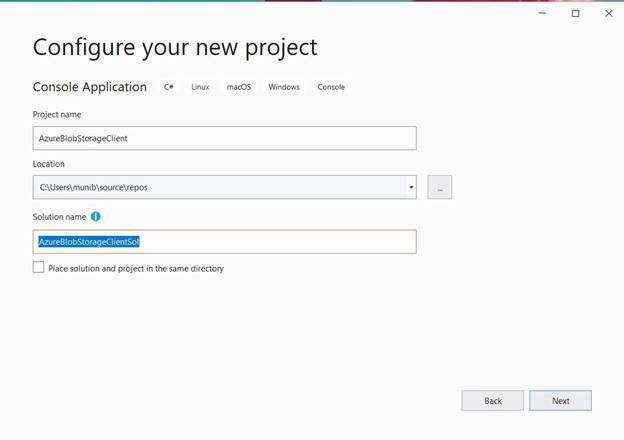
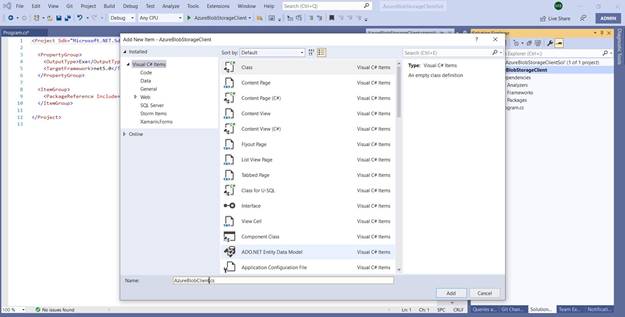
As soon as finished we’ll add a category library to the challenge.
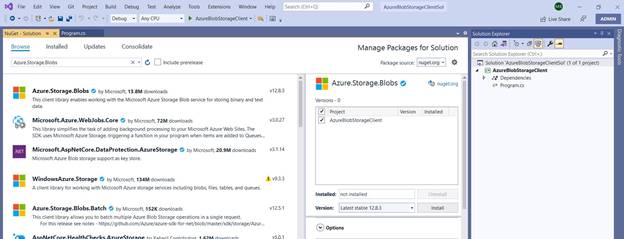
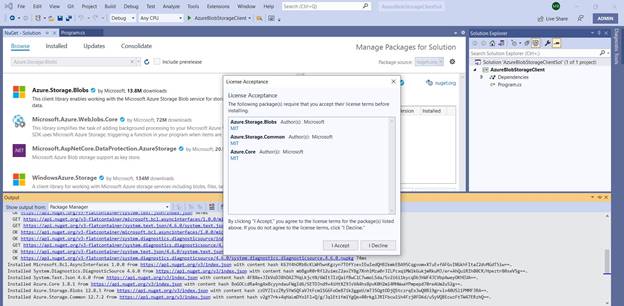
Subsequent, we’ll add the required Nugget packages,
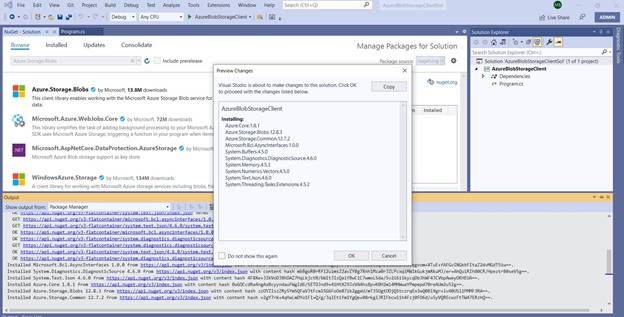
Now that we now have the atmosphere all setup, add the code under to the “Program.cs” and “AzureBlobClient.cs” recordsdata,
Program.cs
- utilizing AzureBlobStorageClient;
- utilizing System;
- await AzureBlobClient.UploadBlob();
- Console.ReadKey();
AzureBlobClient.cs
- utilizing Azure.Storage.Blobs;
- utilizing System;
- utilizing System.IO;
- utilizing System.Threading.Duties;
- namespace AzureBlobStorageClient {
- public class AzureBlobClient {
- public static async Process UploadBlob() {
- var connectionString = “<Enter the connection string right here>”;
- string containerName = “blobcontainer”;
- var serviceClient = new BlobServiceClient(connectionString);
- var containerClient = serviceClient.GetBlobContainerClient(containerName);
- var path = @ “c:temp”;
- var fileName = “Testfile.txt”;
- var localFile = Path.Mix(path, fileName);
- await File.WriteAllTextAsync(localFile, “This is a check message”);
- var blobClient = containerClient.GetBlobClient(fileName);
- Console.WriteLine(“Importing to Blob storage”);
- utilizing FileStream uploadFileStream = File.OpenRead(localFile);
- await blobClient.UploadAsync(uploadFileStream, true);
- uploadFileStream.Shut();
- }
- }
- }
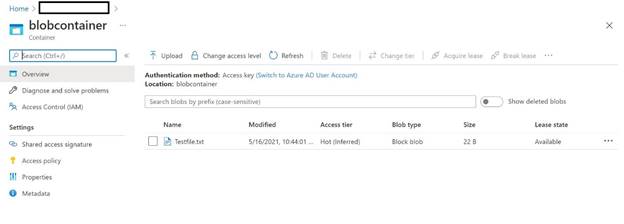
Now, we run the applying and after that once we look into our container, we see that the brand new file has been uploaded there.
Abstract
On this article, we checked out making a Microsoft Azure storage account after which added a blob container to it. Then, we created a Visual Studio challenge to create and add a file to this blob container. Within the coming articles, I’ll discuss in regards to the different information storage sorts.
Pleased coding!