Add File Into Azure Blob Storage And Set off Blob Storage Utilizing Azure Operate
On this article, we’ll create an azure storage account and blob container inside which we add information utilizing .NET Core Internet API after which create one azure blob set off perform that course of and save file into the database every time the file is uploaded contained in the azure blob storage.
Agenda
- Overview
- Create the Azure Storage Account
- Implementation of .NET Core Internet API
- Azure Blob Set off Operate
Conditions
- Visual Studio
- SQL Server
- Azure Account
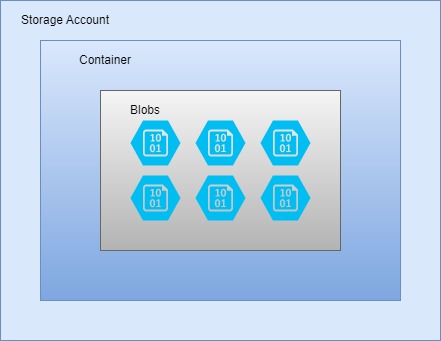
Overview
Azure storage accounts have many information associated that we use to retailer information effectively like file storage, blob storage, azure queue, and lots of extra that we use continuously.
- Right here we focus on azure blob storage which we use to retailer unstructured information similar to textual content and binary.
- Blob is scalable, sturdy, cost-effective, and safe.
- It’s designed for streaming audio and video, storing log information, and storing backups and pictures.
Azure Storage Account
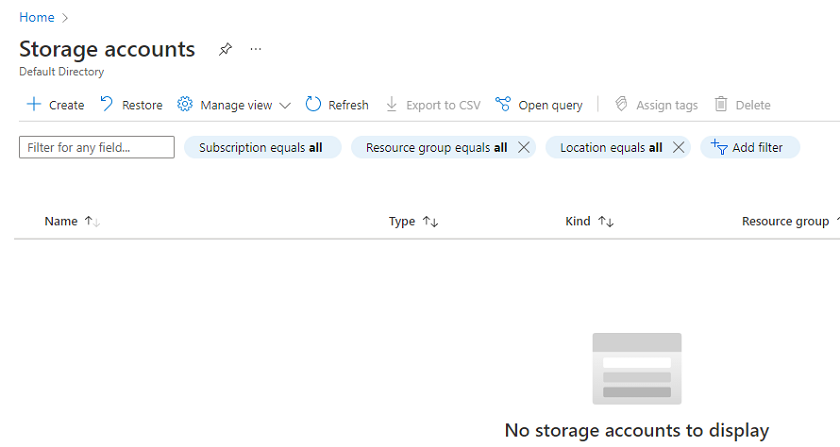
Step 1
Search Storage account contained in the Azure portal
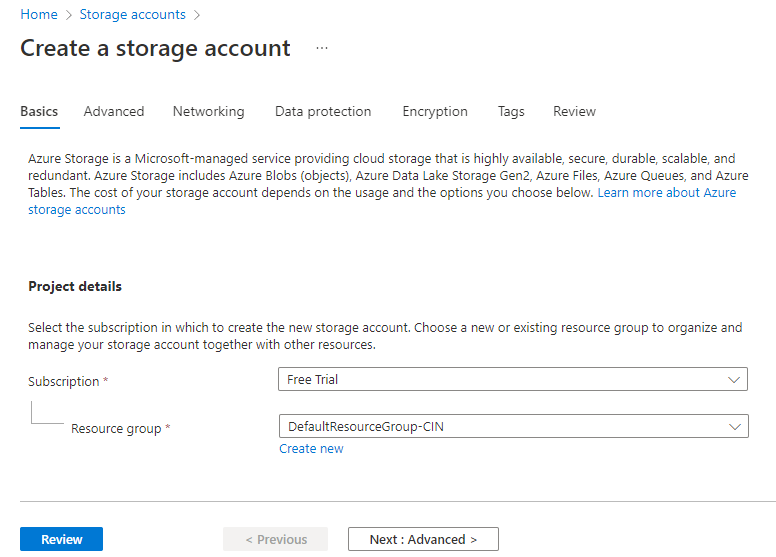
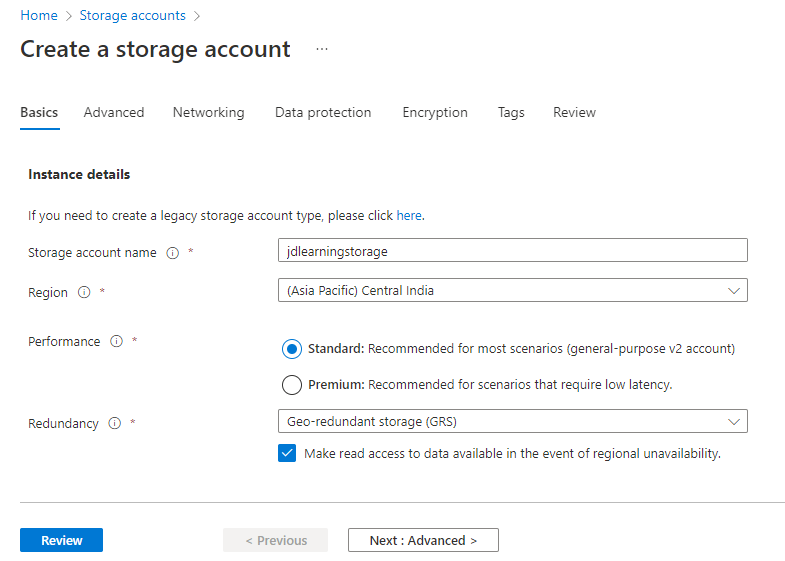
Step 2
Create and supply some configuration particulars
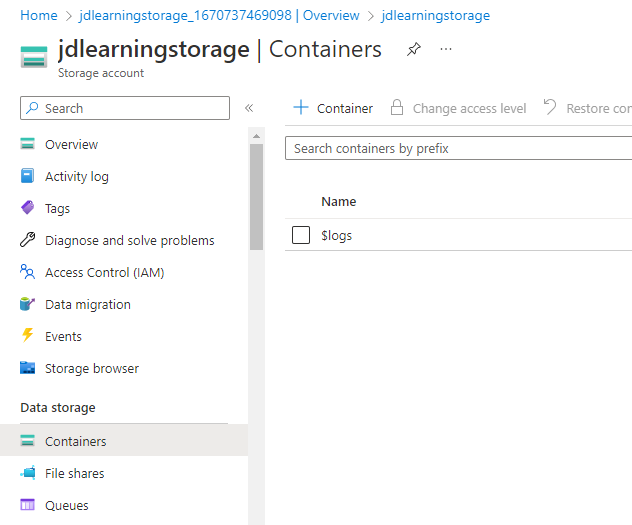
Step 3
Right here we will see the container part, click on on it and create a brand new container.
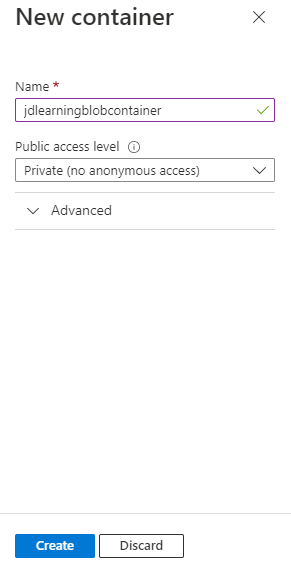
Step 4
Present container title and different configuration particulars
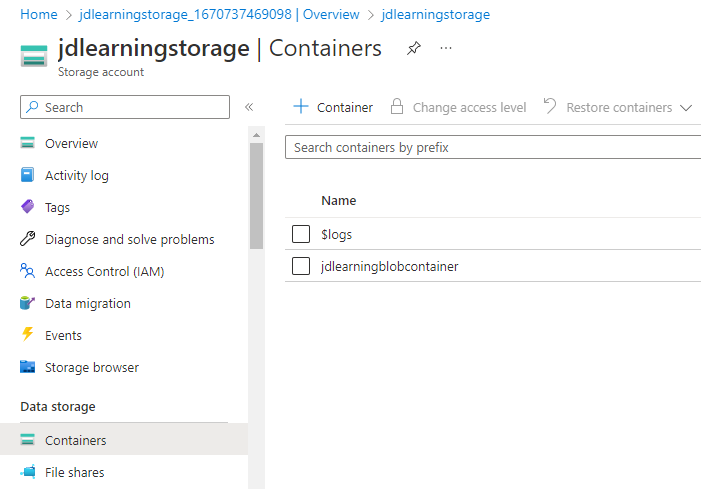
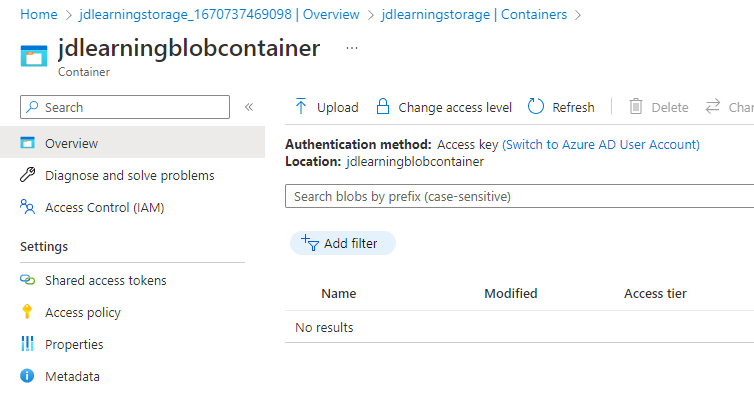
Step 5
Right here we see our new container. Inside we’re going to add information
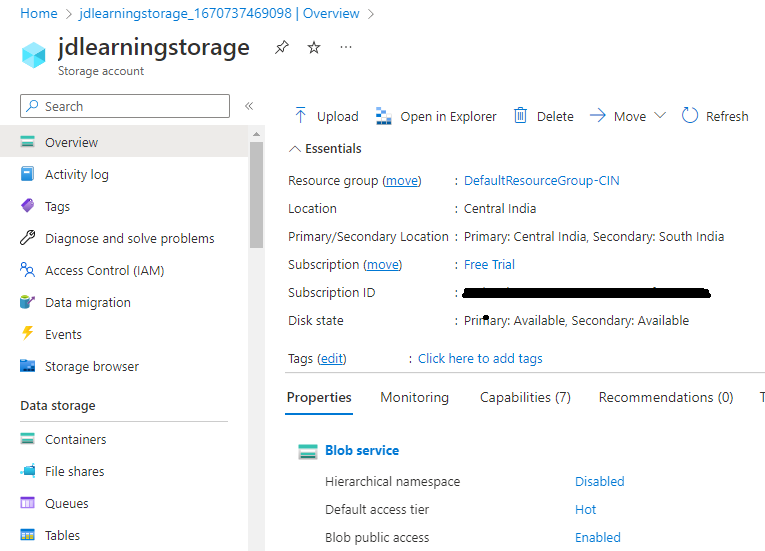
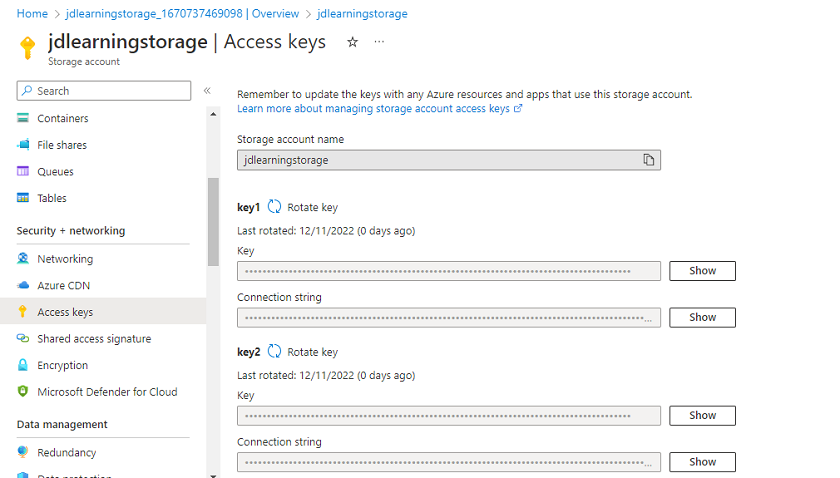
Step 6
Subsequent, Open the storage account and click on on the Entry Keys part. Inside you will discover the connection string that we’re going to use contained in the Internet API
Implementation of .NET Core Internet API
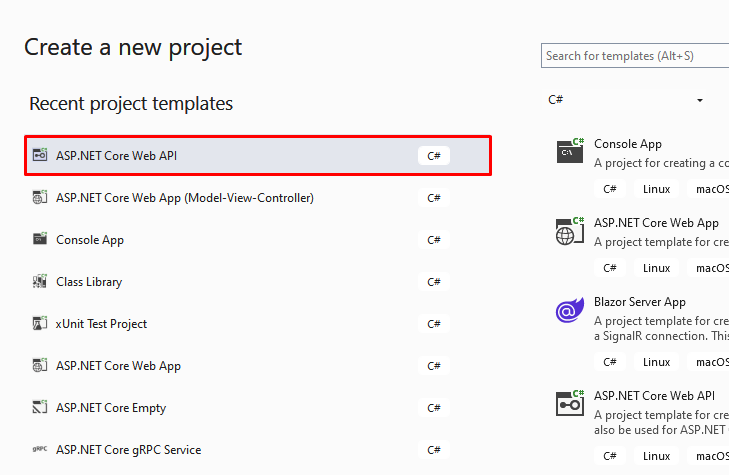
Step 1
Create a brand new .NET Core Internet API
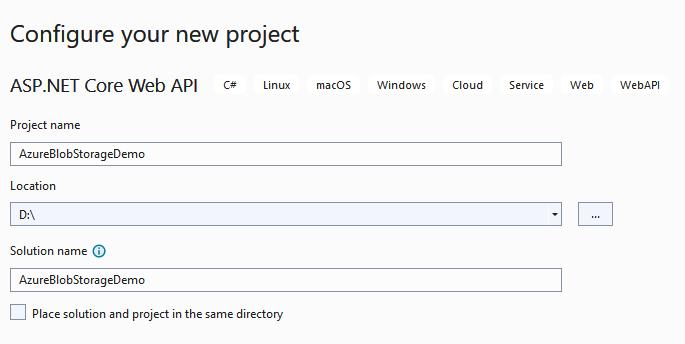
Step 2
Configure your software
Step 3
Present extra info
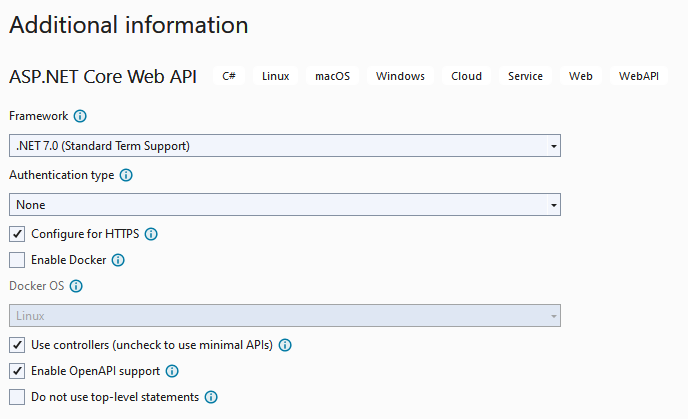
Step 4
Add File Particulars mannequin class contained in the mission answer
namespace AzureBlobStorageDemo.Fashions {
    public class FileDetails {
        public IFormFile file {
            get;
            set;
        }
    }
}
Step 5
Set up Azure Storage Blob NuGet
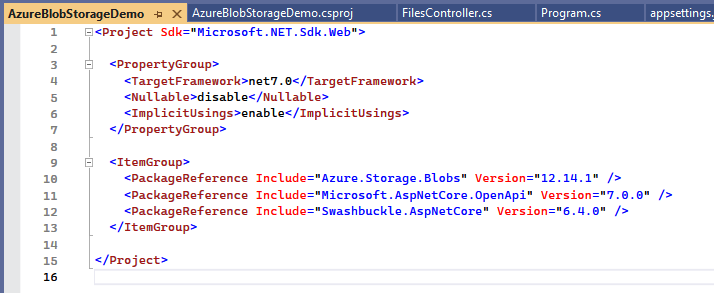
Step 6
Subsequent, add a blob storage interface contained in the repository folder
utilizing AzureBlobStorageDemo.Fashions;
utilizing System.IO;
namespace AzureBlobStorageDemo.Repositories {
    public interface IBlobStorage {
        Job UploadFileAsync(FileDetails fileDetails);
    }
}
Step 7
Present the implementation contained in the blob storage class
utilizing Azure.Storage.Blobs;
utilizing AzureBlobStorageDemo.Fashions;
utilizing System.IO;
utilizing System.Reflection;
namespace AzureBlobStorageDemo.Repositories {
    public class BlobStorage: IBlobStorage {
        non-public readonly BlobServiceClient _blobService;
        non-public readonly IConfiguration _configuration;
        public BlobStorage(BlobServiceClient blobService, IConfiguration configuration) {
            _blobService = blobService;
            _configuration = configuration;
        }
        public async Job UploadFileAsync(FileDetails fileDetails) {
            //get the blob container
            var blobStorageContainerName = _blobService.GetBlobContainerClient(_configuration.GetValue < string > ("BlobContainer"));
            //get the blob consumer
            var blobStorageClient = blobStorageContainerName.GetBlobClient(fileDetails.file.FileName);
            //learn file stream
            var streamContent = fileDetails.file.OpenReadStream();
            //add file
            await blobStorageClient.UploadAsync(streamContent);
        }
    }
}
Step 8
Add blob storage connection string and container title contained in the app settings file.
{
  "Logging": {
    "LogLevel": {
      "Default": "Data",
      "Microsoft.AspNetCore": "Warning"
    }
  },
  "AllowedHosts": "*",
  "ConnectionStrings": {
    "AzureBlobStorageKey": ""
  },
  "BlobContainer": "jdlearningblobcontainer"
}
Step 9
Register a number of providers contained in the Program class
utilizing Azure.Storage.Blobs;
utilizing AzureBlobStorageDemo.Repositories;
utilizing Microsoft.Extensions.Configuration;
var builder = WebApplication.CreateBuilder(args);
// Add providers to the container.
builder.Companies.AddScoped(_ => {
    return new BlobServiceClient(builder.Configuration.GetConnectionString("AzureBlobStorageKey"));
});
builder.Companies.AddScoped < IBlobStorage, BlobStorage > ();
builder.Companies.AddControllers();
// Study extra about configuring Swagger/OpenAPI at https://aka.ms/aspnetcore/swashbuckle
builder.Companies.AddEndpointsApiExplorer();
builder.Companies.AddSwaggerGen();
var app = builder.Construct();
// Configure the HTTP request pipeline.
if (app.Surroundings.IsDevelopment()) {
    app.UseSwagger();
    app.UseSwaggerUI();
}
app.UseHttpsRedirection();
app.UseAuthorization();
app.MapControllers();
app.Run();
Step 10
Create a brand new information controller
utilizing AzureBlobStorageDemo.Fashions;
utilizing AzureBlobStorageDemo.Repositories;
utilizing Microsoft.AspNetCore.Mvc;
namespace AzureBlobStorageDemo.Controllers {
    [Route("api/[controller]")]
    [ApiController]
    public class FilesController: ControllerBase {
        non-public readonly IBlobStorage _blobService;
        public FilesController(IBlobStorage blobService) {
            _blobService = blobService;
        }
        /// <abstract>
        /// add file
        /// </abstract>
        /// <param title="fileDetail"></param>
        /// <returns></returns>
        [HttpPost("Upload")]
        public async Job < IActionResult > UploadFile([FromForm] FileDetails fileDetail) {
            if (fileDetail.file != null) {
                await _blobService.UploadFileAsync(fileDetail);
            }
            return Okay();
        }
    }
}
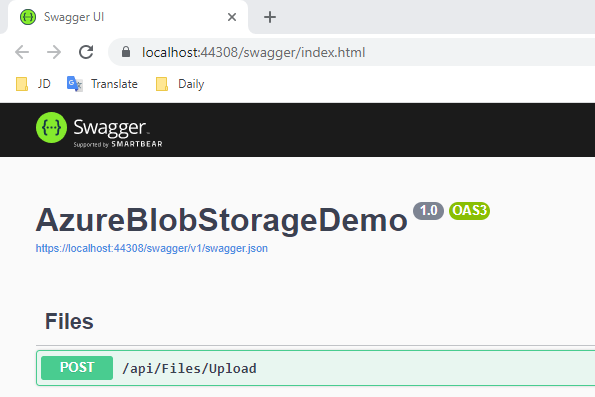
Step 11
Run your mission
Azure Blob Set off Operate
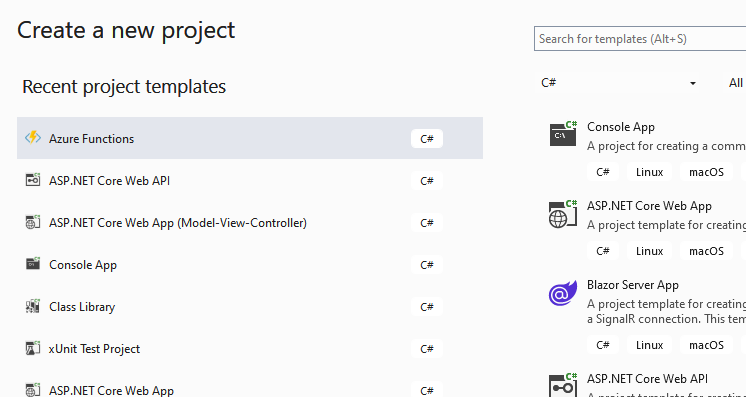
Step 1
Open visible studio and create a brand new azure perform
Step 2
Configure your new perform

Step 3
Present some extra info like connection string setting title and container title.
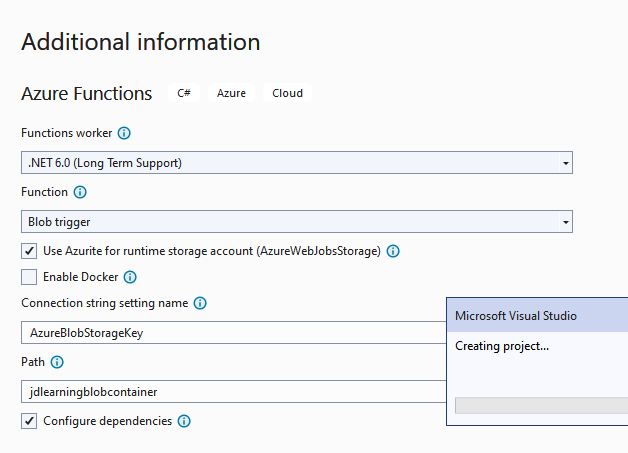
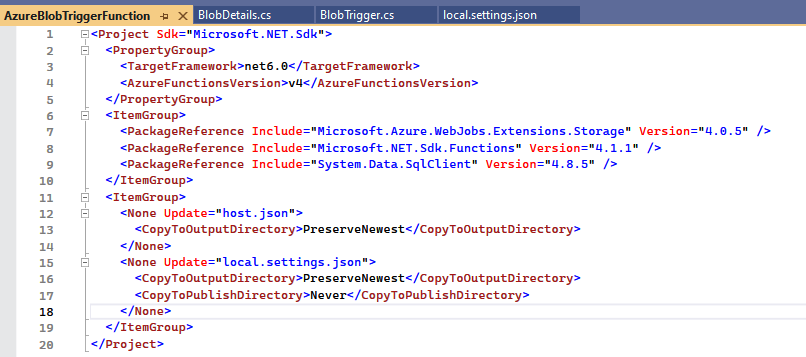
Step 4
We’d like the next NuGet Packages.
Step 5
Create a brand new Blob Particulars class
utilizing System;
utilizing System.Collections.Generic;
utilizing System.Linq;
utilizing System.Textual content;
utilizing System.Threading.Duties;
namespace AzureBlobTriggerFunction {
    public class BlobDetails {
        public Guid Id {
            get;
            set;
        }
        public string FileName {
            get;
            set;
        }
        public bool isFileUploaded {
            get;
            set;
        }
        public DateTime DateOfUpdation {
            get;
            set;
        }
    }
}
Step 6
Add blob storage connection string contained in the native setting JSON file
{
  "IsEncrypted": false,
  "Values": {
    "AzureWebJobsStorage": "UseDevelopmentStorage=true",
    "FUNCTIONS_WORKER_RUNTIME": "dotnet",
    "AzureBlobStorageKey": ""
  }
}
Step 7
Lastly, add the next code contained in the perform which triggers blob storage and saves the uploaded file information contained in the SQL Server Database. Right here I added SQL Code, however in real-time if you wish to course of your information and must ship it wherever, you’ll be able to add code as per your requirement.
utilizing System;
utilizing System.Knowledge.SqlClient;
utilizing System.IO;
utilizing Microsoft.Azure.WebJobs;
utilizing Microsoft.Azure.WebJobs.Host;
utilizing Microsoft.Extensions.Logging;
namespace AzureBlobTriggerFunction {
    public class BlobTrigger {
        [FunctionName("BlobTrigger")]
        public void Run([BlobTrigger("jdlearningblobcontainer/{name}", Connection = "AzureBlobStorageKey")] Stream myBlob, string title, ILogger log) {
            log.LogInformation($ "C# Blob set off perform Processed blobn Identify:{title} n Dimension: {myBlob.Size} Bytes");
            utilizing(SqlConnection conn = new SqlConnection("Knowledge Supply=DESKTOP-8RL8JOG;Preliminary Catalog=AzureDemo;Person Id=sa;Password=database@1;")) {
                conn.Open();
                var insertQuery = $ "INSERT INTO [BlobDetails] (FileName,isFileUploaded,DateOfUpdation) VALUES('{title}', '{true}' , '{DateTime.UtcNow}')";
                utilizing(SqlCommand cmd = new SqlCommand(insertQuery, conn)) {
                    var rows = cmd.ExecuteNonQuery();
                    log.LogInformation($ "{rows} rows had been up to date");
                }
            }
        }
    }
}
Step 8
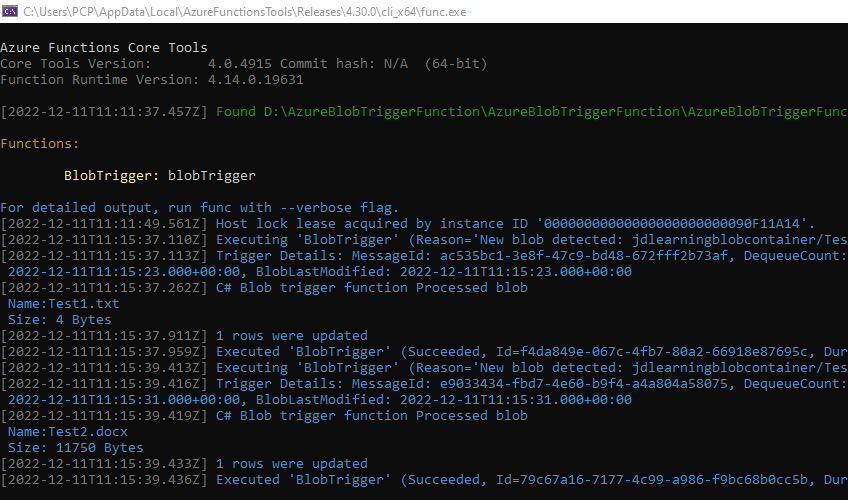
Now, run your perform software.
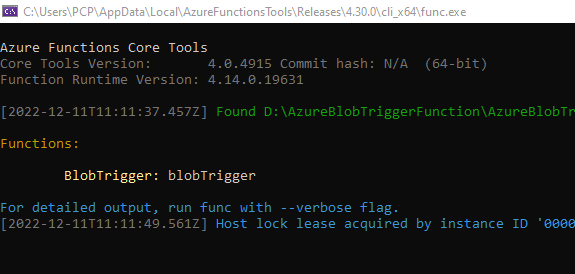
You possibly can see within the above picture our perform is within the operating add hearken to blob storage.
Step 9
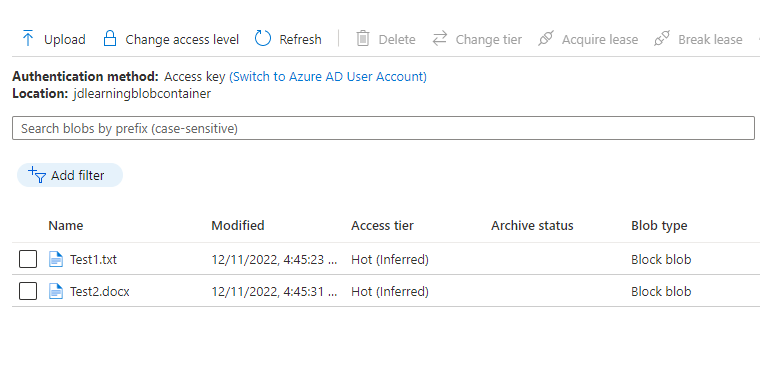
Add a file utilizing the Internet API software
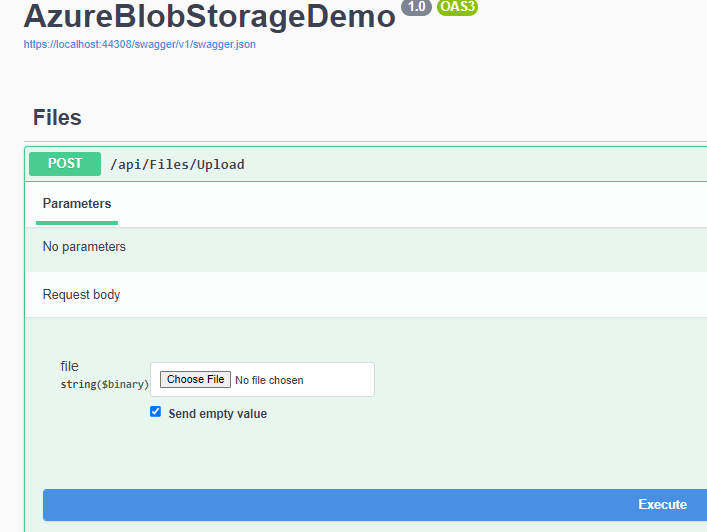
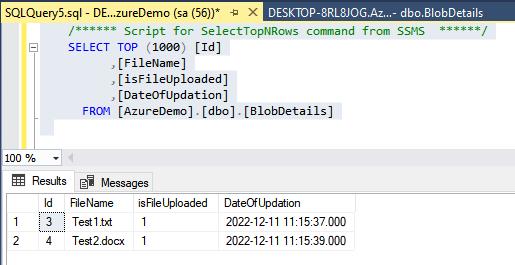
After the file is uploaded on Azure, our perform triggers blob storage, receives the file particulars, and shops them contained in the SQL Server Database Desk.
(Observe: That is only for an instance goal. If you wish to course of your information and carry out some operations, then add that code as per your requirement.
Conclusion
Right here we focus on the azure storage account and blob set off features. Additionally, the step-by-step implementation utilizing .NET Core.
Pleased Studying!


