Introduction
Hey there! In this article, we will guide you through the process of creating a Chatbot using Azure. It’s going to be an exciting journey, so make sure you follow each step carefully!
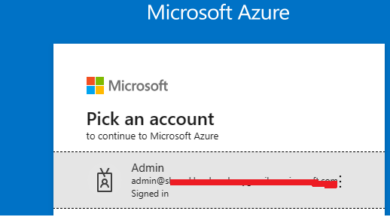
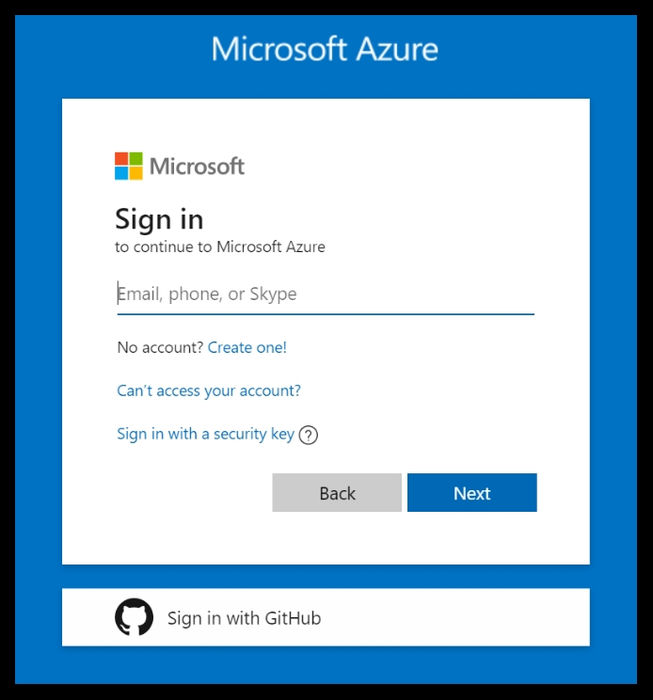
Step 1: Sign in to Azure Portal
First things first, you need to sign in to your Azure portal. If you don’t have one, no worries! Just create an account and log in using your credentials.
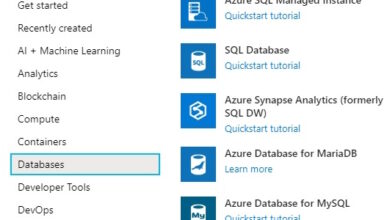
Step 2: Create a Language Service
- After creating your Azure account, you’ll need to create a language service.
- Simply use the search bar at the top of your Azure account and look for “language”. Click on it to open.
Step 3: Set Up Your Language Service
- Now it’s time to create your language service. Click on “Create” and select “Custom Question Answering”.
- Enter all the necessary details for your language service, including the resource group.
Step 4: Customize Your Knowledge Base

Step 5: Create a Bot Project
- Select “Create a new project” and start setting up the knowledge base for your bot.
- You can choose from pre-built knowledge bases or customize your own.
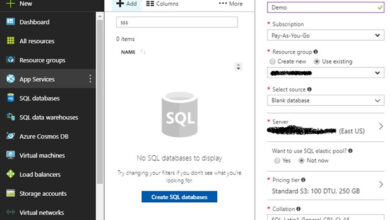
Step 6: Create Your Bot Service
- Now it’s time to create your bot service. Fill in the required details and choose the plan and resource group.
- After deploying your bot service, connect it with the language service using the key and endpoints.
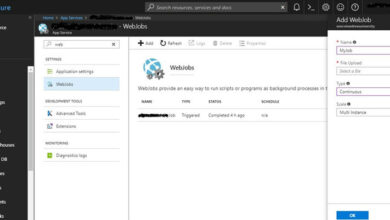
Step 7: Connect Your Bot to Channels
- You can connect your bot to different channels. In this example, we chose Teams, but feel free to choose the one that suits your needs.
- And voila! Your chatbot is ready to go. Have fun experimenting with it!
Thanks for reading! We hope you enjoyed creating your first chatbot. If you want to explore more AI and development solutions, visit Skrots. At Skrots, we provide similar services and much more! Check out all our services here.