Introduction
Learn how to create a virtual machine (VM) on Azure through this easy guide. The steps outlined will assist you in setting up a virtual machine using the Azure portal.
Understanding Cloud Computing
Cloud computing involves providing computing services over the internet, offering servers, storage, databases, networking, software, and services.
Getting to Know Azure
Azure stands as Microsoft’s cloud computing platform providing a wide range of products and services, including computing, analytics, storage, networking, and more.
Creating a Virtual Machine via the Azure Portal
Step 1. Accessing the Azure Portal
- Access the Azure portal by visiting this link: https://portal.azure.com/
- Log in to the Azure portal using your administrator credentials.
- Click on “Next.”
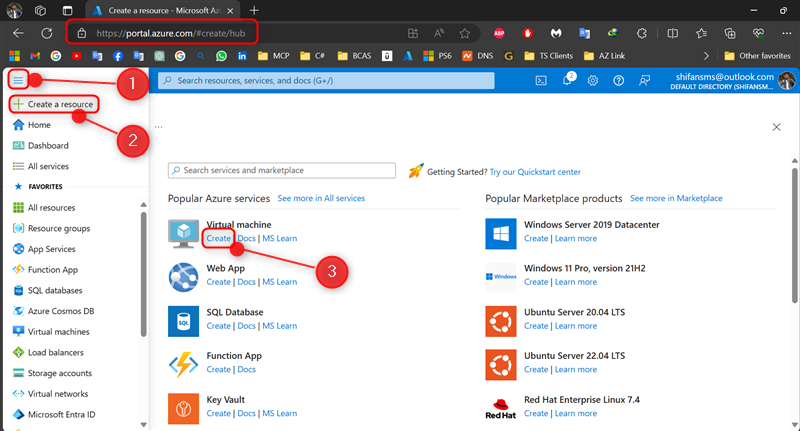
Step 2. Navigating to the Virtual Machine Creation Page
- Choose “Show Portal Menu”.
- Click on “Create a resource”.
- Proceed by selecting “Create” for Virtual Machine.
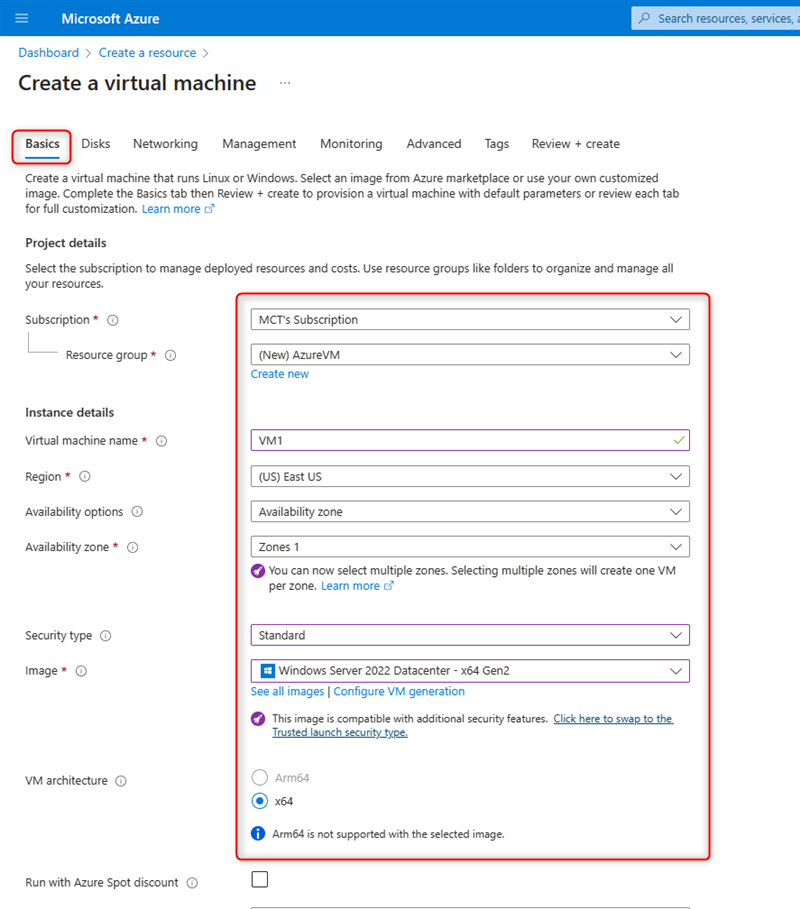
Step 3. Setting Up Basics
Input essential details like VM name, region, availability options, Security type, operating system image, and VM architecture.
Find out more about what we can offer at Skrots by visiting Skrots. Dive into all the services we provide at Skrots Services. Also, explore more blogs on various topics at Blog at Skrots.