On this article, we’ll be taught to create a synapse workspace in Azure. I’ve created a complete collection on Azure Synapse Analytics. This text extra so is a pre-requisite for the Azure Cognitive Providers Sequence on Sentiment Evaluation. Furthermore, it’s also possible to be taught from this text to carry out quite a few duties and discover the opposite functionalities of Azure.
Azure Synapse Analytics
Azure Synapse is a limitless enterprise analytics service that allows us to get perception from knowledge analytics and knowledge warehousing. Utilizing devoted sources or serverless structure, knowledge could be queried and offers scalability as per the rise within the dimension of the info. You’ll be able to be taught extra about it from the collection.
- Azure Synapse Analytics
- Azure Synapse Analytics – Create a Synapse Workspace
- Azure Synapse Analytics – Create Devoted SQL Pool
- Azure Synapse Analytics – Creating Firewall at Server-level
- Azure Synapse Analytics – Join, Question and Delete Information Warehouse SQL Pool
- Azure Synapse Analytics – Load Dataset to Warehouse from Azure Blob Storage
- Azure Synapse Analytics – Finest Practices to Load Information into SQL Pool Information Warehouse
- Azure Synapse Analytics – Restore Level
- Azure Synapse Analytics – Exploring Question Editor
- Azure Synapse Analytics – Automation Process
- Azure Synapse Analytics – Machine Studying
Now, allow us to be taught to create a synapse workspace in Azure Synapse Analytics.
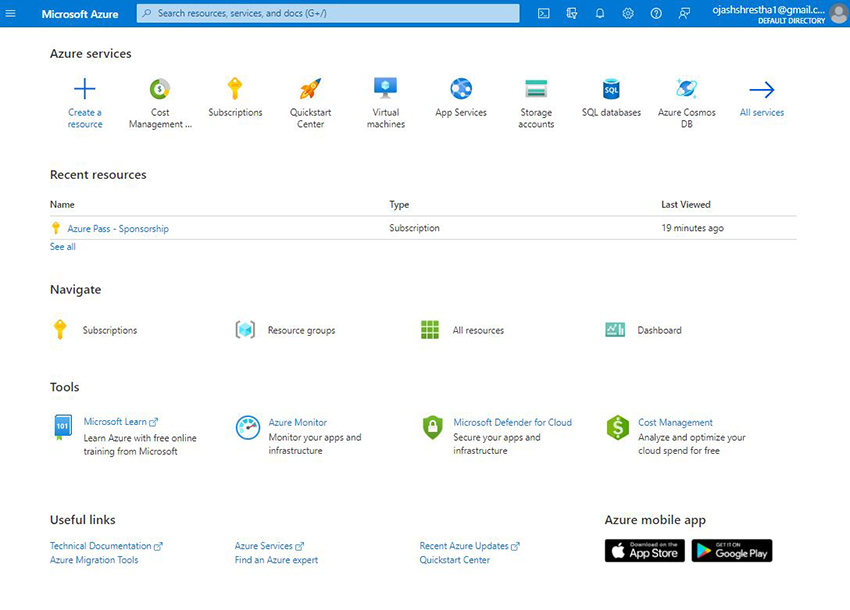
Step 1
To start with, login to the Azure Portal. You’d want a paid subscription or sponsorship cross in an effort to create a Synapse Workspace. The Sandbox from Microsoft Study won’t help.
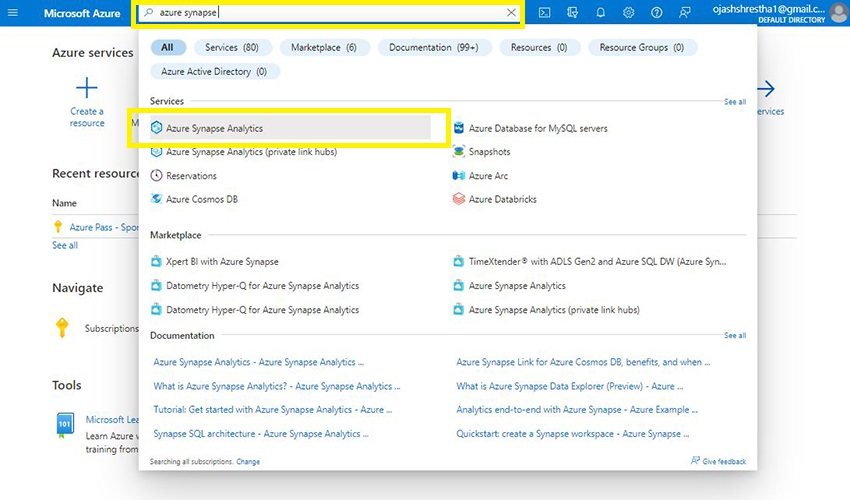
Step 2
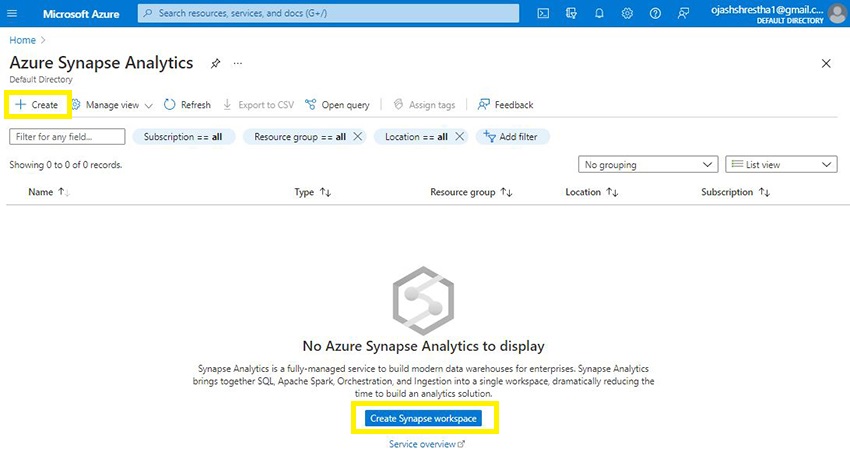
Seek for Azure Synapse Analytics within the Search Bar. Choose the Azure Synapse Analytics from the Drop Down.
Step 3
Now, we’ll be taught taken to the Azure Synapse Analytics web page. Click on on Create Synapse Workspace.
Step 4
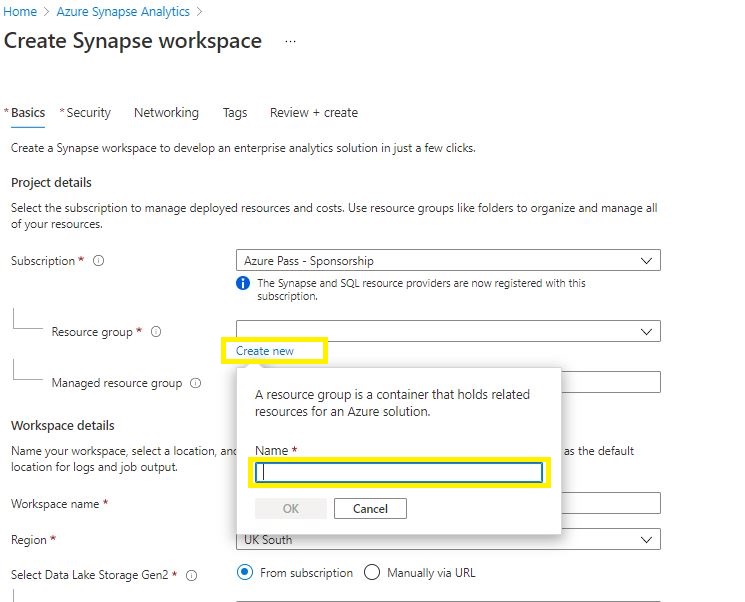
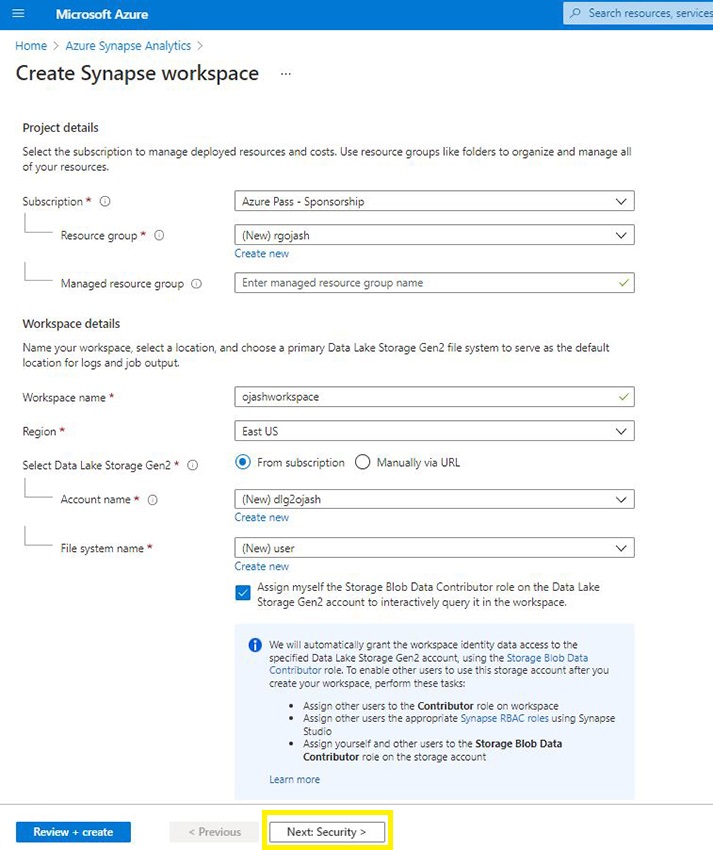
Now we’ll be supplied with the small print to fill in.
Choose the Subscription you’re utilizing. Right here, I’m utilizing an Azure Cross Sponsored Subscription. Study extra about redeeming Azure Cross from the earlier article, How To Redeem Azure Cross?
Now, for useful resource group, you would possibly have to Create one if you happen to already haven’t created any sources in Azure. Click on on Create new and sort within the title.
Step 5
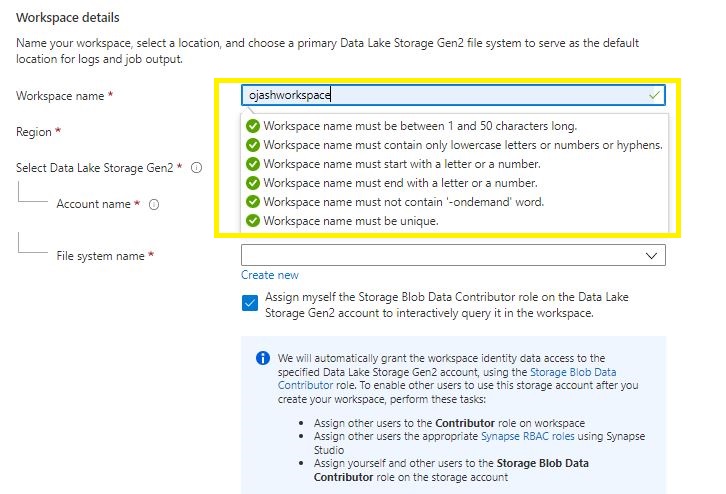
Subsequent, we have to add in Workspace title the place we’ll have the Information Lake Storage Gen2. The Information Lake is the placement the place we’ll add datasets in an effort to perform any queries and even machine studying coaching and predictions.
Bear in mind, there are a number of standards it is advisable to fulfill in an effort to set within the workspace title.
Subsequent, add the area. Principally, US areas like Central US, East US could be greatest. Subsequent, I’ve now named my Information Lake Storage Gen2 Account as dlg2ojash and File System title as ‘consumer’.
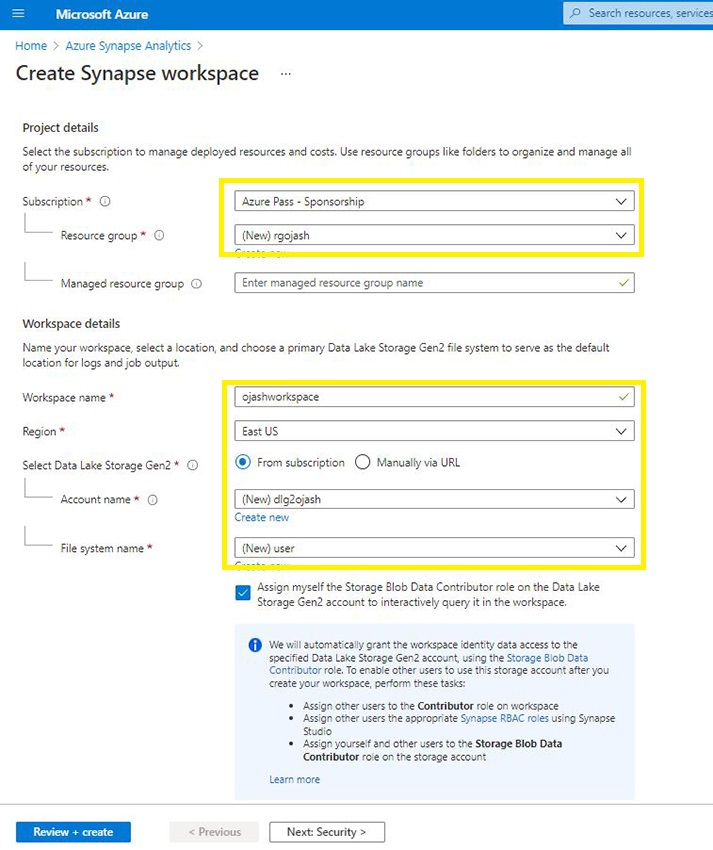
As soon as executed, click on on Safety.
Step 5
Add within the SQL administrator credentials if you wish to safe the workspace. For now, it isn’t so required.

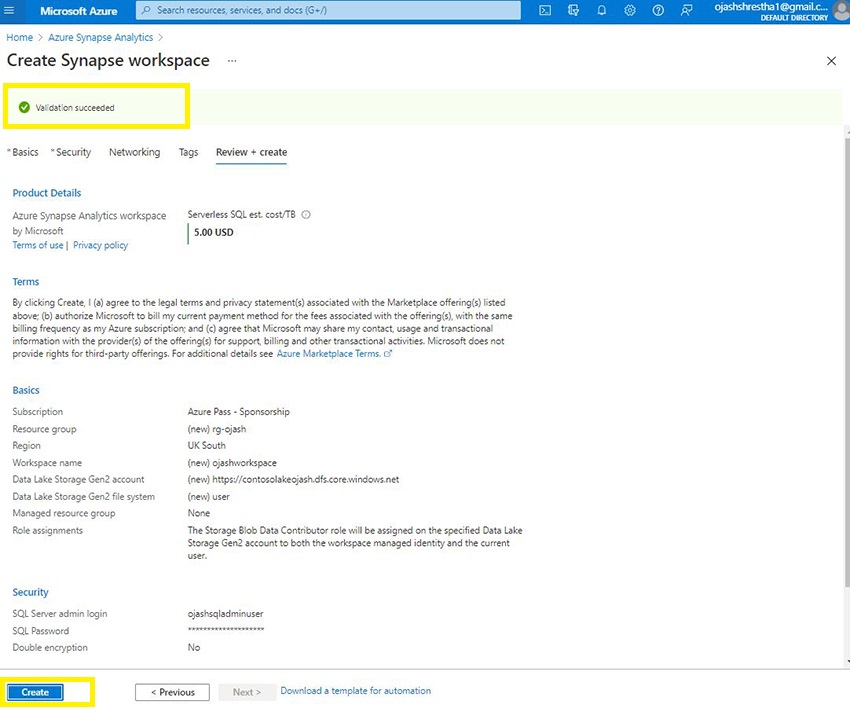
Now, click on on Evaluation + Create
Step 6
Because the Validation is profitable, we’ll be supplied with the choice to Create. Click on the Click on Button.
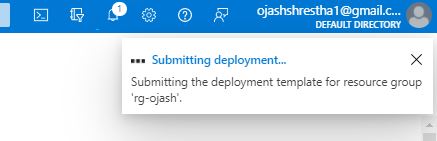
The notification will pop up because the submission for deployment is initiated.
Step 7
Now, we will see the deployment is in progress.
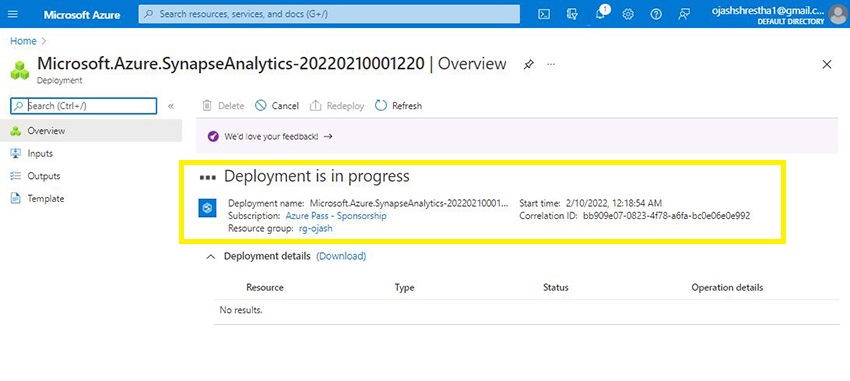
As sources are created through the deployment course of, we will see the Standing replace.

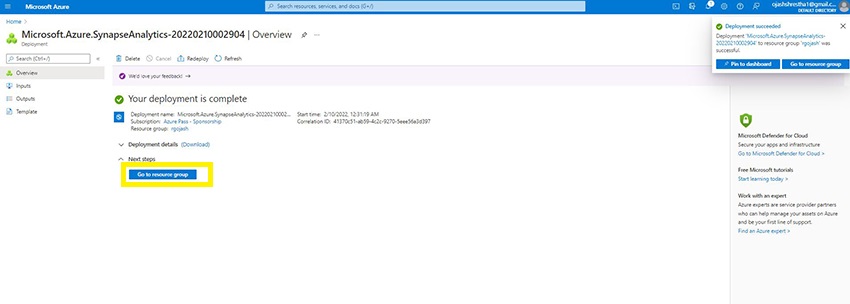
Step 8
Lastly, because the Deployment is full, we will go to the Useful resource Group.
Right here, on the useful resource group web page we will see the hyperlink to knowledge lake storage and Synapse Workspace.
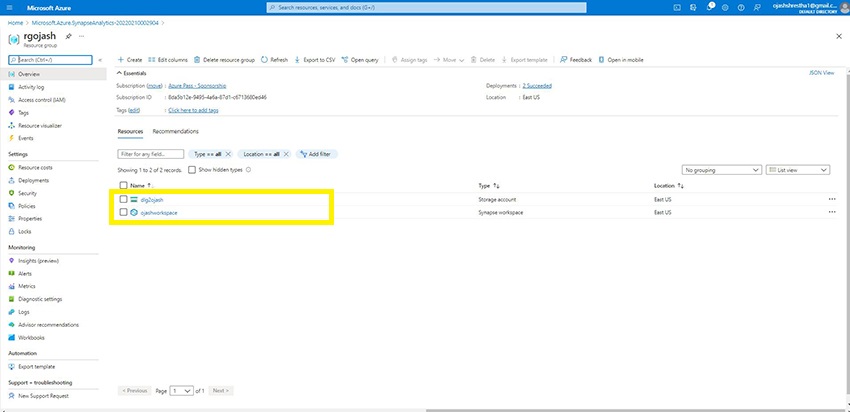
Click on the Synapse Workspace, right here named ojashworkspace.
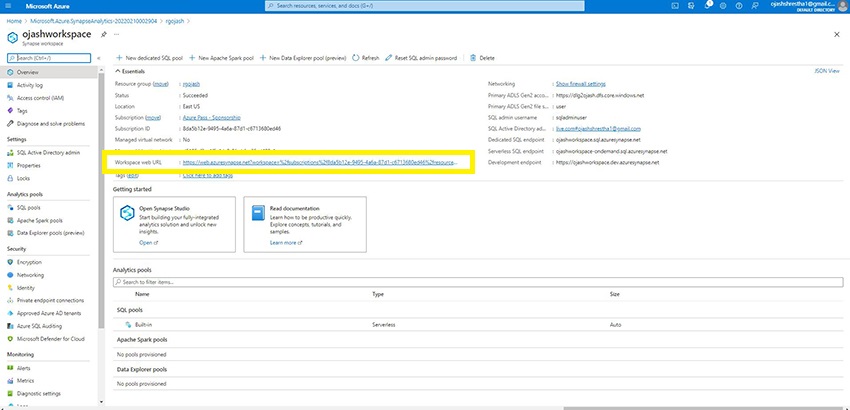
Step 9
The Synapse Workspace web page is opened. Now, by clicking on the Workspace Internet URL we will entry the Synapse Workspace.
Step 10
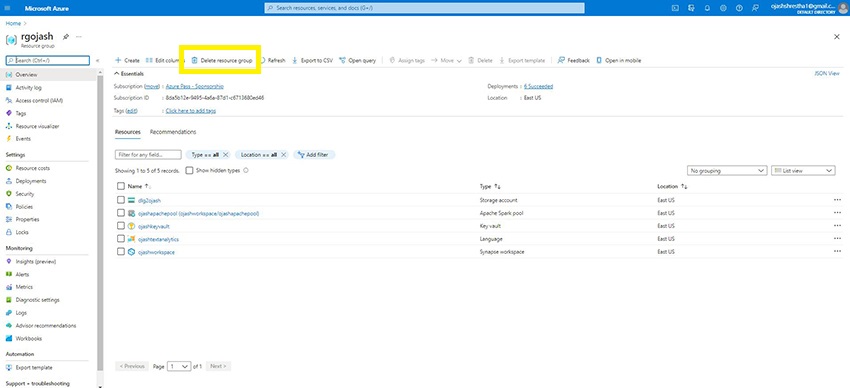
We will then use this useful resource group we created for Synapse Workspace to create quite a few different providers.
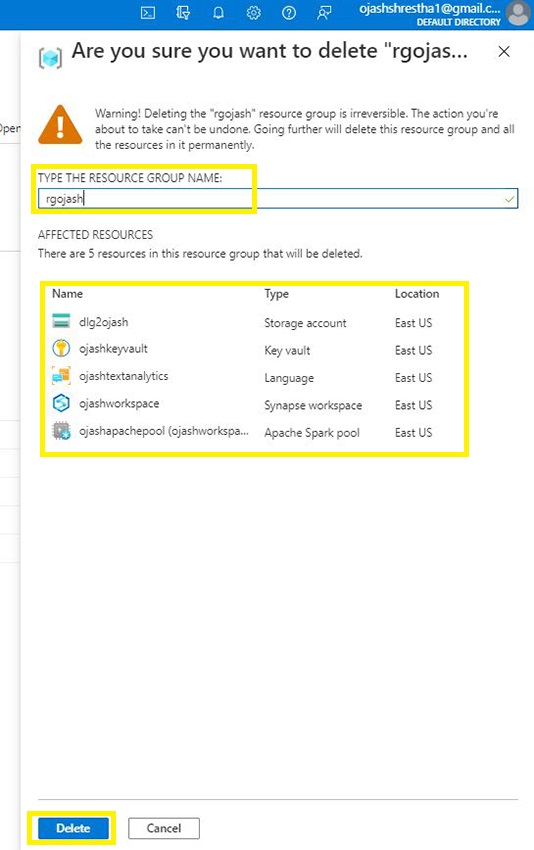
If we wish to delete the workspace, we will merely choose the Workspace and Click on on Delete for Delete the complete Useful resource Group from the choice within the Menu.
Right here, to delete the useful resource, we kind within the useful resource group title after which click on on Delete.
Equally, we will additionally discover particular person providers just like the Information Lake Storage and Delete them.
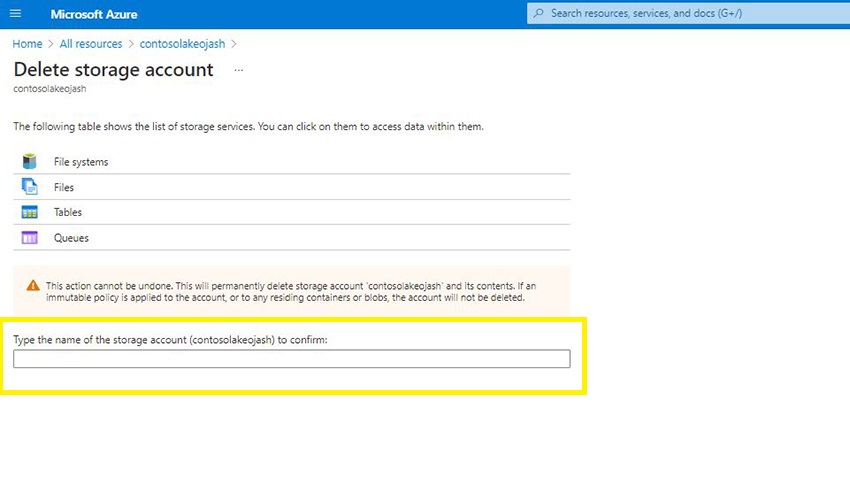
This can ensure that; we aren’t charged for unused providers. It’s a sensible behavior to pause when the providers aren’t required and to delete them and useful resource teams because the duties are accomplished to avoid wasting from any undesirable costs to incur.
Conclusion
Thus, on this article, we discovered in step-by-step course of to Create a Synapse Workspace in Azure Synapse Analytics. We’ll additional develop and use this workspace to discover completely different providers of Azure targeted in Machine Studying by way of Azure Cognitive Providers akin to Sentiment Evaluation, Anomaly Detection, and extra.