At this time, I’m going to submit my first article on this nook. Being a developer C# nook helps me so many instances to resolve the bugs and offers a platform to be taught newly carried out details about Dot Web Expertise.
On this article, we’re going to see the best way to arrange the debugging mode after deployed the code on Azure in VS 2019.
Detailed description
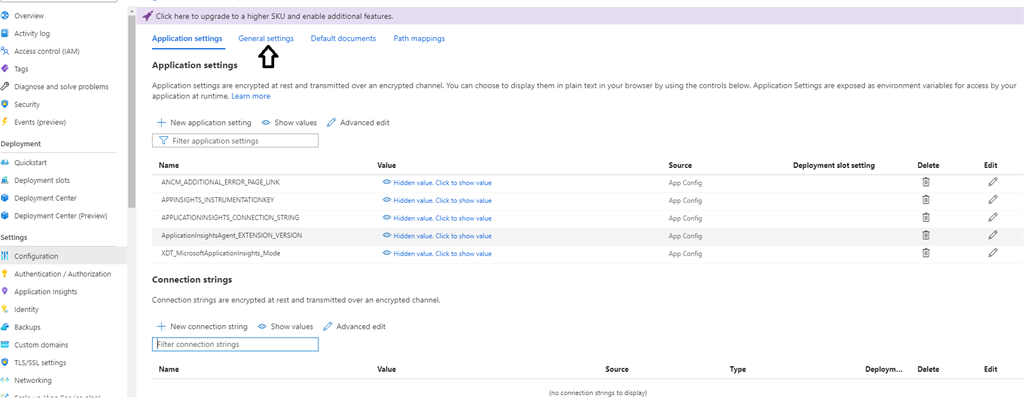
Firstly, you must go in your App service configuration setting web page in Azure.
After that, click on on the final setting and allow the ‘on’ radio button of Distant debugging and choose your Visual Studio model by which you publish your software.
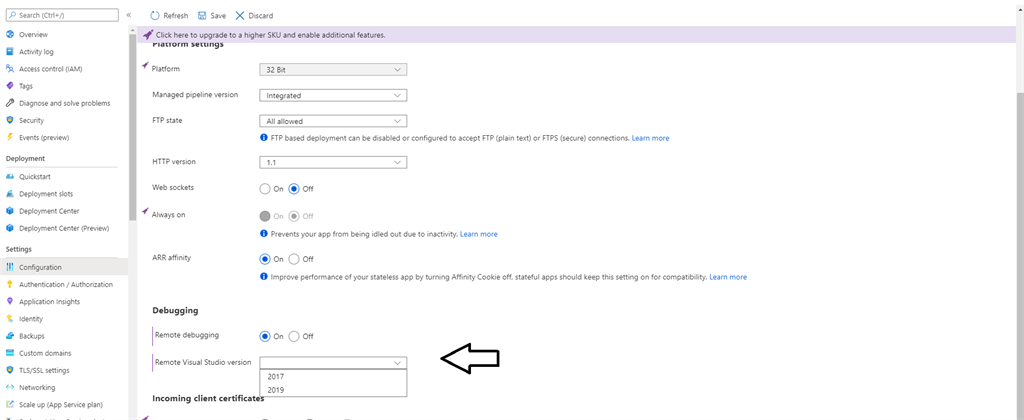
After making use of these settings click on on the Save button.
Now you must go in your Visual Studio publish part to replace the setting for the publishing profile.
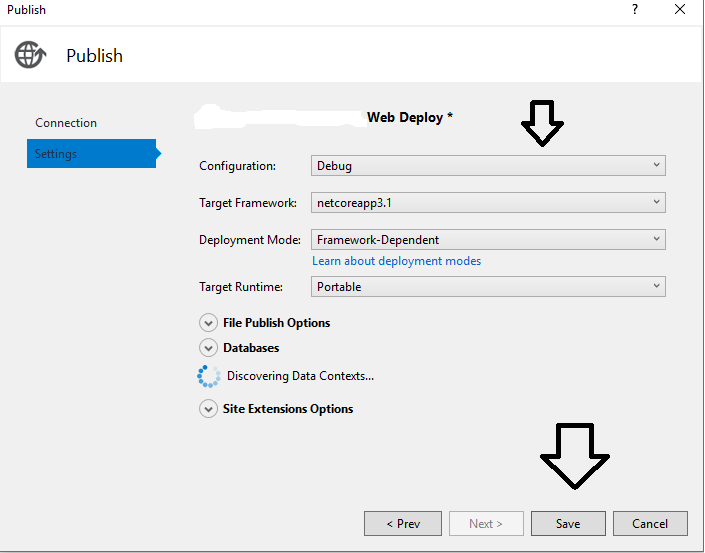
Replace the Configuration as Debug mode and click on on the Save button.

After finishing all modifications, then we have to publish the information on the Azure Cloud.
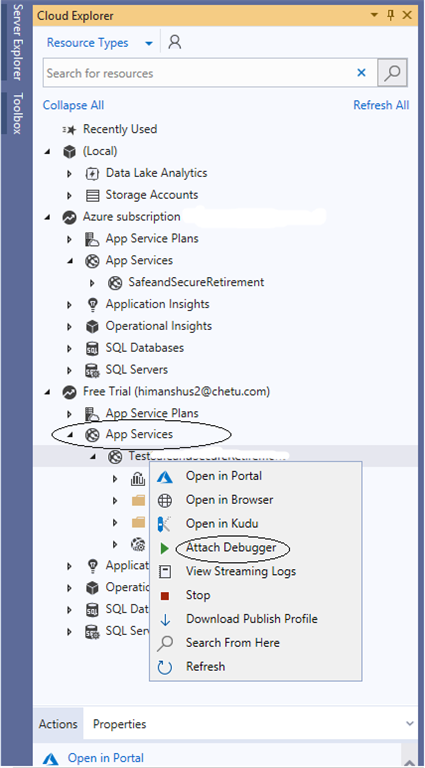
After we accomplished the publish file course of, then we have to open Cloud Explorer on Visual Studio 2019. On Cloud Explorer, we have to go on App service in Azure account subscription and drag App service it should populate your App service Useful resource Title. Proper-click on the useful resource title and click on on the Connect debugger possibility.
Now debugger is connected to your resolution and your resolution will run mechanically with Azure URL and we will put the debugger level wherever we want. It’s working slowly however it’s useful to seek out out the difficulty.
When you have any doubts, please remark beneath. I’ll reply as quickly as attainable.