Hiya Of us,
On this article, I’m going to display how one can create an Azure storage account after which configure entry to it from the networking and safety viewpoint.
Conditions
Azure Storage Account and why we’d like it?
The next definition is given on the Azure Docs web page. An Azure storage account accommodates all your Azure Storage knowledge objects, together with blobs, file shares, queues, tables, and disks. The storage account gives a novel namespace on your Azure Storage knowledge that is accessible from anyplace on the planet over HTTP or HTTPS. For extra info, Kindly comply with the hyperlink.
Creating and Accessing the Azure Storage Accounts
Step 1
Log in to the Azure Portal
Step 2
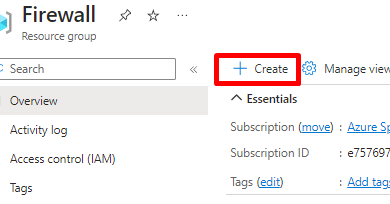
Within the portal, within the prime search bar, sort in and click on on Storage accounts. Click on + Create.
Step 3
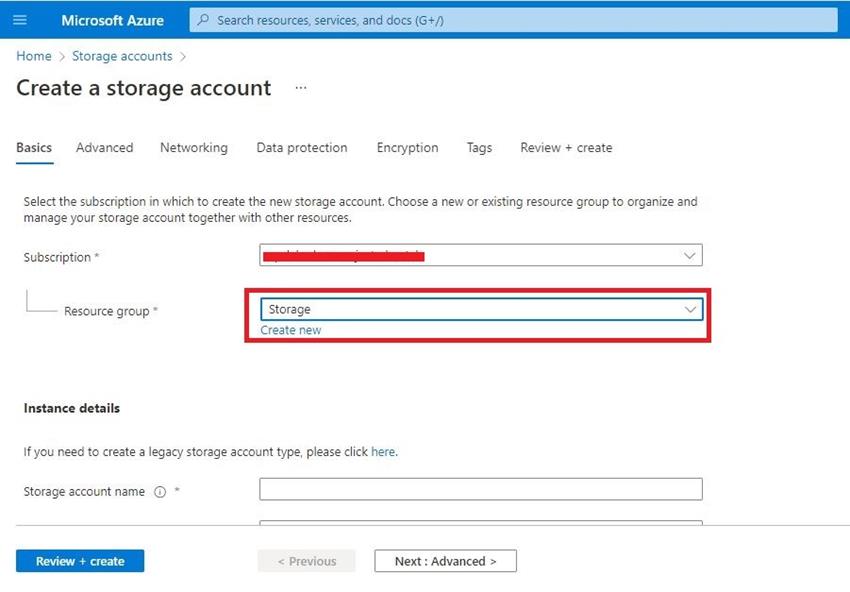
Within the Fundamentals tab of the Create storage account wizard, carry out the next actions:
- Within the Useful resource group checklist, Create your individual useful resource group for storage accounts to handle it simply.
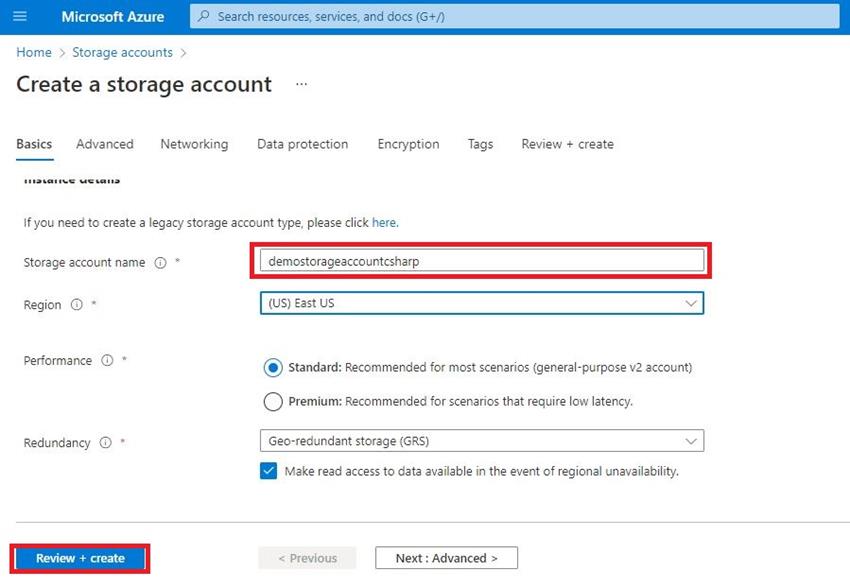
- Within the Storage account identify field, enter any globally distinctive identify
- Go away one other area to set the default values.
- Lastly, Overview + Create
Step 4
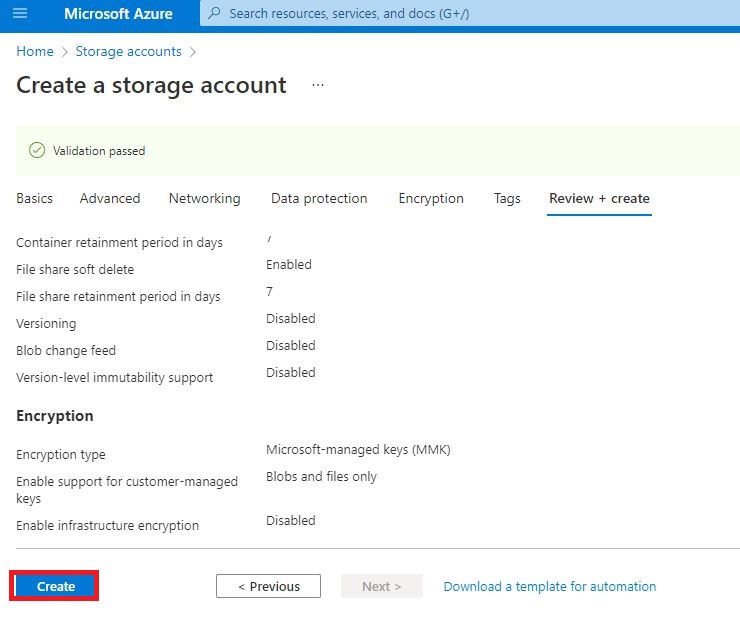
Within the Overview + create a tab of the Create storage account wizard, carry out the next actions,
- Overview the default settings that might be utilized to your new storage account.
- Choose Create.
- Watch for the deployment to finish.
Step 5
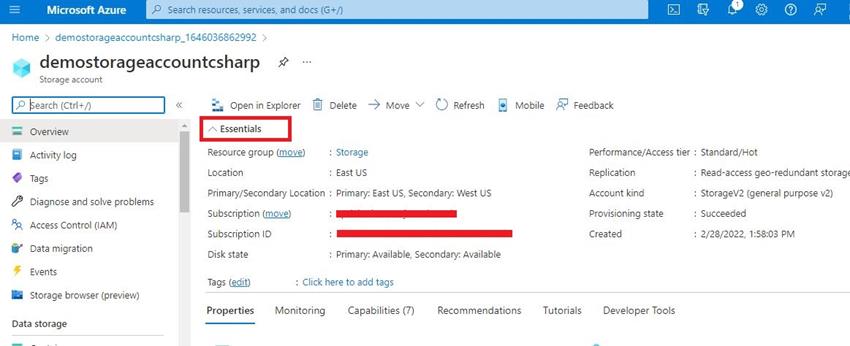
After the profitable deployment, kindly seek for the useful resource group the place our Storage account is deployed. Kindly discover the identical storage account.
- On the Storage account blade, observe the main points within the Necessities pane. This necessities pane accommodates all the mandatory metadata of the storage account.
- On the identical web page, Scroll-down on the Storage account blade, on the left beneath Safety + networking, choose Entry keys.
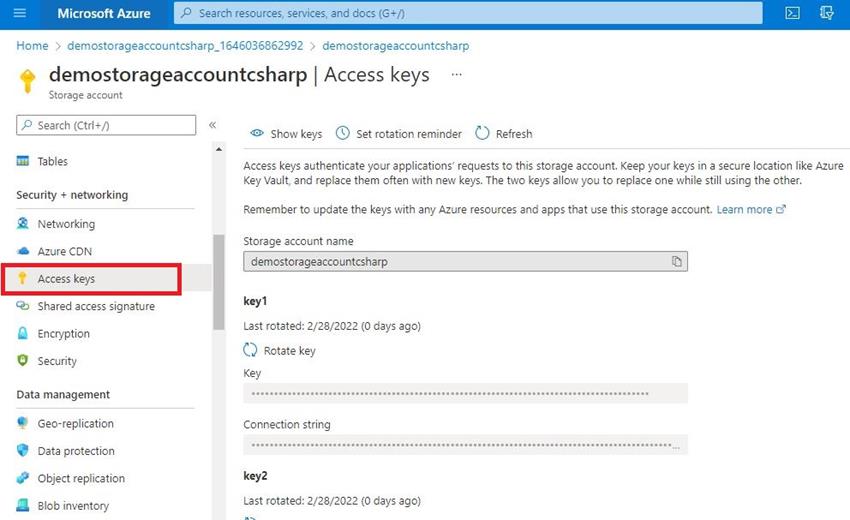
- On the Entry Key pane, you will discover key 1 and key 2 for our storage account. You should use the Rotate button to regenerate the important thing for safety functions.
Generate a Shared Entry Signature(SAS) Utilizing the Azure Portal
There are some eventualities the place the operation group wish to share the logs with exterior group members like a crash report back to the builders.
Step 6
- On the left beneath the Information storage part, choose Containers.
- Within the Containers part, click on the pre-existing $log container from the checklist of containers.
Selected the logs after which open them to configure the SAS.
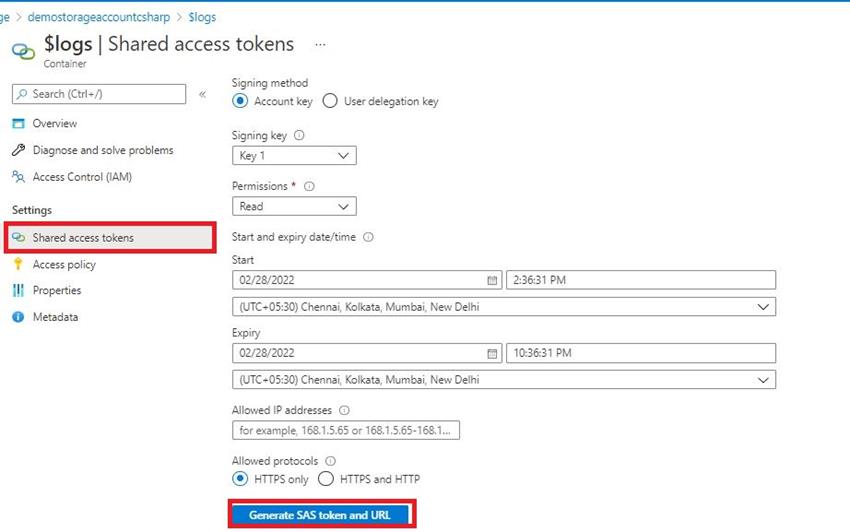
- Choose the Generate SAS tab.
- Go away all settings at their default values and choose Generate SAS token and URL.
- Copy the worth within the Blob SAS URL field
- Open a brand new browser tab/window and navigate to the Blob SAS URL you simply copied.

The shared entry signature (SAS) that was appended to the top of the URL accommodates the suitable credentials wanted to entry the blob utilizing solely the permissions and time window designated on the time of creation. We generated a SAS token that allowed us to entry a protected blob utilizing your browser. The group can generate the SAS token robotically or by the script every time to share the information all through the group.
Conclusion
We are going to focus on the additional steps within the subsequent article. On this article, I’ve created a storage account after which configured the Shared entry signature to share the information all through the group. We will additionally share completely different knowledge with the group. Kindly keep tuned for the continuation of this text.