Introduction
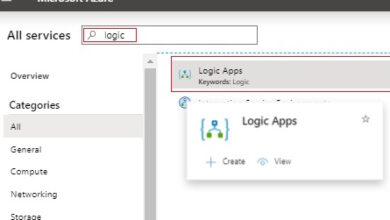
If we need to arrange free SSL on our Azure web site (utilizing a customized area), it is pretty straightforward when utilizing Azure WebApps.
It is all completed in few straightforward steps.
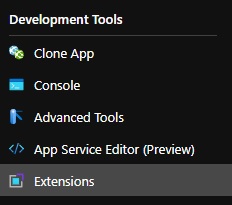
Go to Extensions:
After which choose ‘Azure Let’s Encrypt’ extension from the checklist.
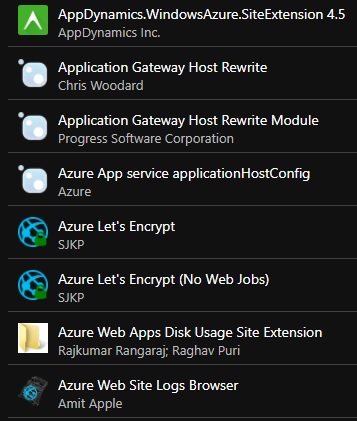
We have to run an computerized wizard, the certificates will likely be issued and mechanically sure to your customized area.
However what if we’re utilizing containers on Azure WebApps and extensions usually are not accessible?
Nicely, it nonetheless may be completed, however it requires little handbook work.
First, you’ll need both a Linux field or you need to use WSL2 on Home windows 10.
The next instructions have to be executed within the command line:
- apt-get replace
- apt-get set up certbot
Subsequent, we execute the command to situation a certificates (Be aware that we have to exchange ‘customdomain.com’ with the area we need to situation the certificates for).
- certbot certonly -d customdomain.com –manual –preferred-challenges dns
We will likely be given directions on find out how to confirm your area. We have to go to our DNS register and add TXT document for _acme-challenge.customdomain.com and insert the worth offered within the directions. After that, we are able to proceed, and a congratulations message is offered. The certificates is now issued and saved at /and so on/letsencrypt/reside/customdomain.com/. Nonetheless, the online app requires a personal certificates, so now we have few extra steps.
- mkdir /tmp/cert -p
- cd /tmp/cert
- SOURCE=/and so on/letsencrypt/reside/customdomain.com
- cp $SOURCE/{cert.pem,privkey.pem,chain.pem} .
- sudo chown consumer *.pem
- openssl pkcs12 -export -out cert.pfx -inkey privkey.pem -in cert.pem -certfile chain.pem
The final command will provoke a immediate for a password for the certificates. Be sure to keep in mind the password used, since we’ll use it to import the certificates to the online app.
We choose ‘Customized domains’ in our internet app, click on on ‘Add binding’ and choose to add the certificates,

Lastly, choose add a certificates path and enter the password for the certificates (used when the export command was executed).
And we’re good to go! SSL is about and we are able to entry our software over HTTPS.