Introduction
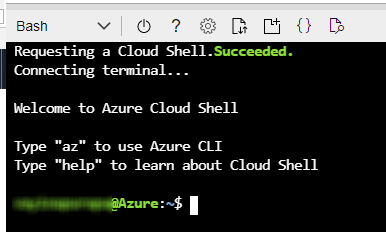
Azure CLI is the cross-platform (works in Linux, Home windows and Mac OS) Command Line Interface, developed by MSFT to create, handle and configure sources in Azure.
This doc explains how one can set up the newest model of Azure CLI on home windows 10. Within the subsequent article, we are going to see how we are able to push the code from native repository to DevOps repository utilizing Azure CLI.
Right here we’re utilizing the Azure CLI to create the repository in Azure DevOps (https://dev.azure.com). You might want to have the newest model of Azure CLI put in.
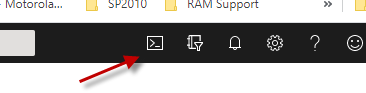
Though the CLI is on the market in Azure Portal ribbon, generally it’s required to replace the script native and run in batch. That is particularly case within the Linux servers, the place the browser will not be obtainable.
Putting in Newest Model of Azure CLI
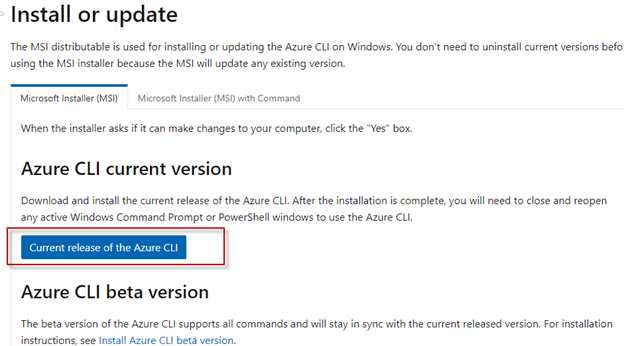
Step 1
Obtain the CLI Set up from the location. Right here I’m utilizing home windows and by default it goes to ‘Downloads’ folder.
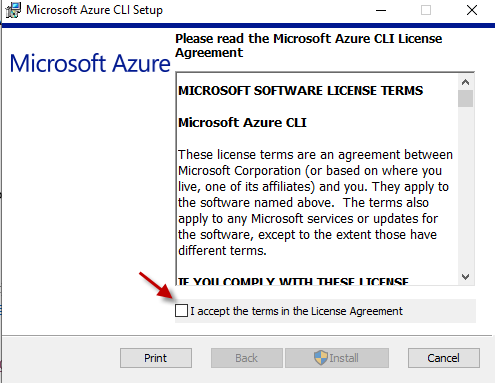
Step 2
Double click on on the installer and verify the field ‘I settle for the license settlement’. click on on ‘Set up’.
Step 3
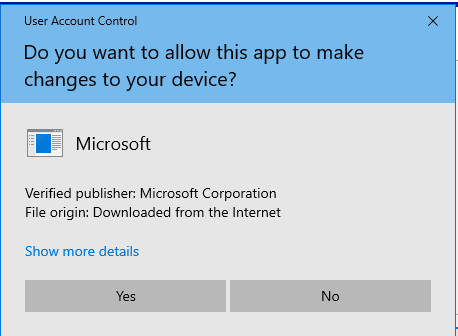
You is likely to be prompted with the message ‘Do you need to permit this app to make adjustments to your machine?’. Click on on ‘Sure’.
Step 4
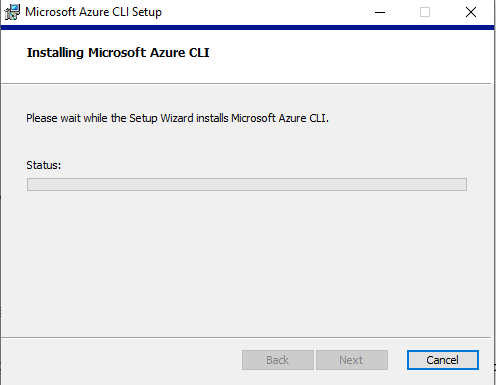
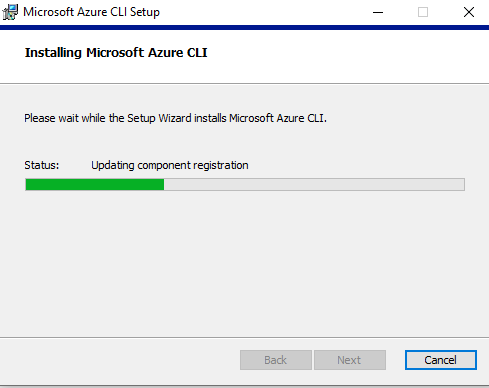
Anticipate the set up to finish. You ought to be getting beneath Pop-up with the standing.
Step 4
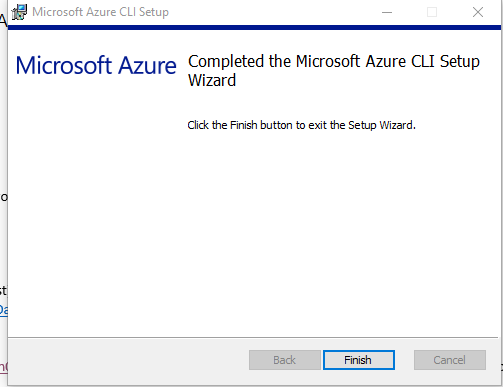
After profitable set up you have to be getting the next message, that the CLI set up is completed. Click on on ‘End’.
Step 5
Open the command immediate or Energy shell ISE to verify the model of CLI put in. right here I’m opening the command immediate and enter the next command.
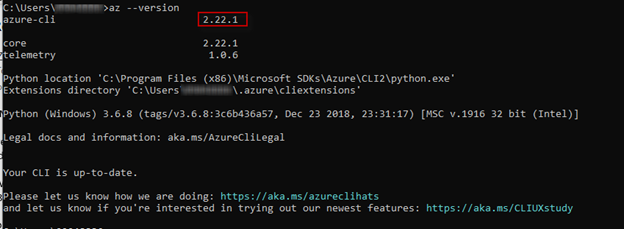
The most recent model is 2.22.1 as of this doc is printed.
Conclusion
Thus on this article, we have now seen what’s Azure CLI and the necessity for this CLI, and how one can set up newest model of CLI on home windows machine. For MAC and Linux machines, the command line set up is on the market. Please comply with the hyperlinks within the references part.
References


