Create Linux and Windows virtual machines in seconds on Azure :
Lets assume that you have created your free Azure Account, this article will help you create a VM on Azure with a free account or any visual studio subscription you have.
If you don’t have a account – Create one ASAP and get access to 12 months of free services.
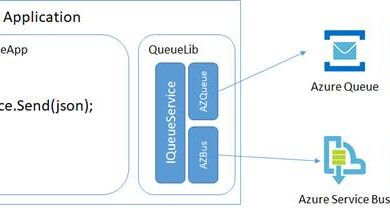
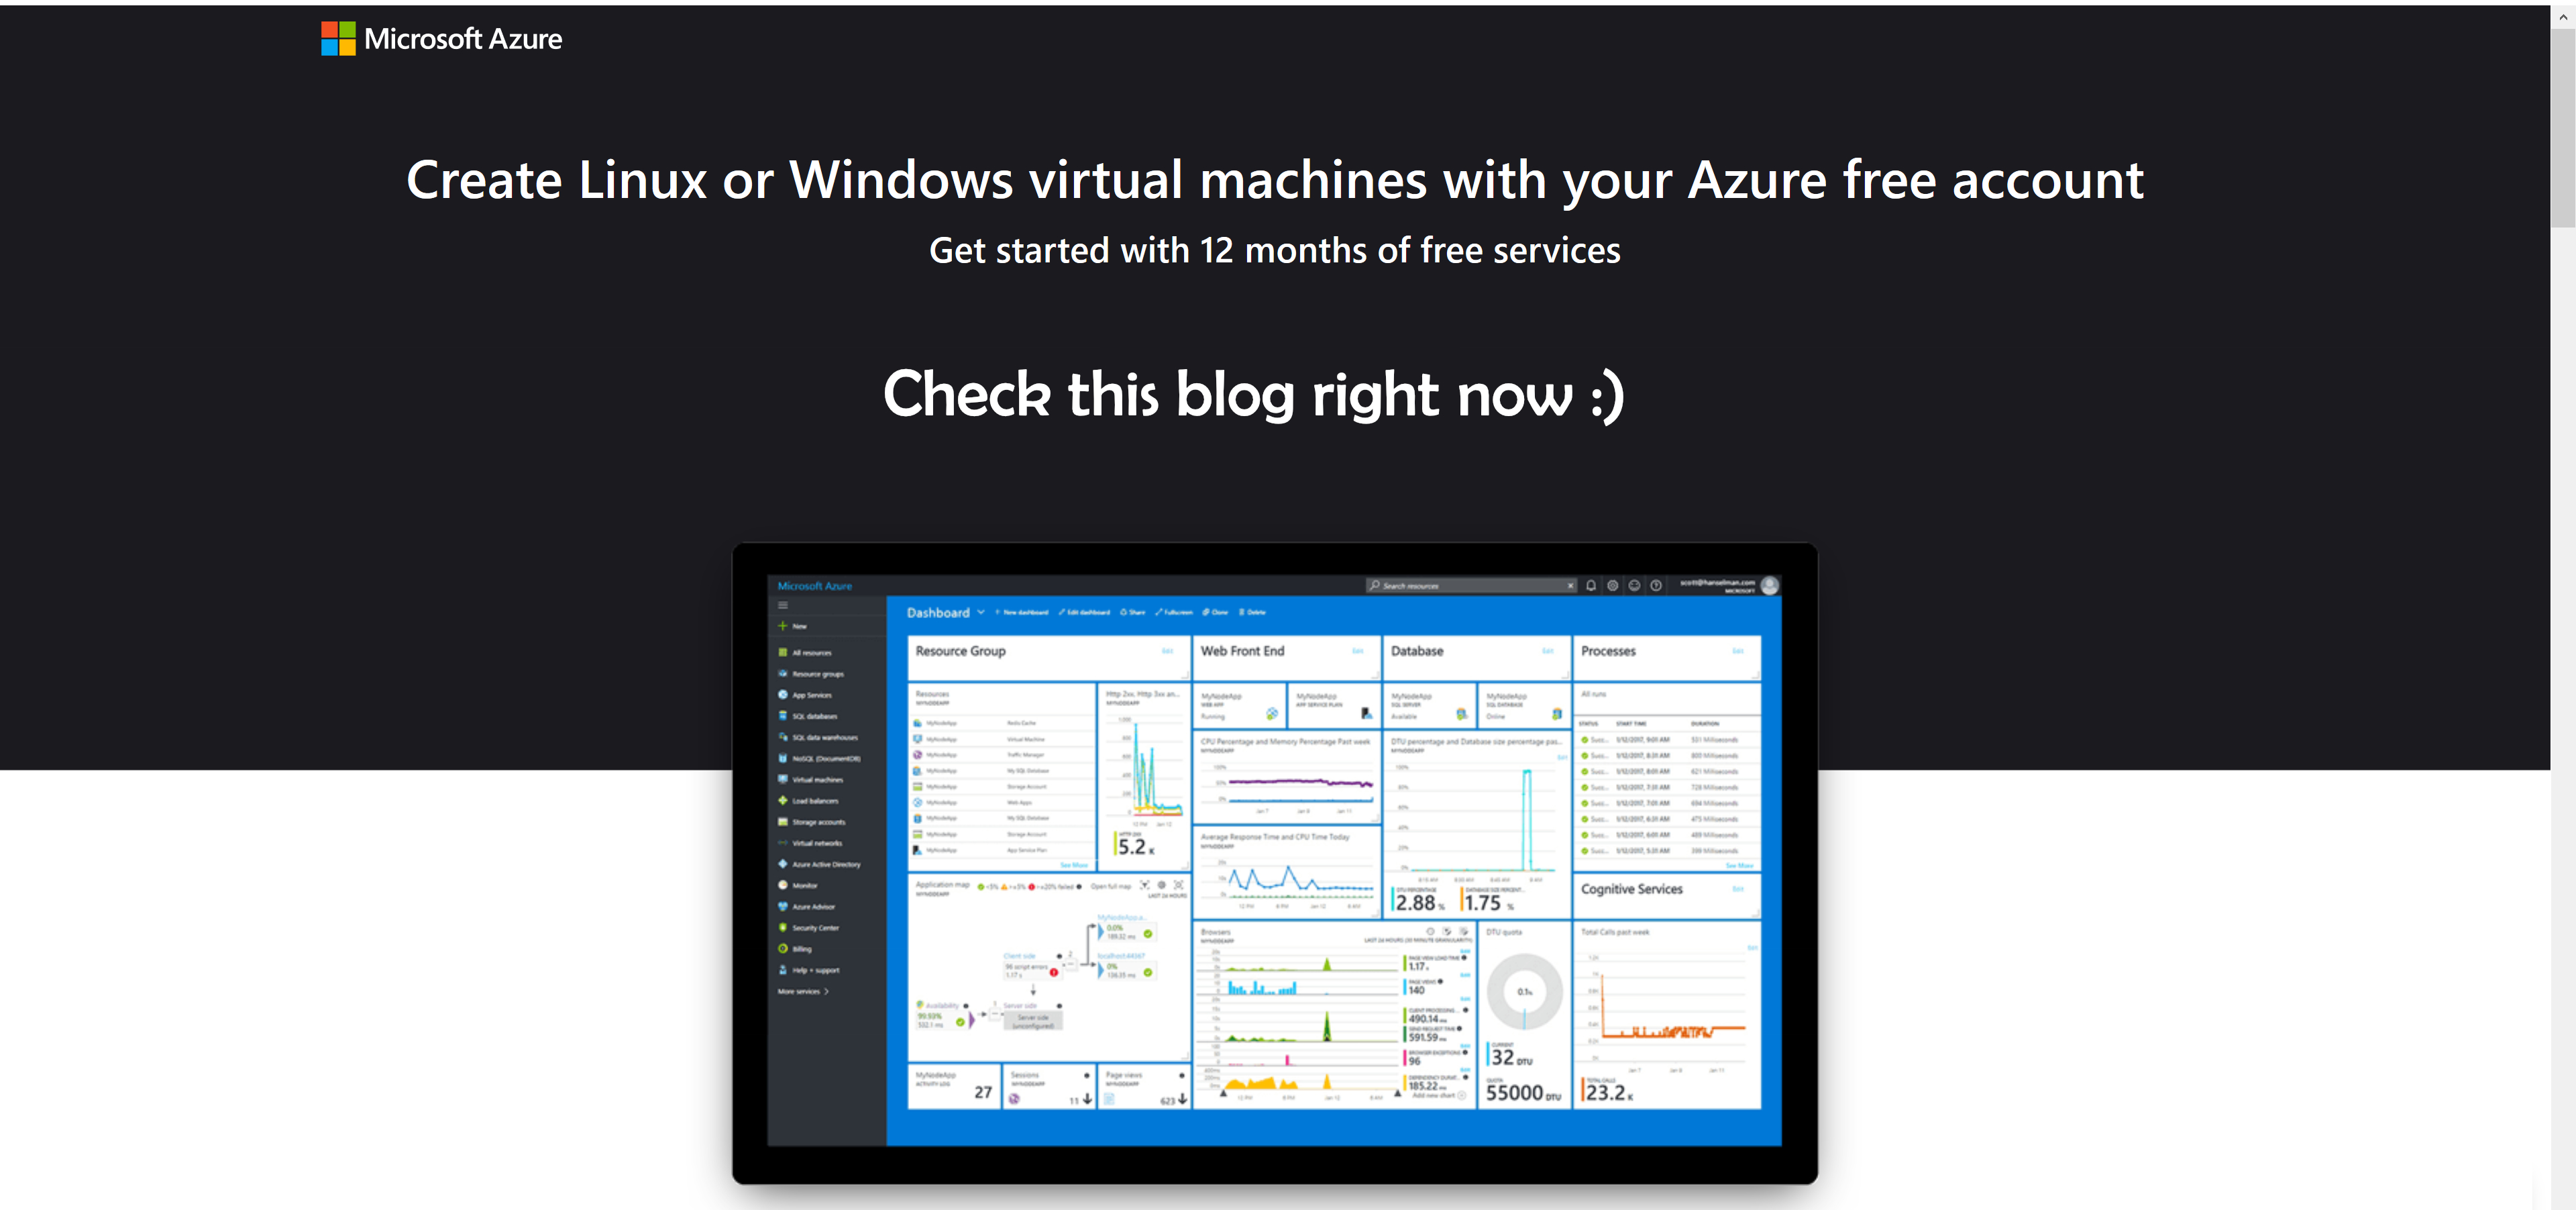
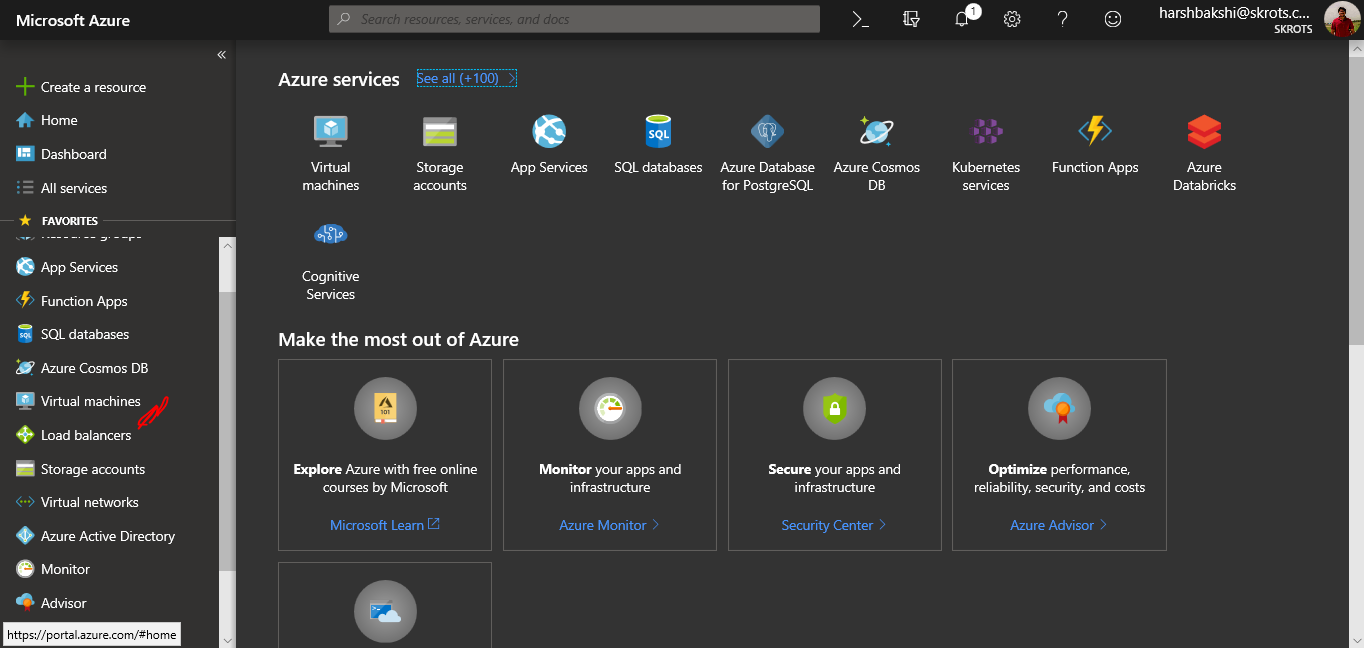
- Login to https://portal.azure.com and Sign-In with your account that you have. You must see the dashboard as shown below for the first time user, a regular user will have a different dashboard and can be customize
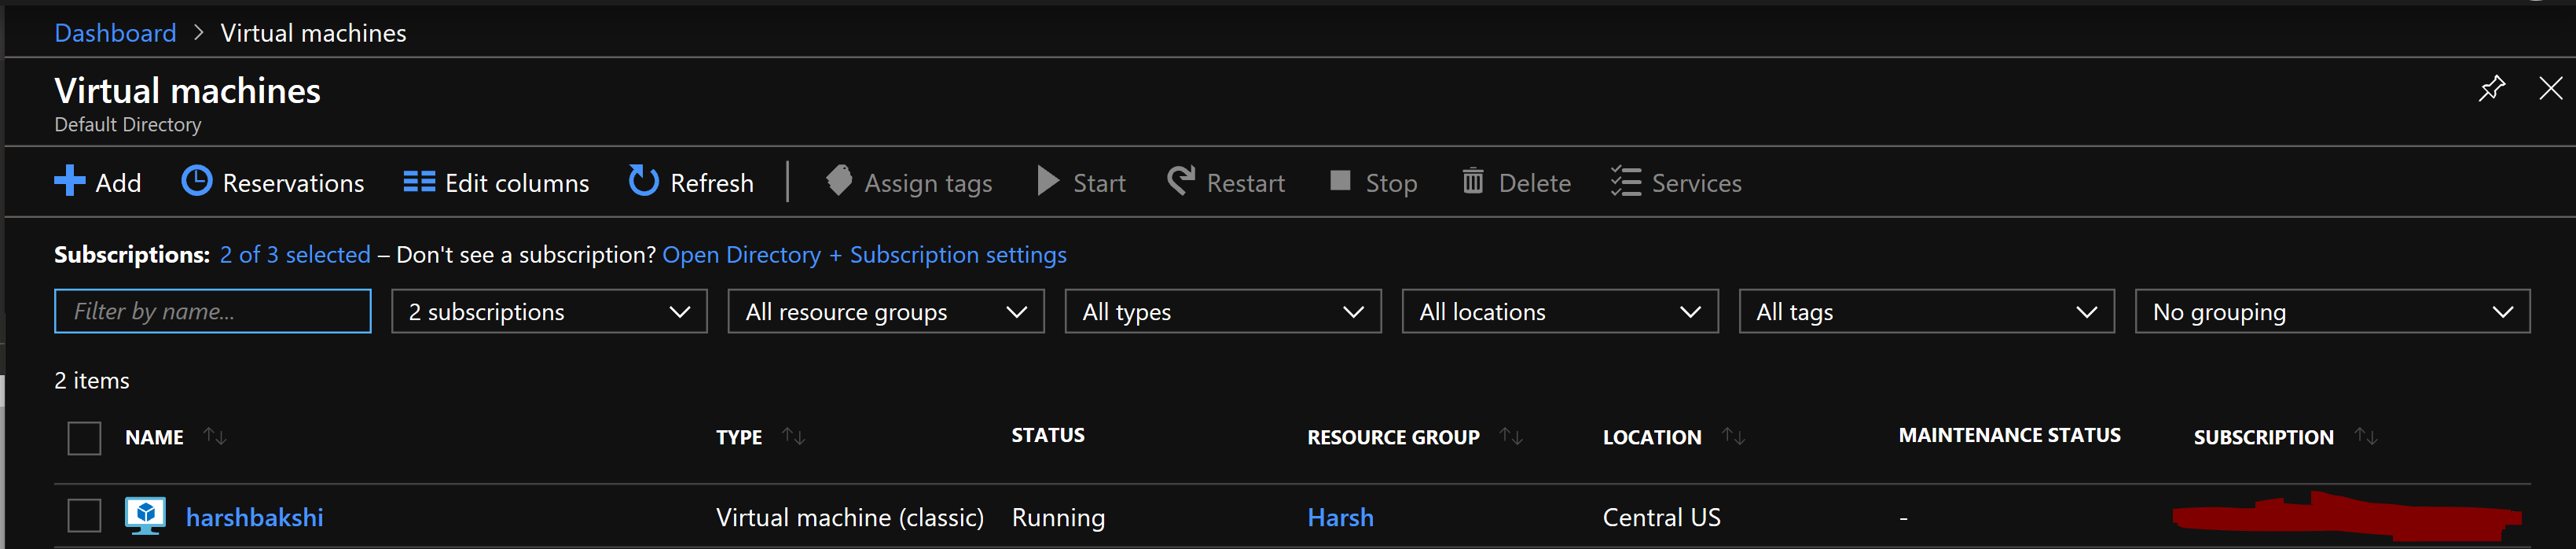
* Search for Vritual Machines on the left sidebar to open the VM Panel, Highlighted below
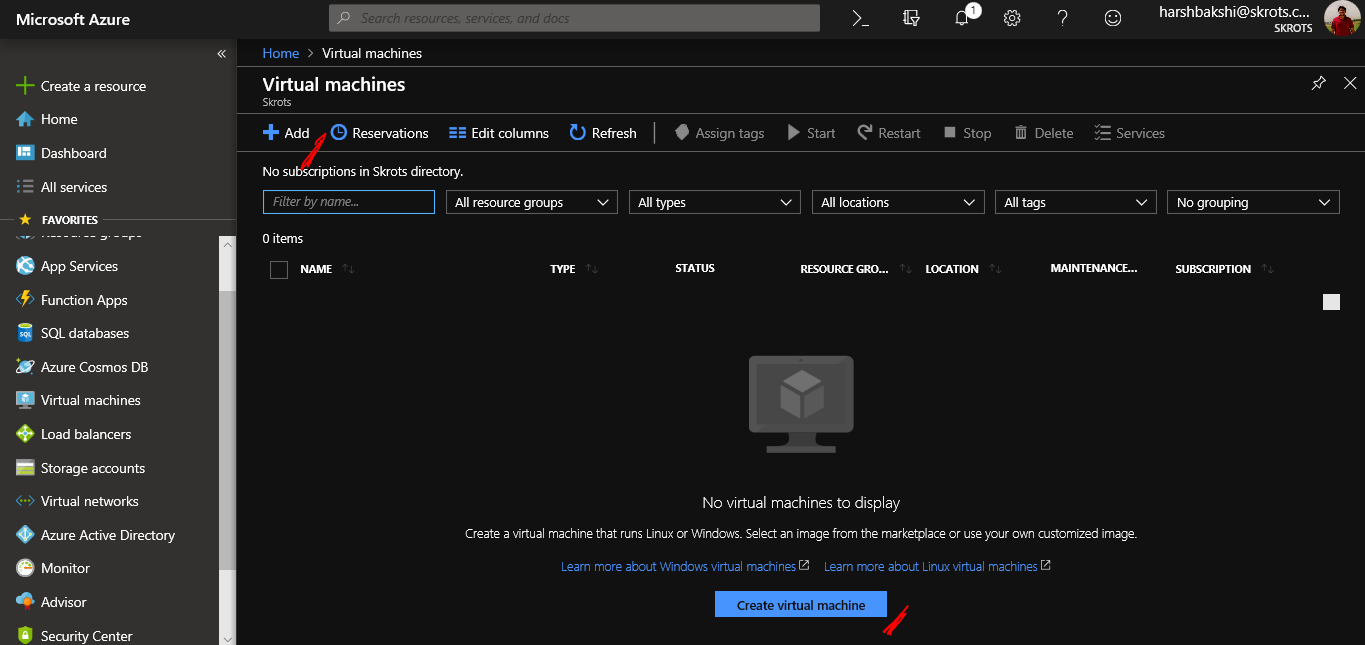
- Click on Add or Create New VM to start the process of creating the Virutal Machine.
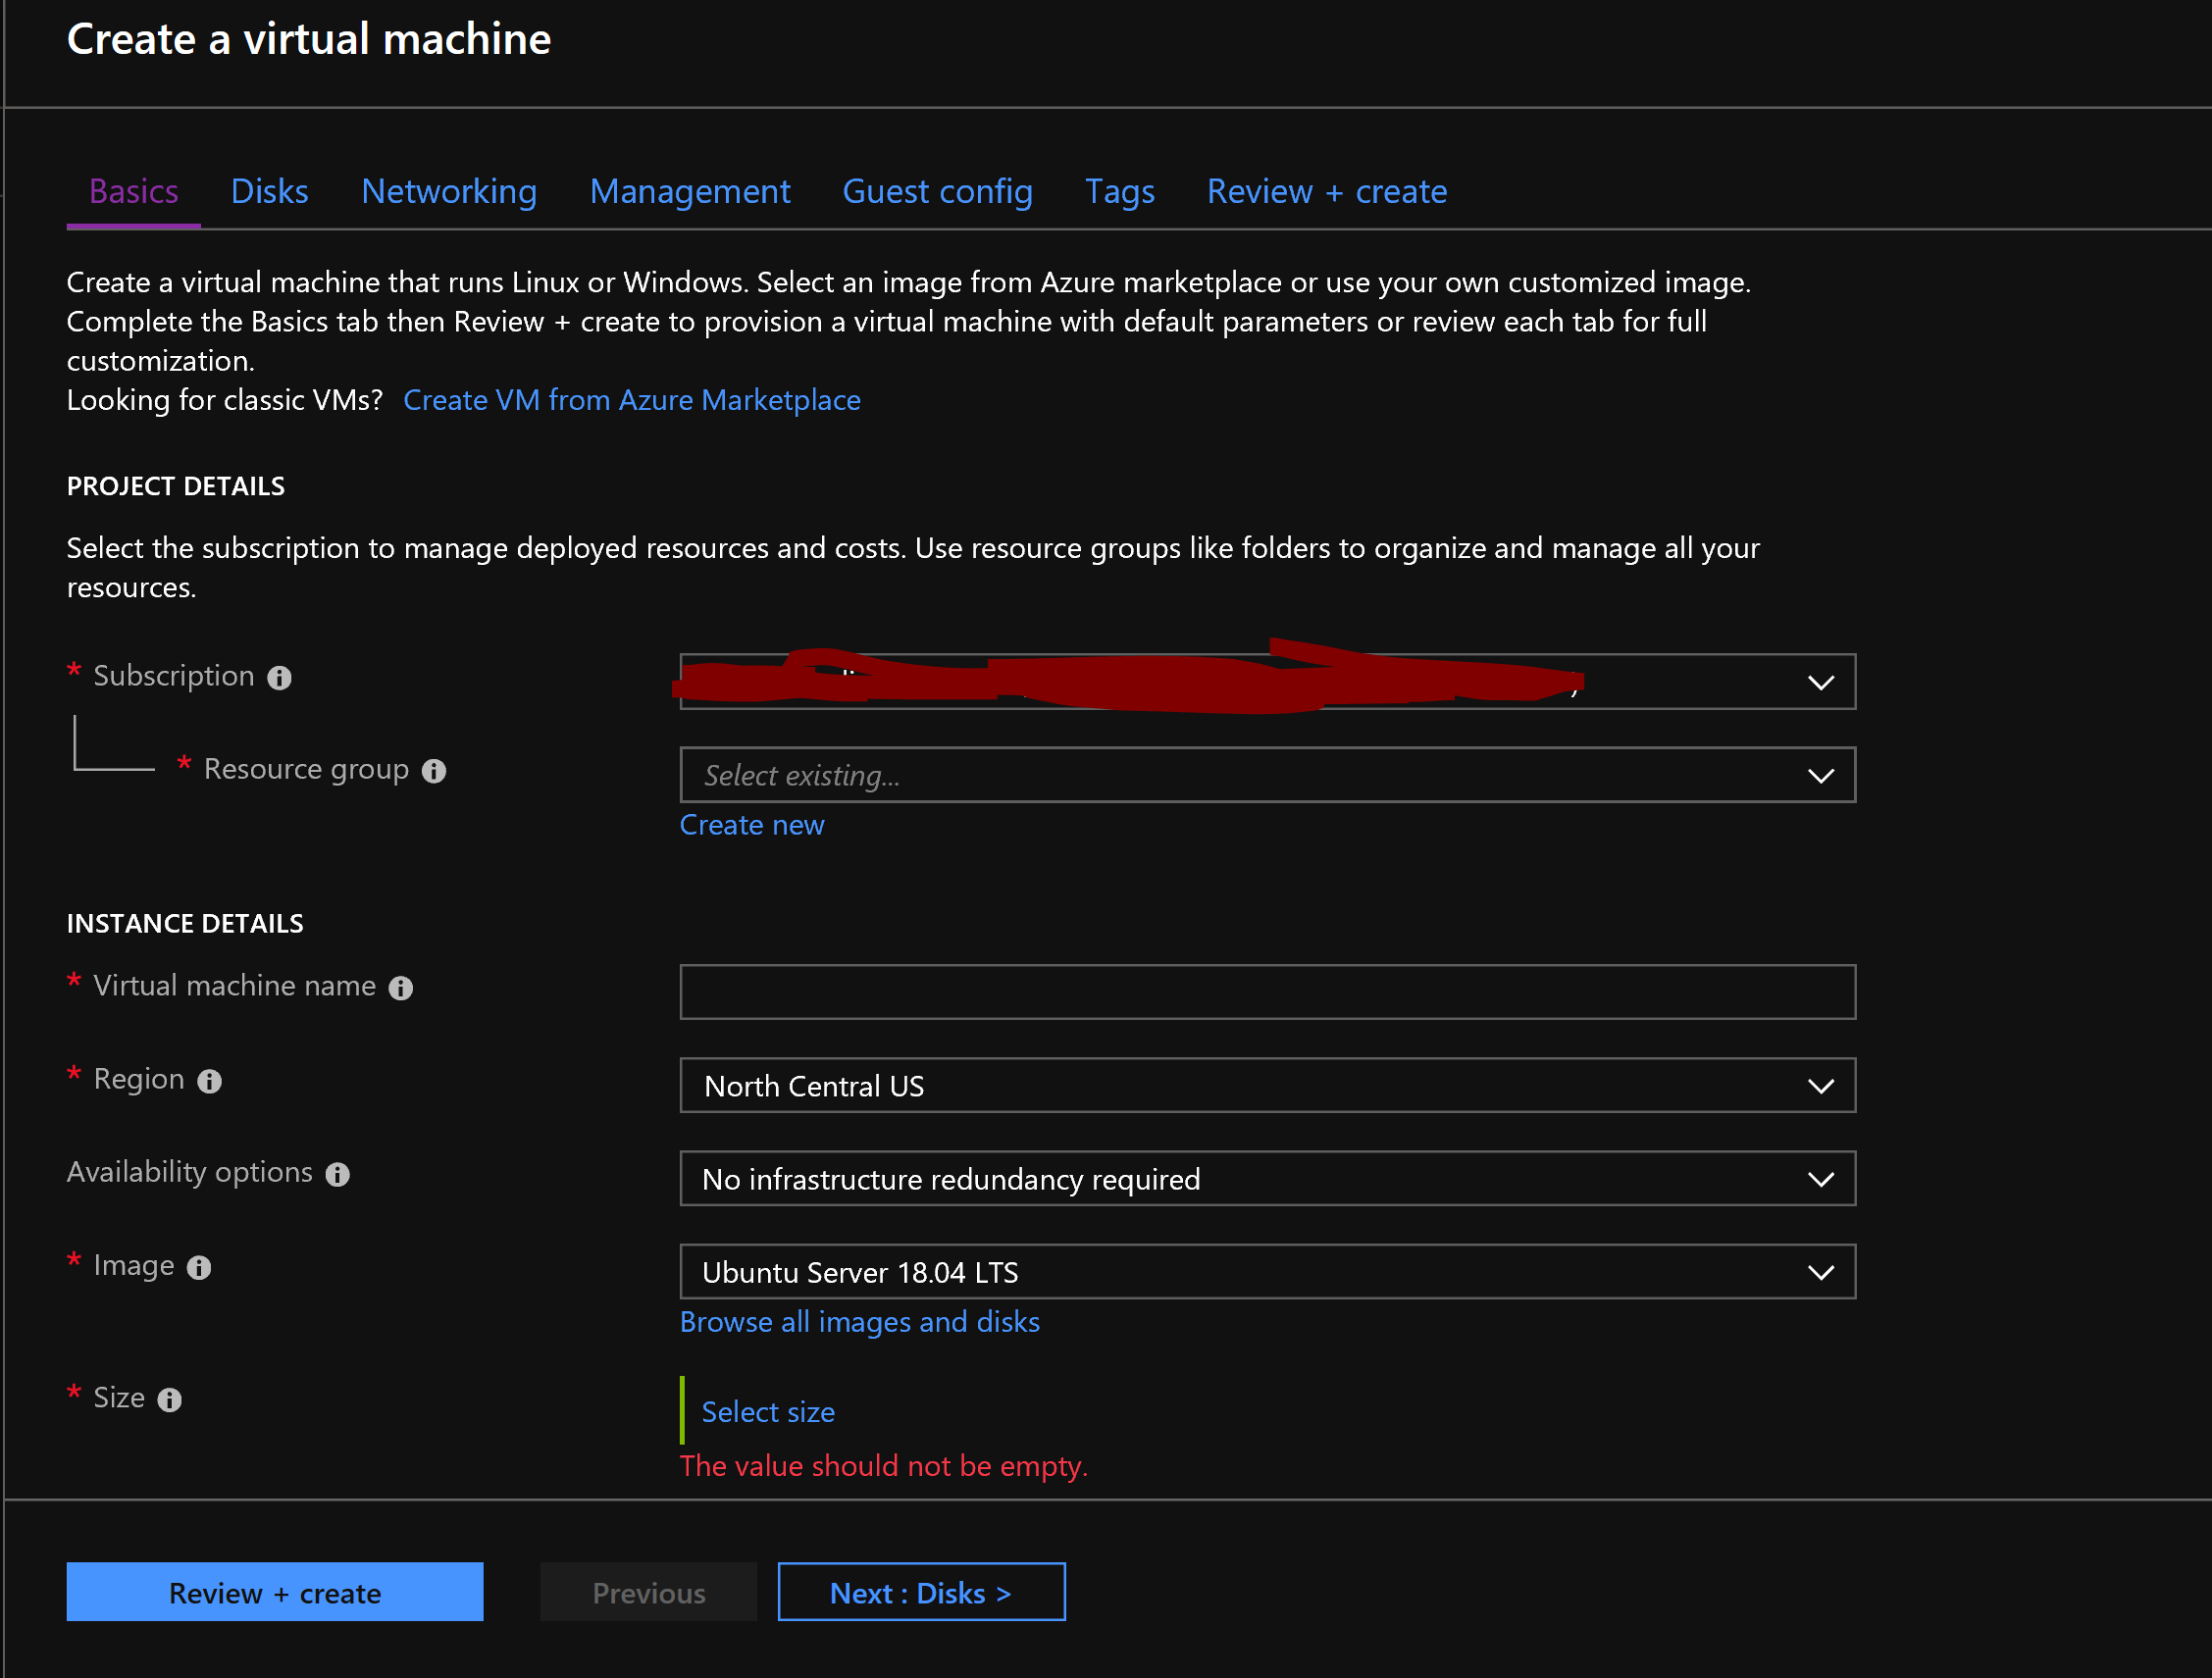
- Select the Subscription.
- Create a new Resource Group or Select a existing one.
- Give your VM a Name.
- Select the region where you want your VM to be hosted on.
- Select the OS Image Templates on Azure ( Linux or Windows )
- Select size of the VM.
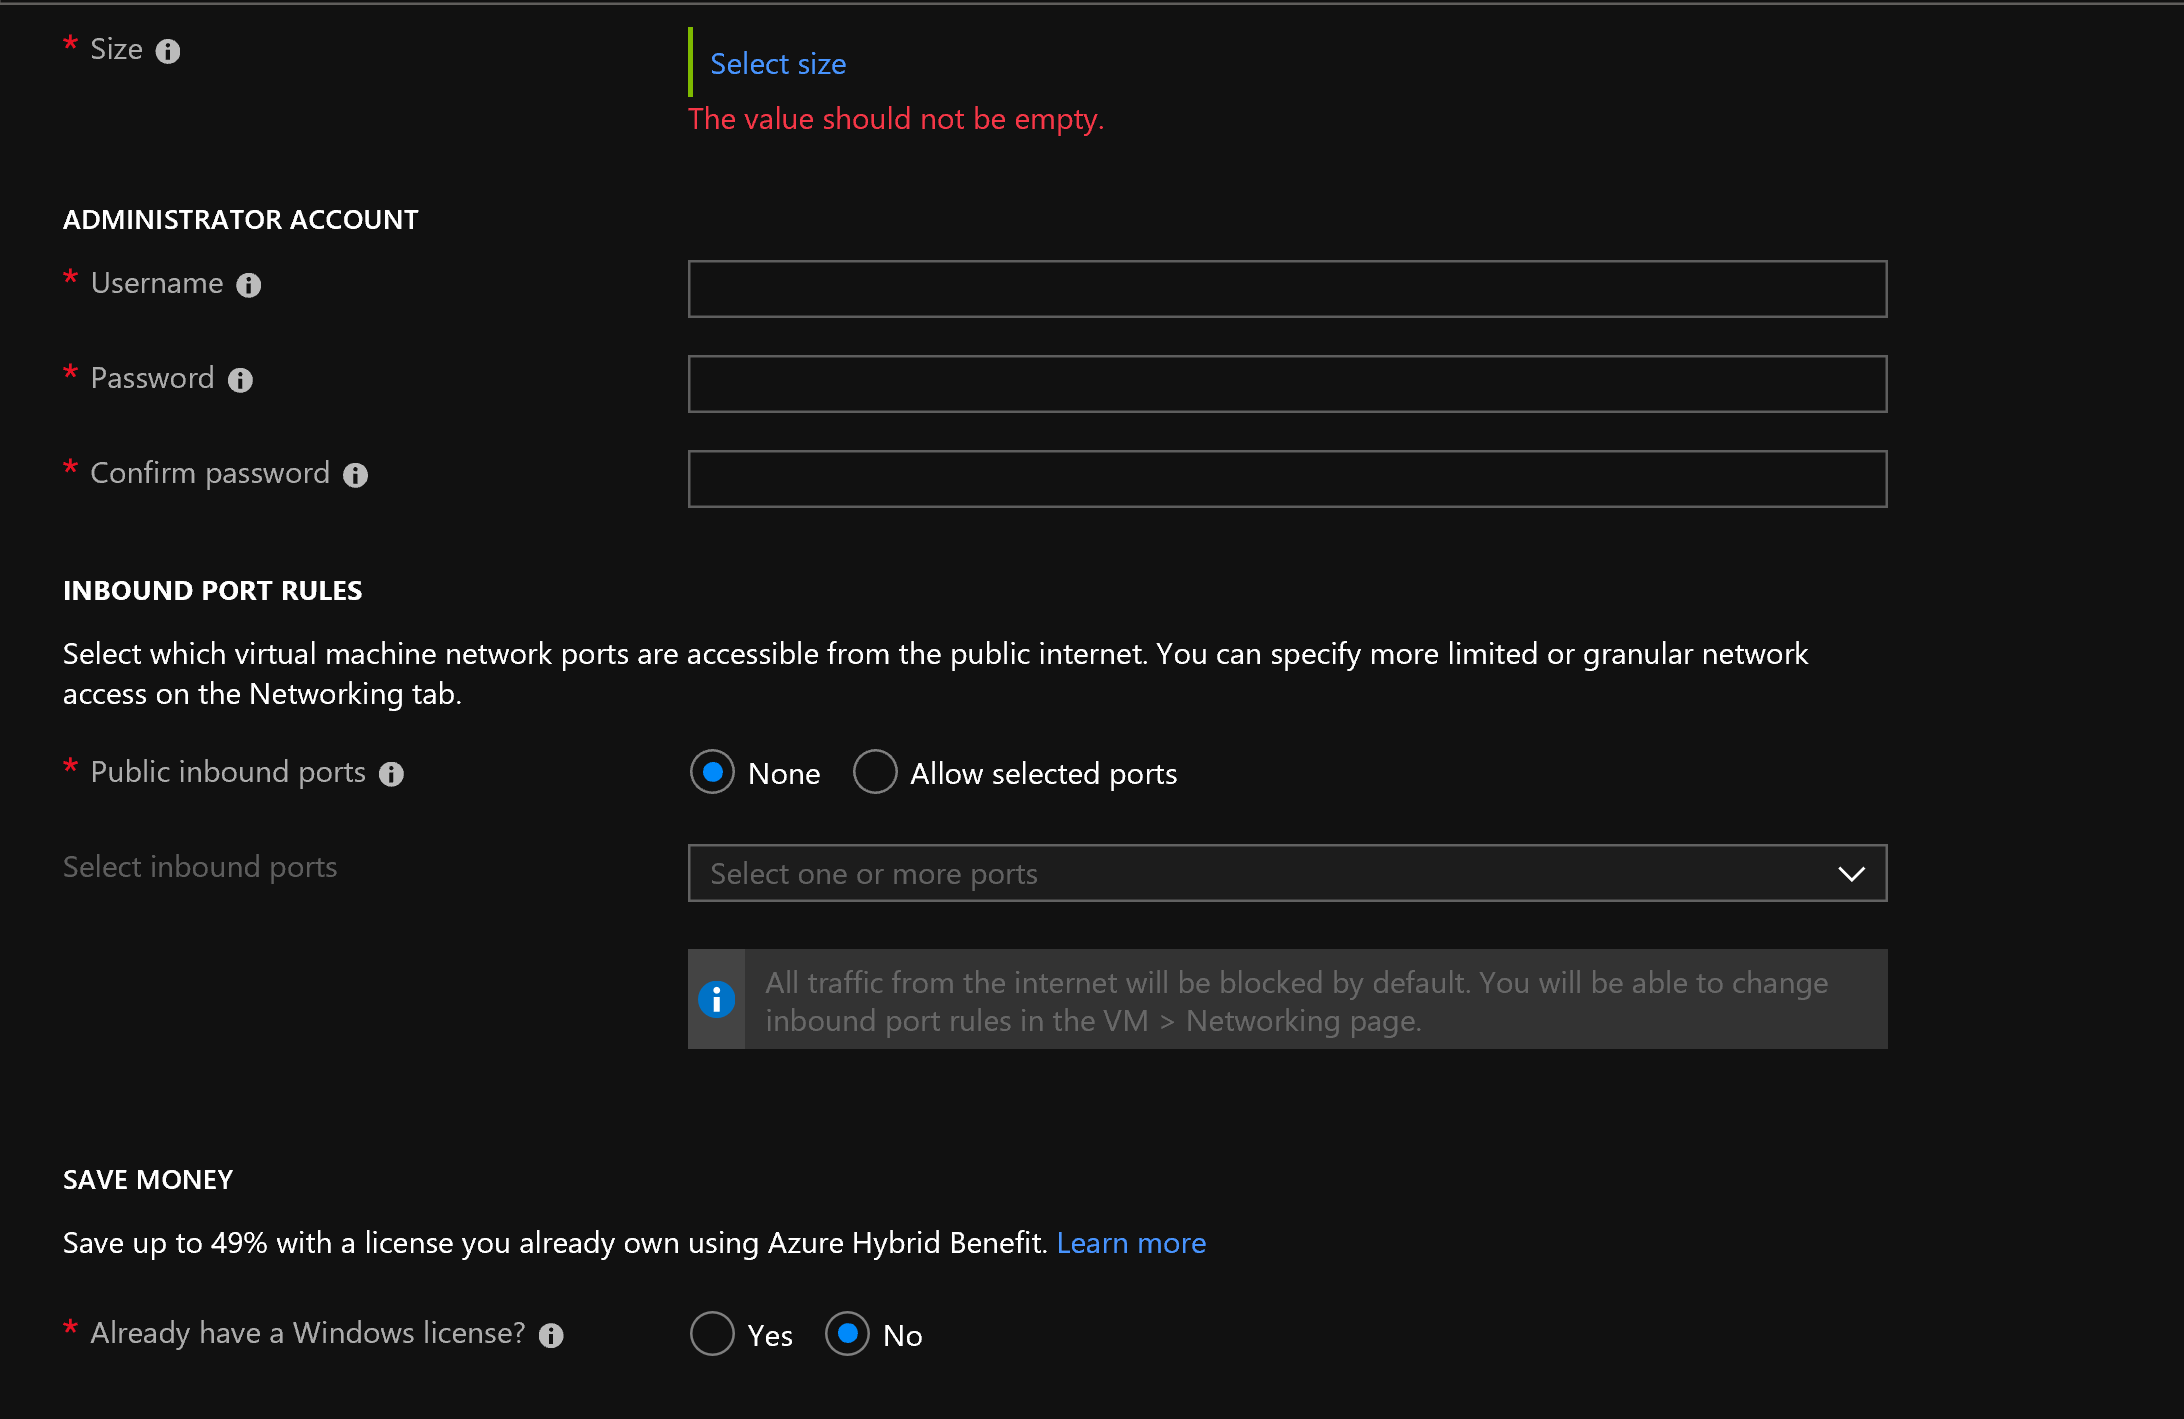
- Once you have selected a size according to the price, you need to define the admin credentials.
- Setup the “Username & Password” for the admin account, NOTE: This will be your login credentials to the vm using Remote Desktop Connection.
- In case you want to limit the network ports, you can certainly add them by selecting “Allow Selected Ports” and add them.
- In case you have a Windows Licence, you can save up some money on the VM.
- Once you have done filling these data, click on Next.
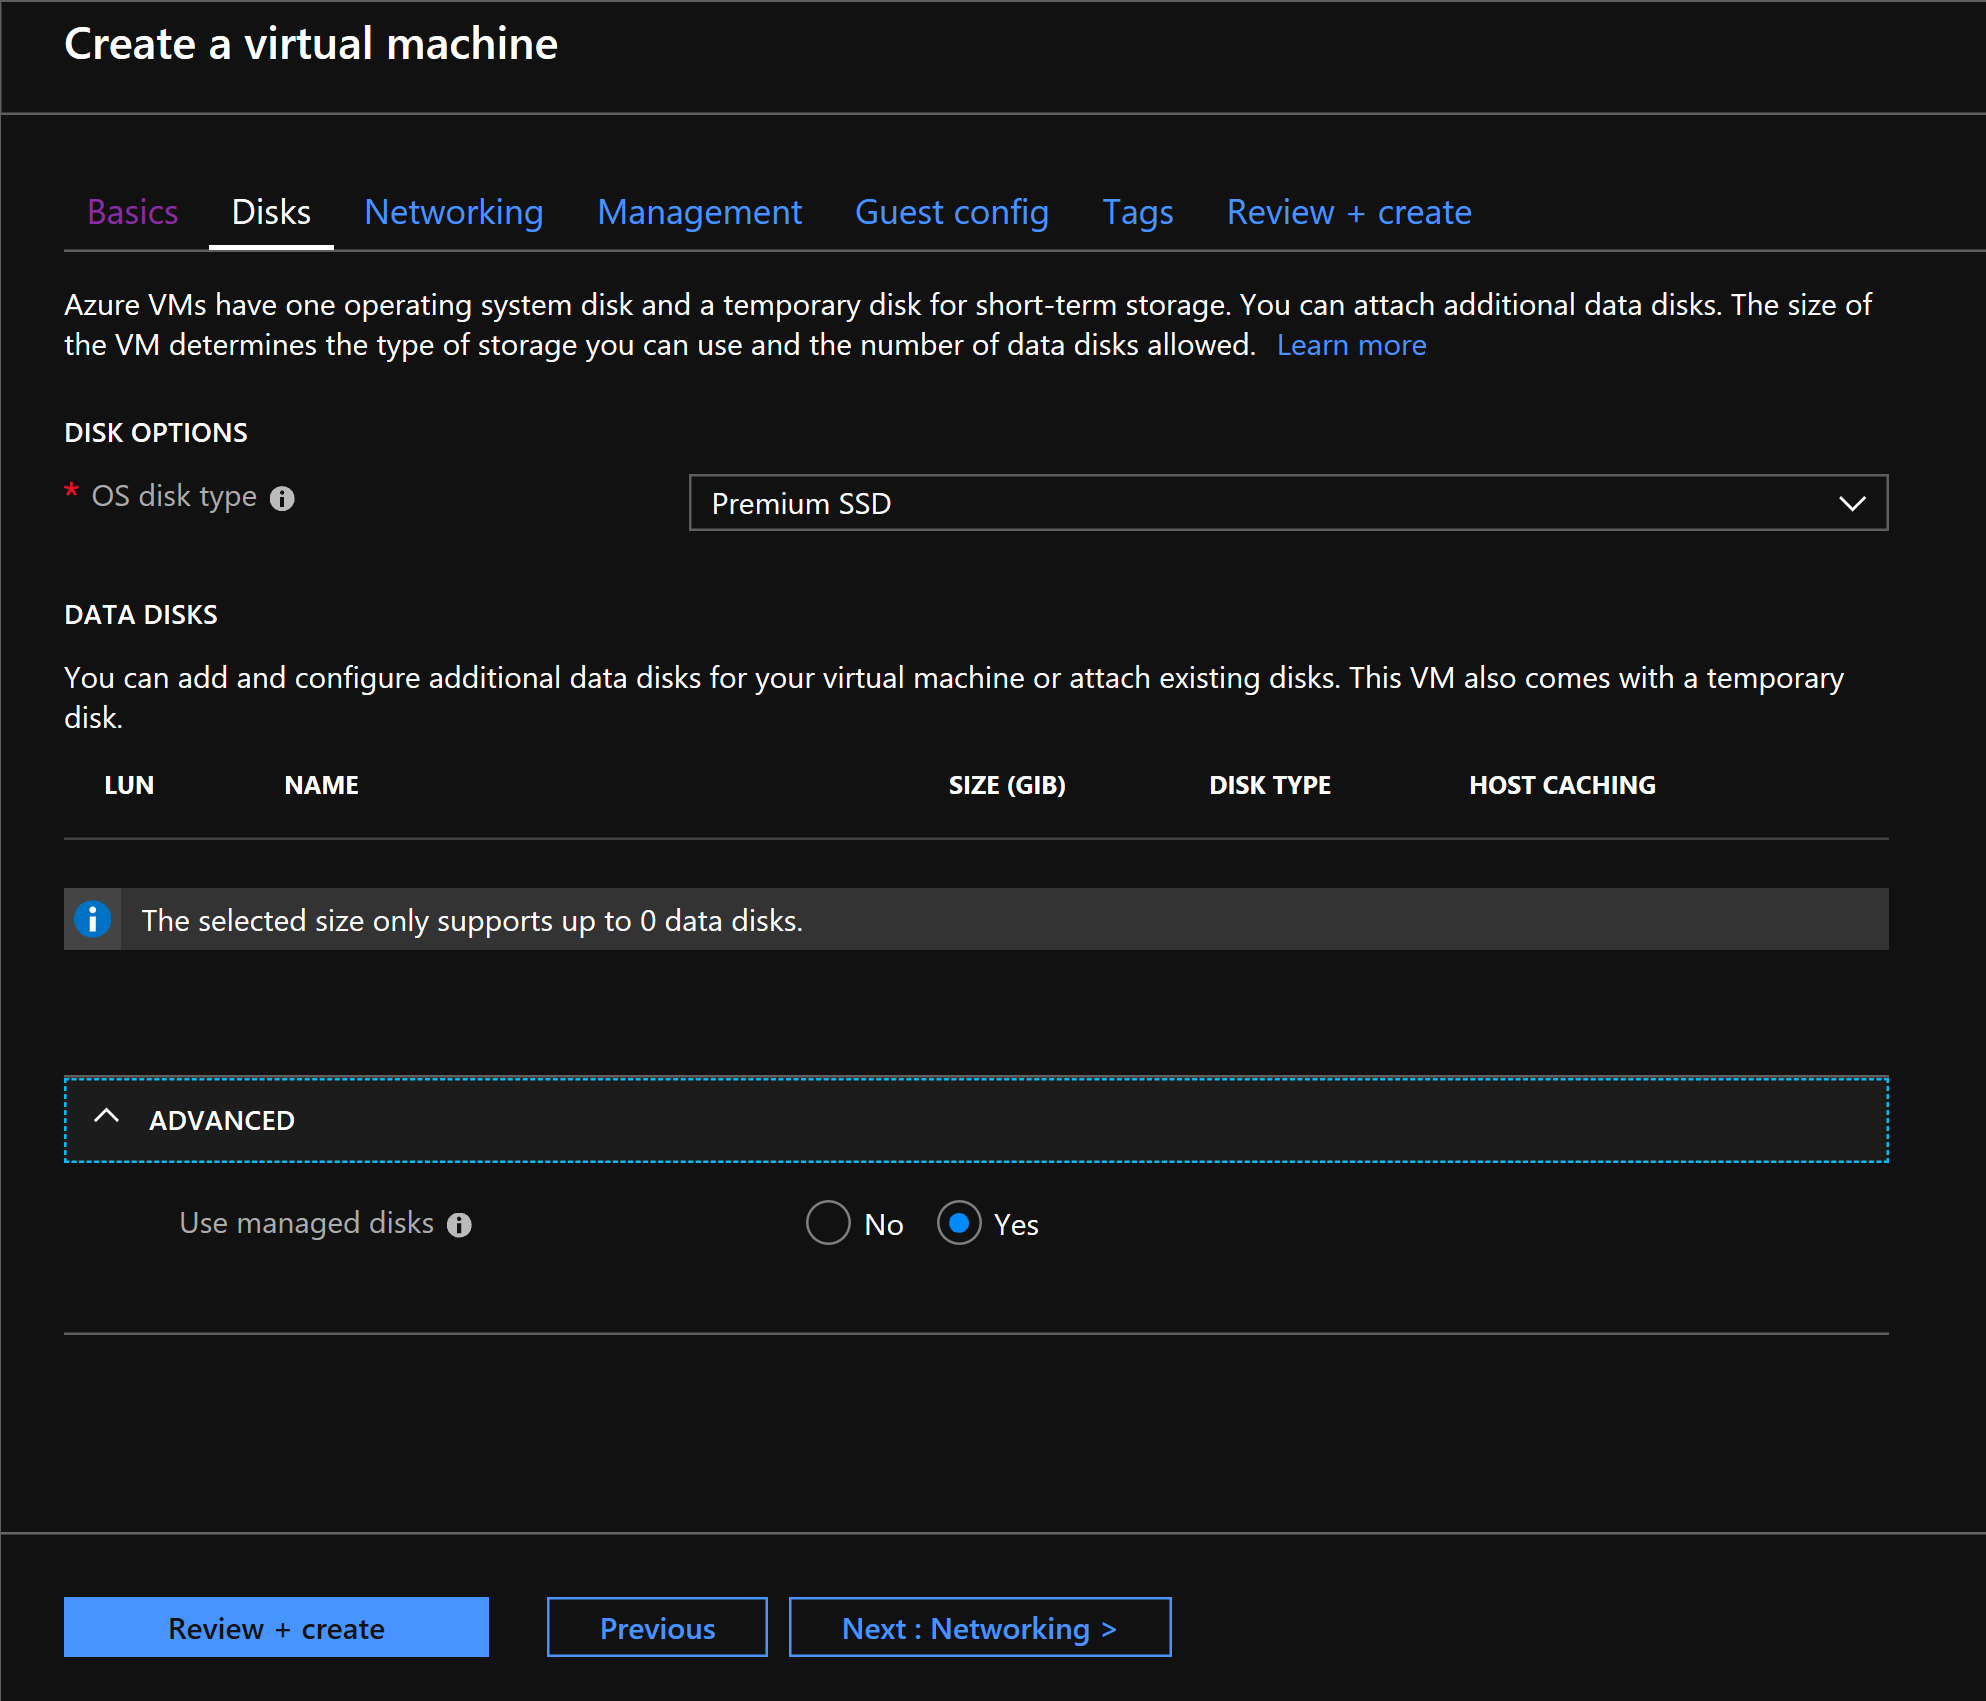
- Select a “Disk Type” and click Next to continue.
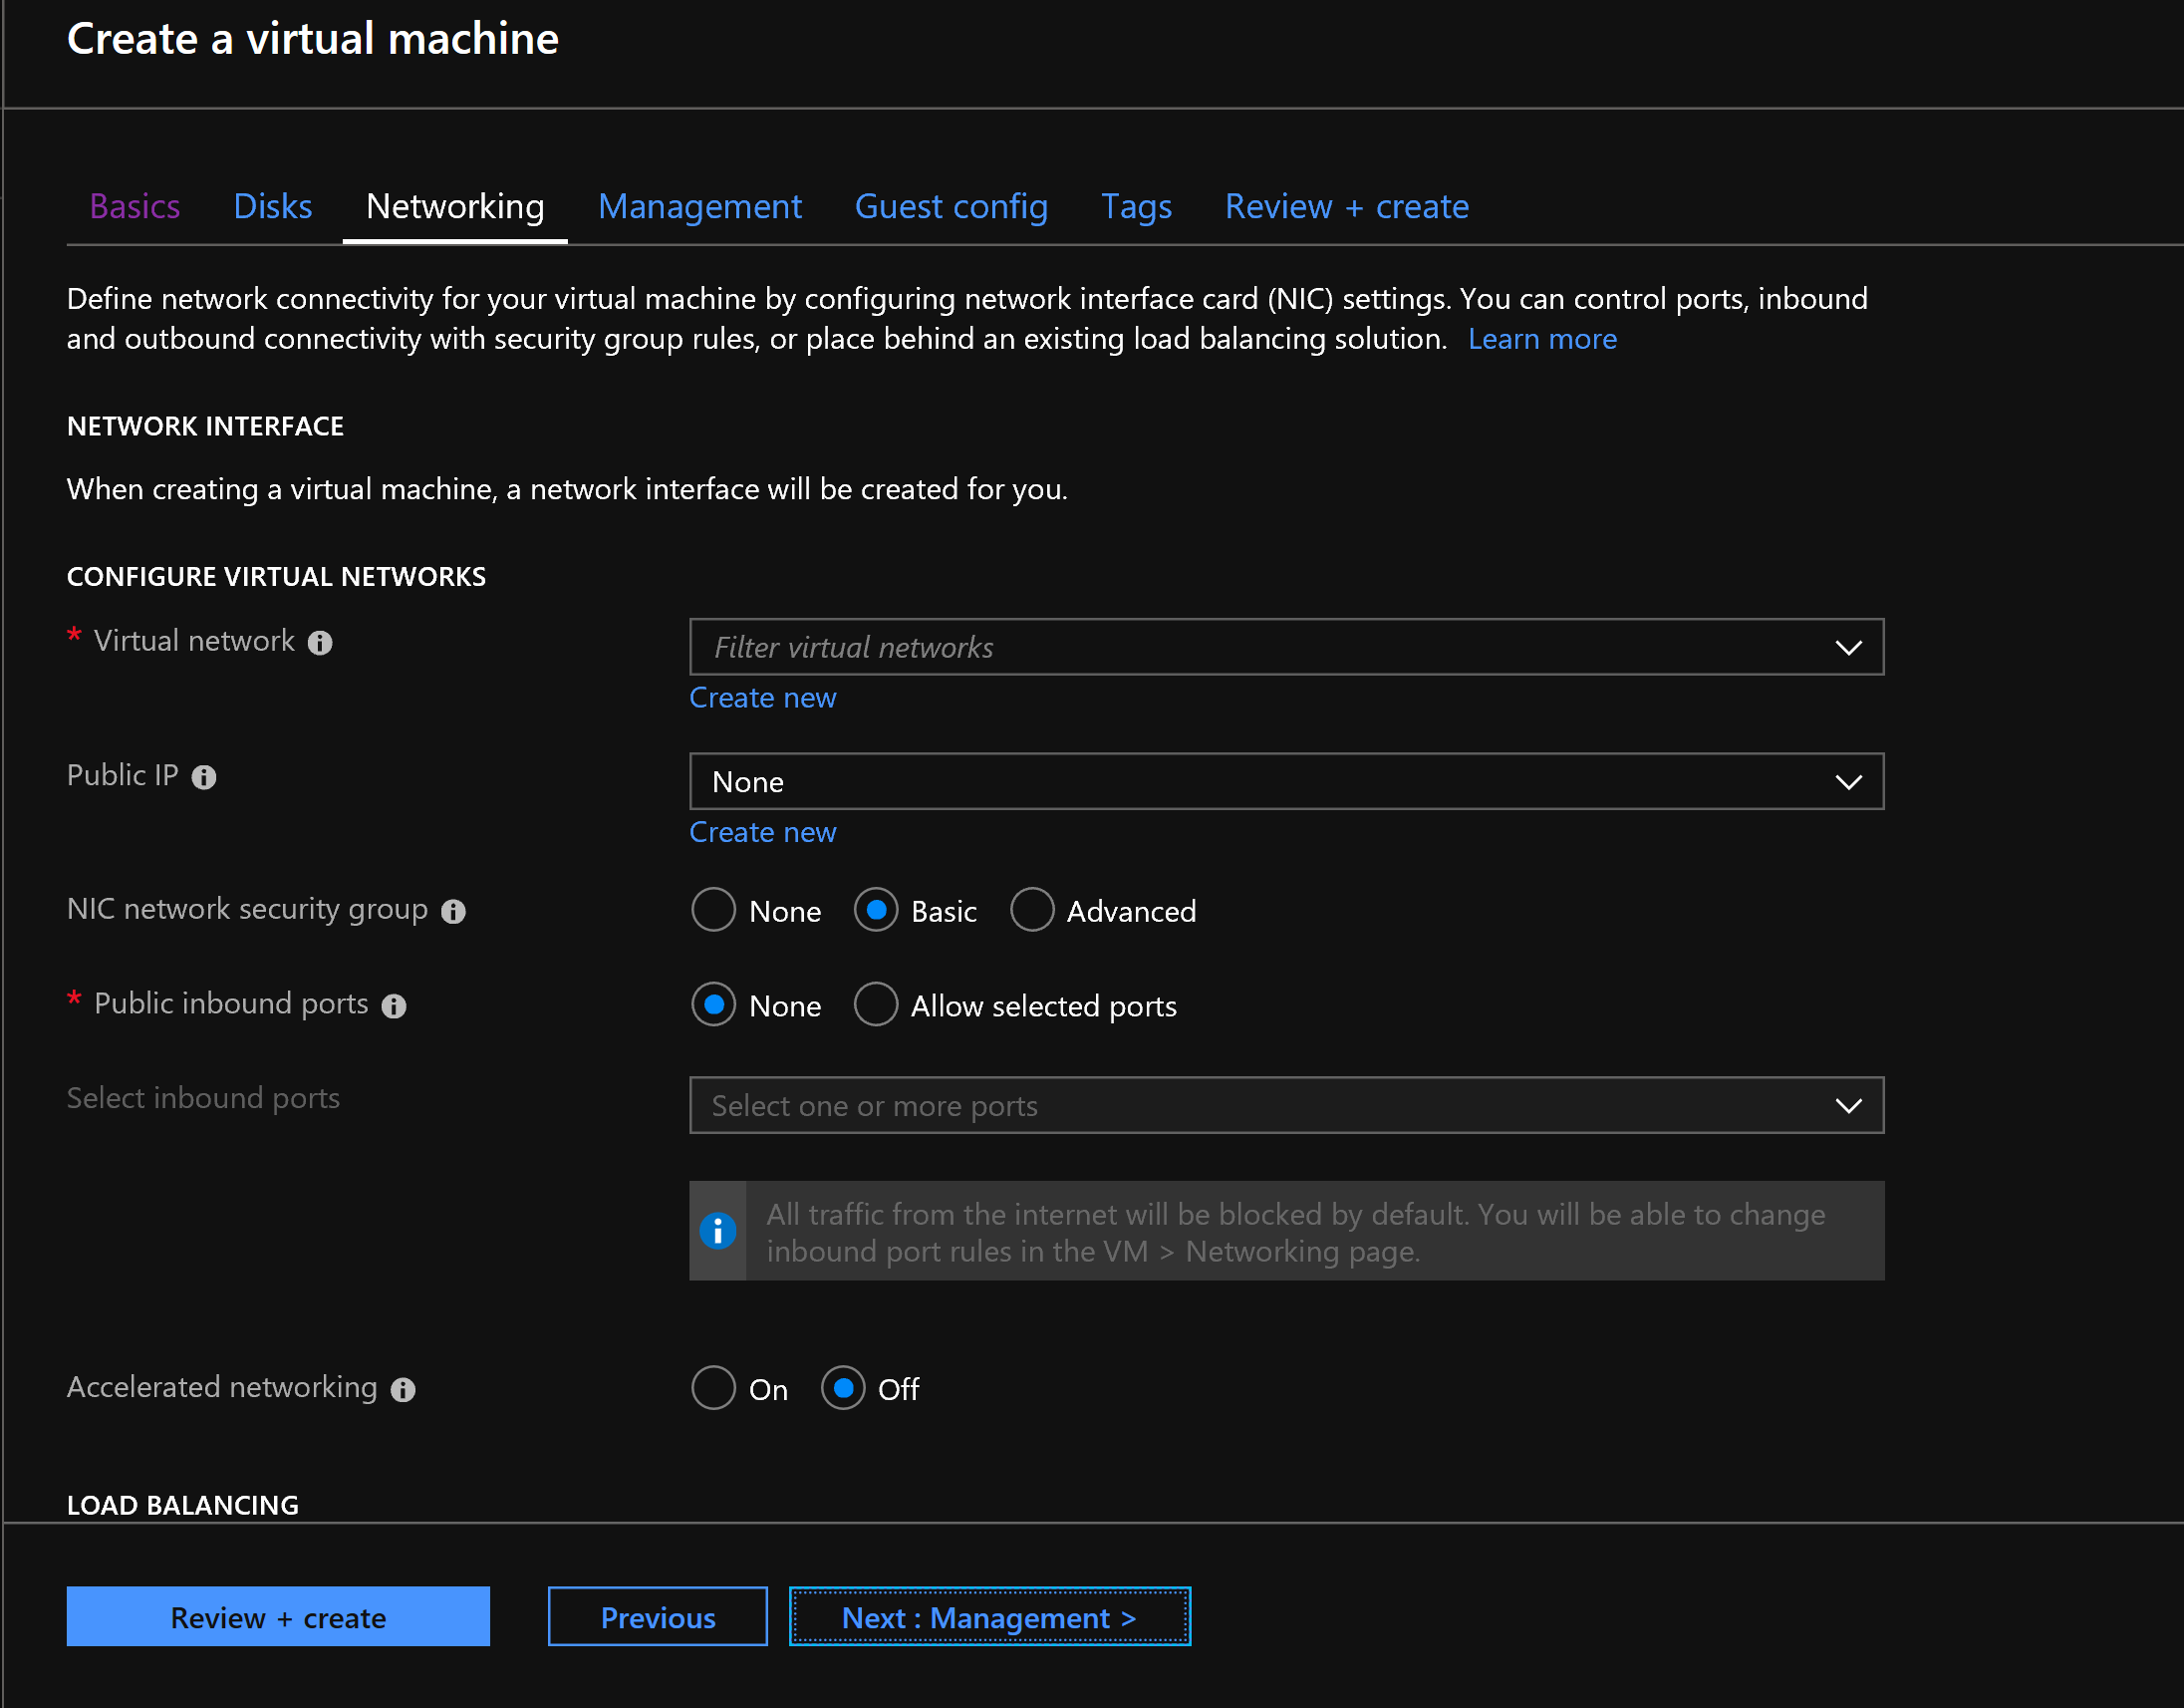
- You need to Create a Virtual Network or Select a existing network.
- In case you may want to access the VM using a IP Address which is not changing for the network, that can be set up using the public IP, you need to create a new one or select an existing.
- Once done, Click Next to continue.
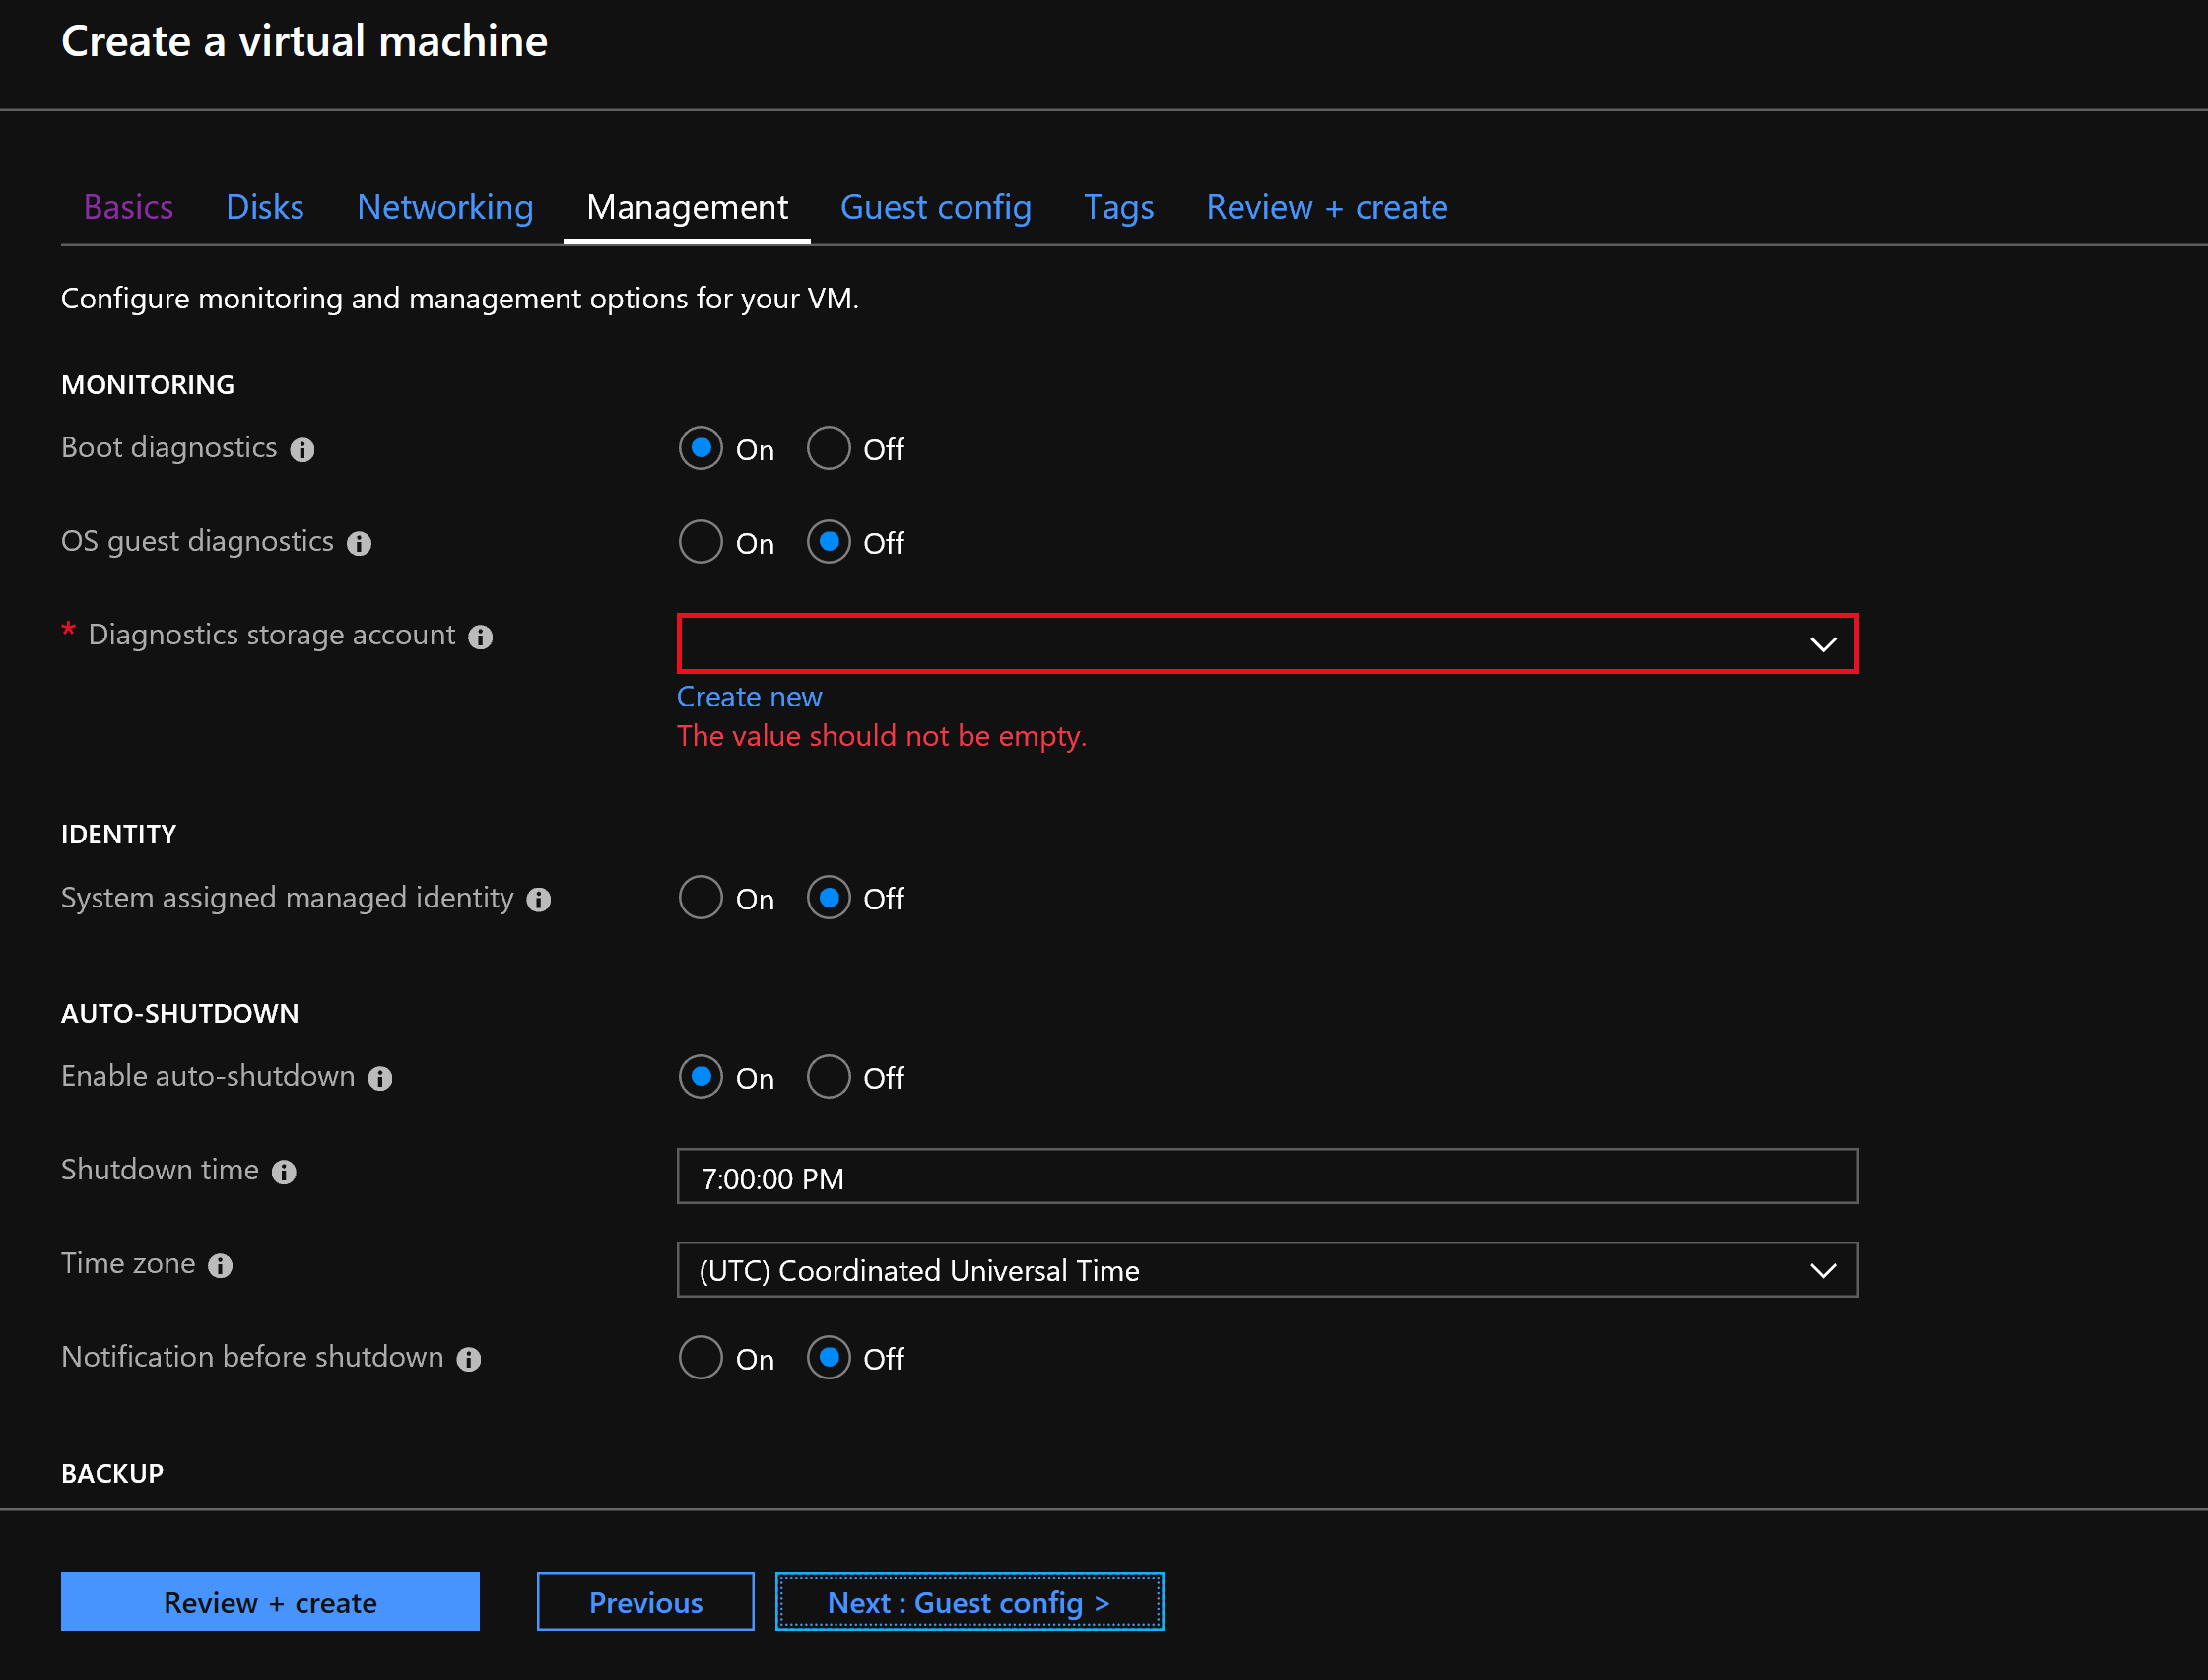
- You can set up the monitoring of the VM you are going to create from the “Management Tab”.
- A Diagnostics storage account is Mandatory for creating a VM, Create a new account or Select an existing.
- Once done, Click Next to continue.
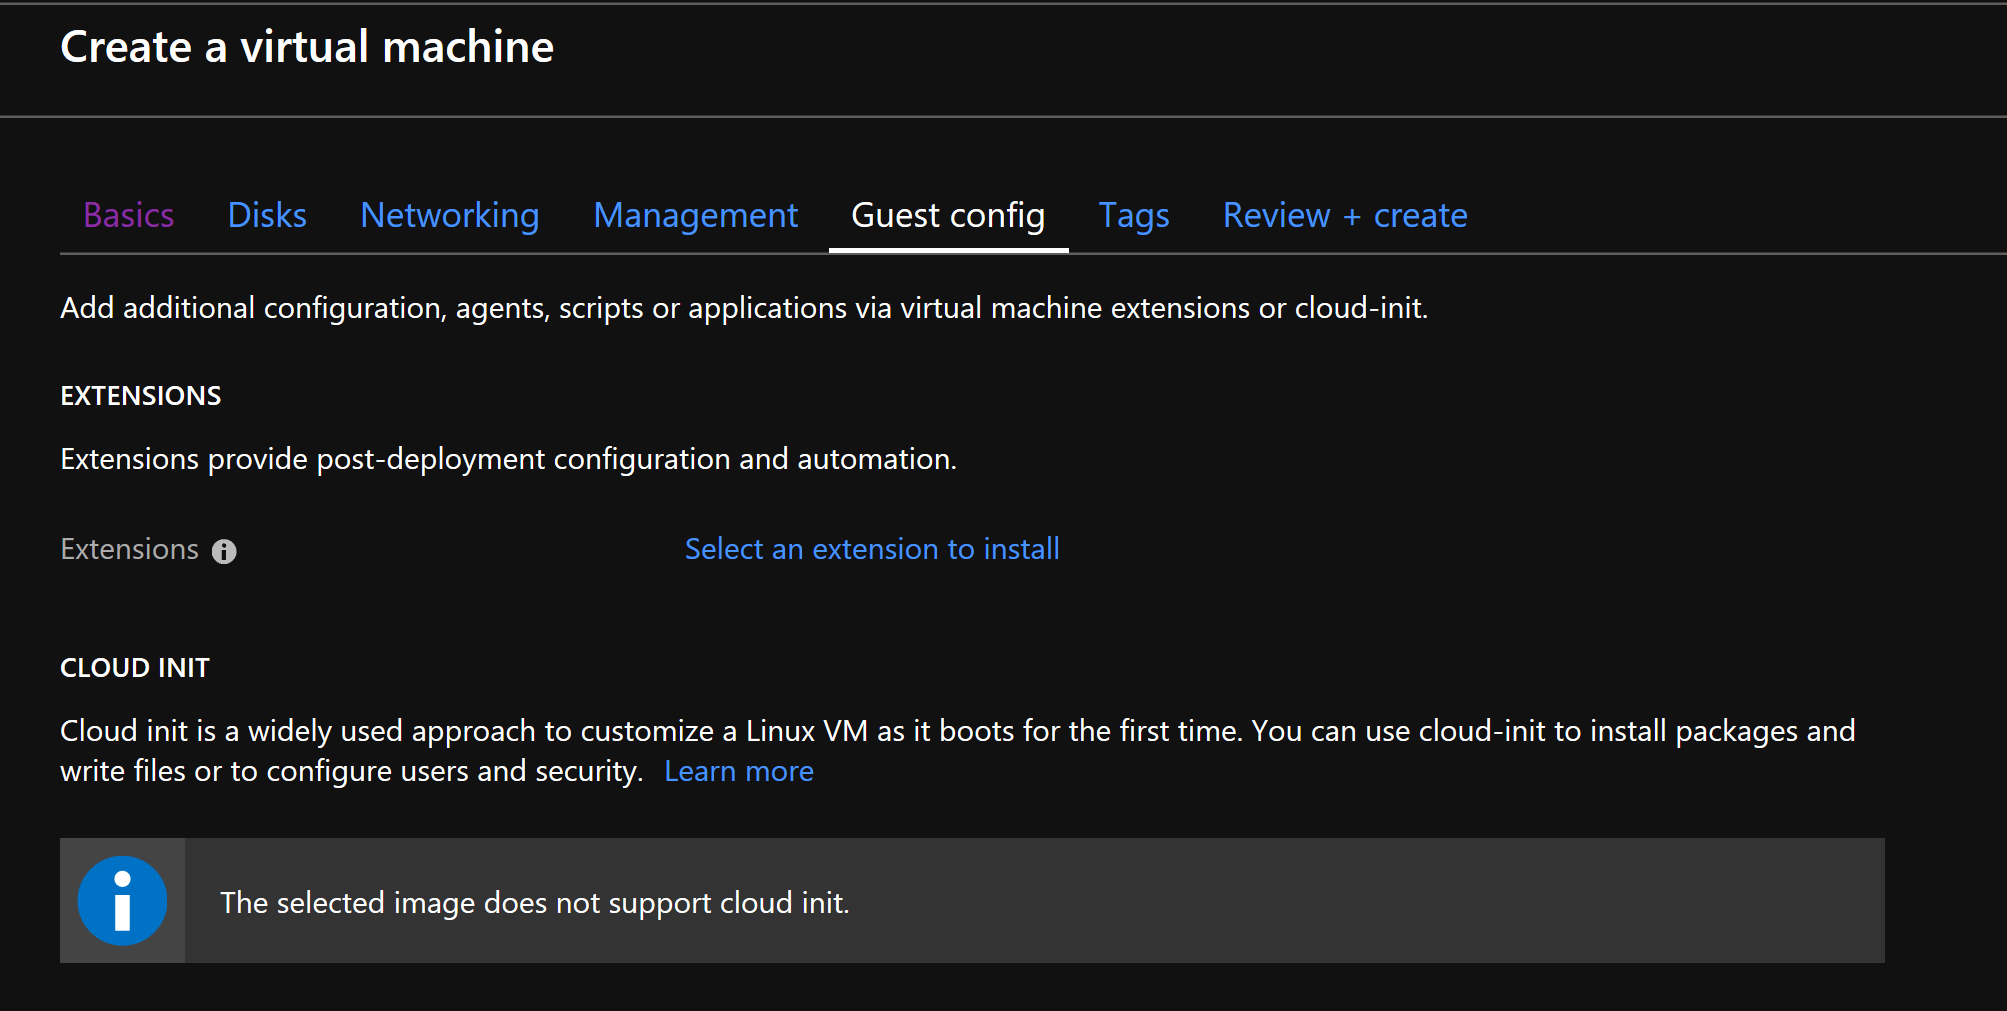
- Any Additional configurations, agents, scripts can be added to VM via Virutal Machine Extentions from this Guest config and Tags Tab.
- Once done, Click Next to continue.
- Lets go to “Review + Create“.
- Review the given data, User credentials, IP, Resource group and then hit Create.
- After 3-5 mins, the Virtual Machine is set up, and you can find that in the Virtual machine Tab.
Hooray!! You have finally learned how to create a Virutal Machine on Azure.
Hope this helps! 🙂