[*]
Introduction
Azure CLI is a cross-platform command-line expertise for managing numerous Azure assets.
On this article, we’ll focus on step-by-step to create an Azure useful resource group, create and replace storage account, create a container, add and obtain blob, and lots of extra operations utilizing Azure CLI.
Conditions
- It’s best to have an Azure account with an energetic subscription. Should you don’t have one, please go forward and create it. It’s free.
- Primary understating of Azure storage account.
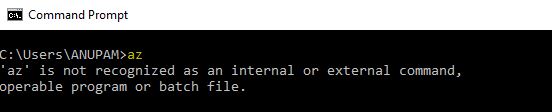
- Azure CLI put in in your PC. To test that, open Command Immediate and sort az. Should you see the under display, it means it’s not put in. Please go forward and obtain and set up from right here.
Let’s start…
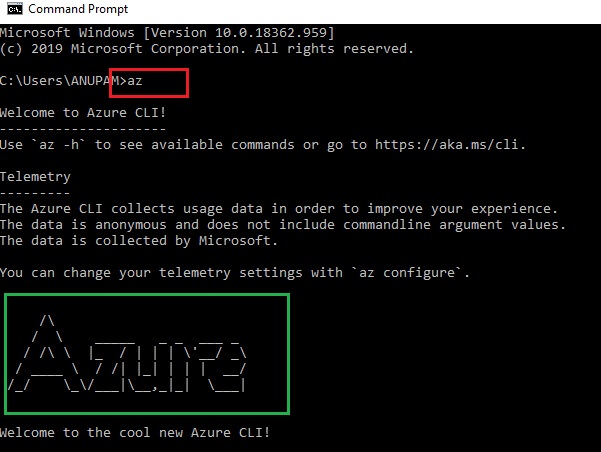
Open Command Immediate and test if Azure CLI is correctly put in or not through the use of the az command.
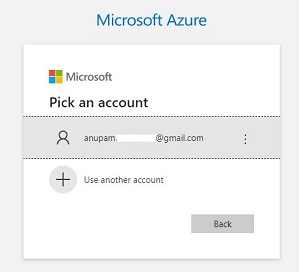
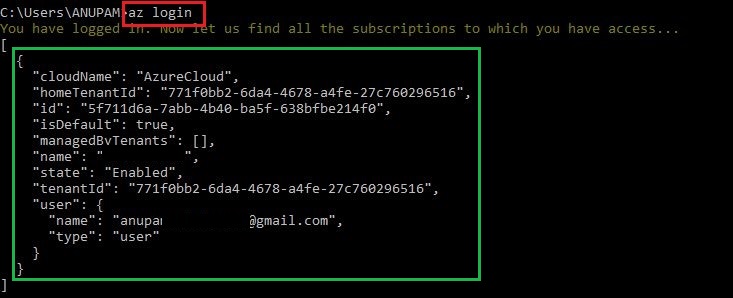
Now login to your Azure account utilizing the az login command.

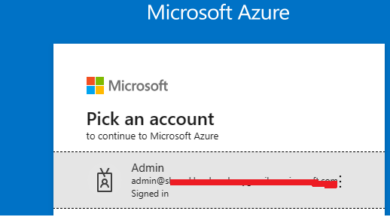
Choose your Azure account and login.
Upon profitable login, you will note related particulars on the command immediate.
All set!
When you have a number of subscriptions, it’s a must to set one in all them for the present session.
az account set –subscription “NameOfYourSubscription”
Now we’re going to carry out numerous actions on azure storage account utilizing Azure CLI command like create a storage account and create a container on this storage account to add a blob, to set the entry permissions for the container, to checklist the blobs within the container and the way to obtain a blob and delete a blob.
Earlier than making a storage account, we have to create a useful resource group.
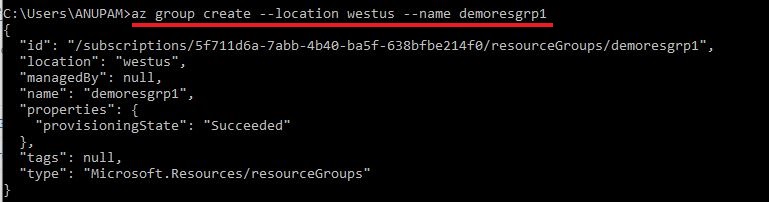
Step 1 – Create a Useful resource Group
To create useful resource group, execute az group create –location westus –name demoresgrp1
Right here:
- AZ useful resource group create command: az group create
- Location for the storage account: westus
- Useful resource group identify we wish to create: demoresgrp1
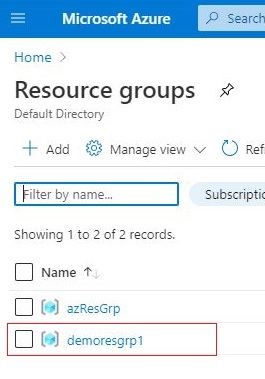
As soon as the above command is executed, let’s go to the useful resource group in Azure Portal and click on on refresh. Now you may see the newly created useful resource group.
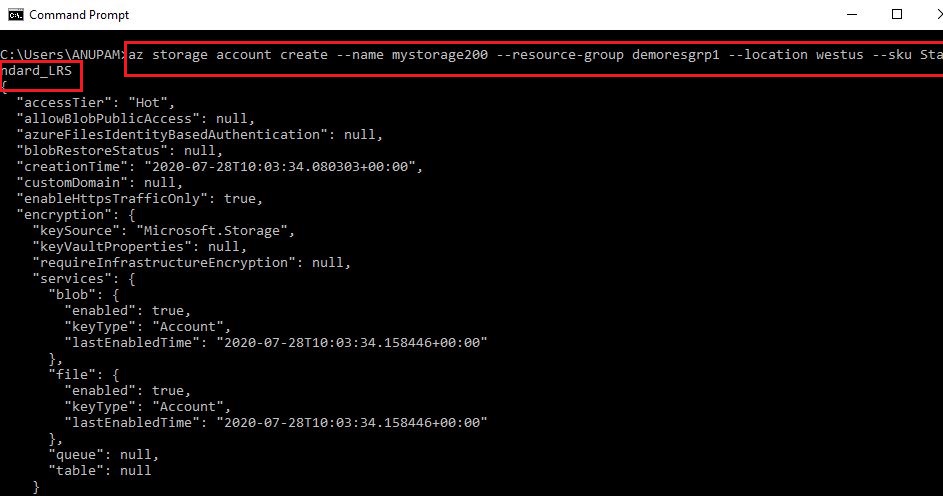
Step 2 – Create Storage Account
To create a storage account in a useful resource group, execute az storage account create –name mystorage200 –resource-group demoresgrp1 –location westus –sku Standard_LRS
Right here:
- AZ storage account create command: az storage account create
- Storage account we wish to create: mystorage200
- Useful resource group identify: demoresgrp1
- Location for the storage account: westus
- Replication: Standard_LRS (that is domestically redundant storage)
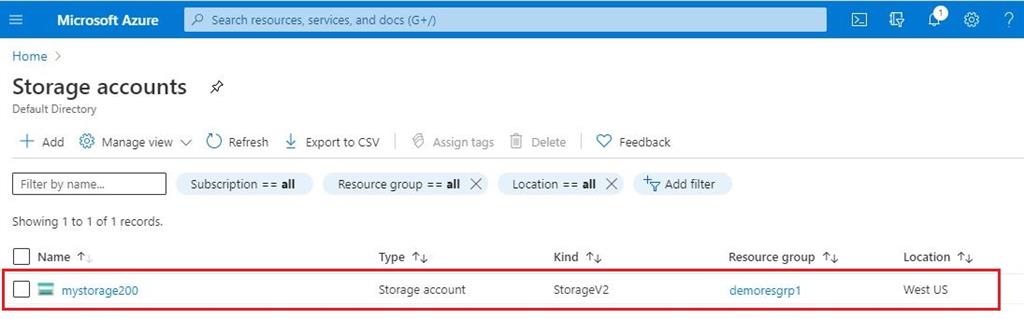
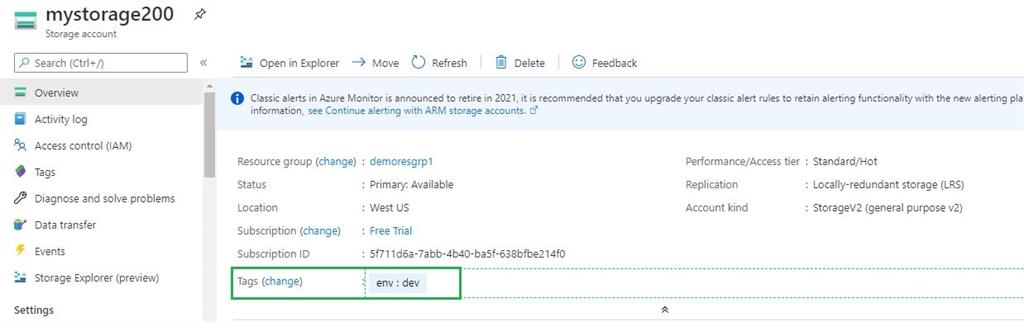
Refresh the Azure portal after execution of the above command, and you will see a newly created storage account.
Now if you wish to test all storage account for a useful resource group in command immediate, execute the under command:
az storage account checklist –resource-group demoresgrp1 –query [*].{Identify:identify,Location:primaryLocation,Sort:form} –output desk

Now we wish to replace storage account by including tags on it:
az storage account replace –name mystorage200 –resource-group demoresgrp1 –tags “env=dev”

Step 3 – Create a Container on Storage account
Now we’re able to create a container on the storage account utilizing the under command:
az storage container create –account-name mystorage200 –name democontainer
- AZ storage container create command: az storage container create
- Storage account identify: mystorage200
- Container identify we wish to create: democontainer
Step 4 – Add a blob in Container
Now go forward and execute under command to add this blob onto our container. For that, I’ve created a pattern file in C:UsersANUPAM often known as demo.txt which accommodates some easy textual content.
az storage blob add –account-name mystorage200 –container-name democontainer –name clidemo.txt –file demo.txt
- AZ blob add command: az storage blob add
- Storage account identify: mystorage200
- Container identify: democontainer
- Identify that we wish to give to our blob : clidemo.txt
- Identify of the file in our native system that we wish to add as a blob onto the container: demo.txt

Let’s attempt to entry the uploaded file by copying blob URL from the container and browse it in a brand new tab.
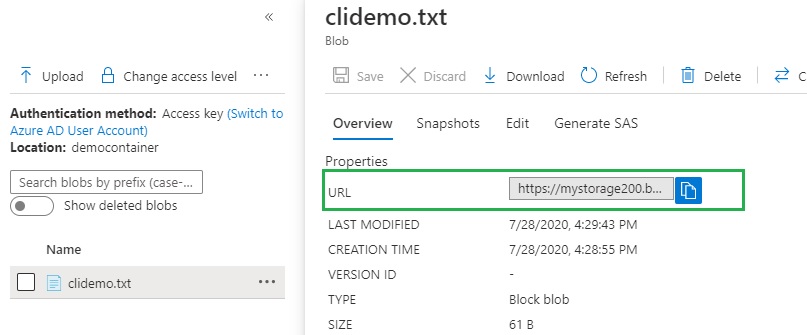
You will note Useful resource Not Discovered. That’s as a result of the container that will get created by default has entry permission set to non-public.

Now to be able to change the general public entry stage, we’ve got yet another command and that’s to go forward and set the permissions on the container. Let’s go forward and execute the under command. This can make sure that we allow public entry on the blob stage.
az storage container set-permission –account-name mystorage200 –name democontainer –public-access blob
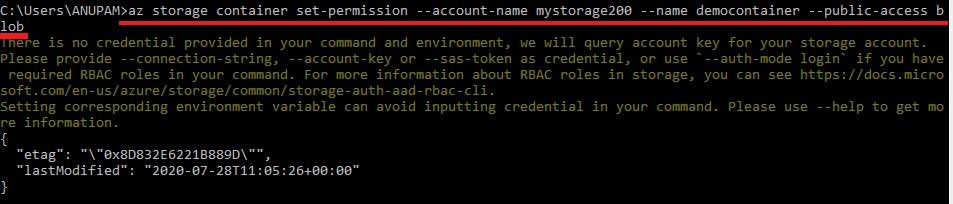
Now entry the identical URL from the browser once more and you’ll capable of view the contents of the file.

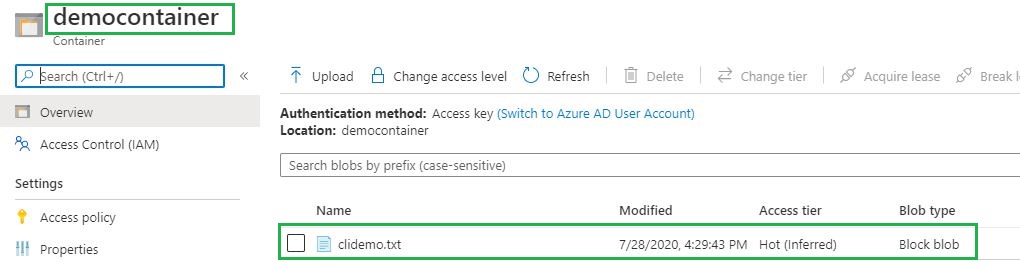
Now determine an inventory of blobs in our container utilizing under command and you’ll see the identify of the file and what the kind of blob it’s.
az storage blob checklist –account-name mystorage200 –container-name democontainer –output desk
Right here we got the storage account identify, the identify of the container and the way we wish to see the output.

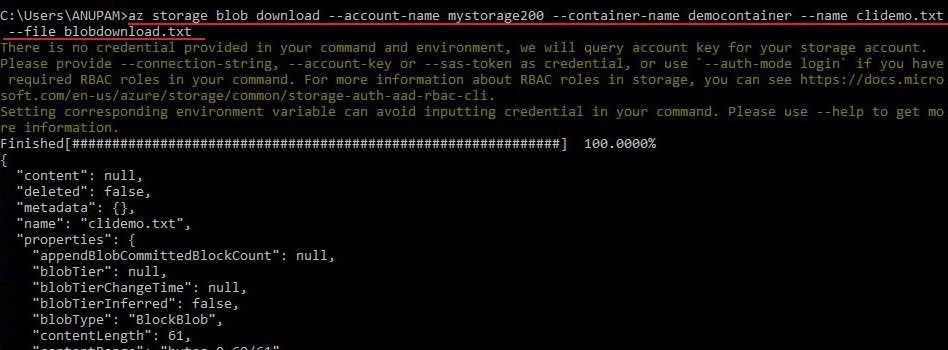
Step 5 – Obtain a blob from Container
Subsequent, we’ll go forward and obtain the blob from the container utilizing under command,
az storage blob obtain –account-name mystorage200 –container-name democontainer –name clidemo.txt –file blobdownload.txt
Right here we give the identify of the storage account, the container identify, and identify of the blob that we wish to obtain and what’s the identify we wish to give to our native file (e.g. blobdownload.txt)
Now if we have a look at the listing we’ll see a downloaded file in place.
Step 6 – Delete a blob from container
Let’s delete the blob that we created for demo goal through the use of under command,
az storage blob delete -c democontainer -n clidemo.txt –account-name mystorage200
After a profitable deletion, look contained in the container within the Azure portal.

Completed!
On this article, we’ve got carried out numerous operations on an Azure storage account utilizing Azure CLI. I hope you gained some perception into this subject.