Introduction
On this article, we’ll learn to create a single database in Azure SQL Database utilizing both the Azure portal or an Azure CLI script. Then we’ll question the database utilizing the Question editor within the Azure portal and likewise in our system put in SSMS.
What’s Single database?
The one database useful resource kind creates a database in Azure SQL Database with its personal set of assets and is managed through a server. With a single database, every database is remoted and transportable. Every has its personal service tier inside the DTU-based buying mannequin or vCore-based buying mannequin and a assured compute dimension.
The best way to create a single database
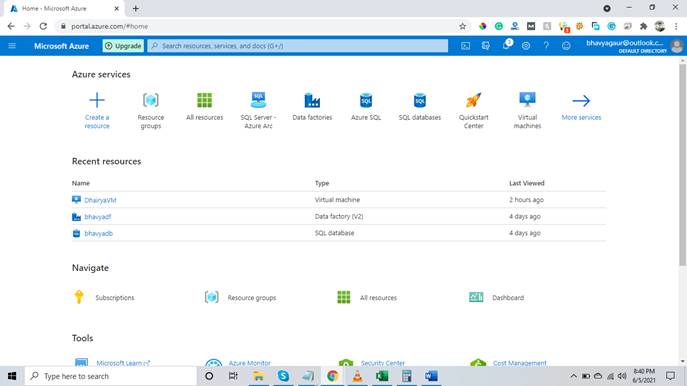
Step 1
Login to portal.azure.com. Right here you will note this homepage as proven beneath,
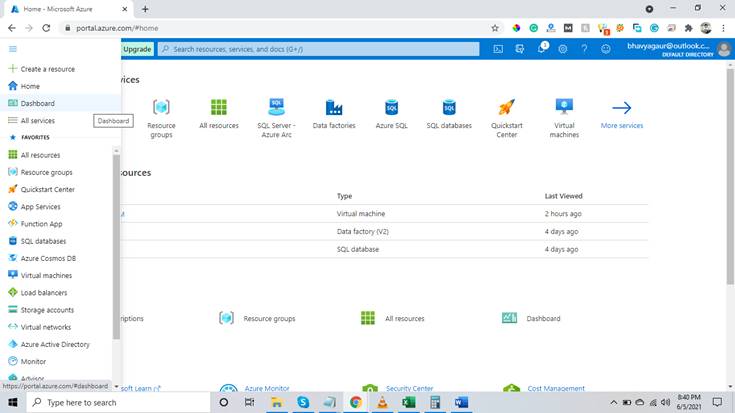
Step 2
Click on on the three strains on the left aspect and click on on the dashboard.
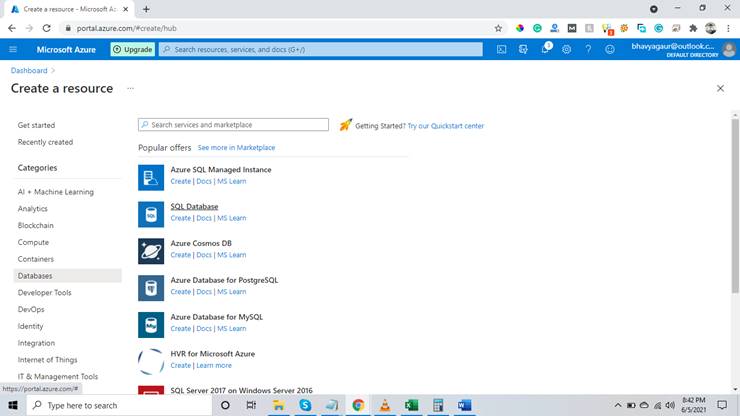
Step 3 – Create a useful resource
Now we have to create a useful resource from right here for doing that click on on the “create a useful resource”.

Step 4
In assets you’ll be able to examine within the beneath picture there may be an possibility class the place you’ll be able to click on on the database and you will note the outcome on the appropriate aspect.

Step 5
Right here you’ll be able to see we have now the choice “SQL database”. Click on on the “SQL database”.
Step 6 – Create SQL database
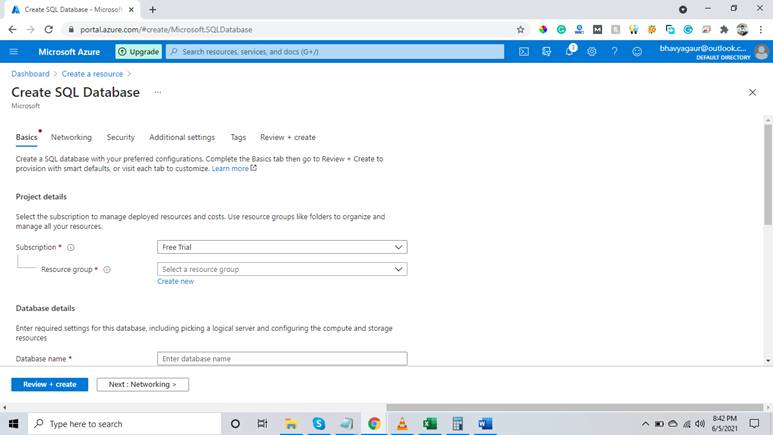
Right here you’ll be able to see we moved to that window from the place we will create our SQL database. On this first display, we have to choose our subscription. As a result of I’m working with a free subscription so I chosen that then it’s worthwhile to choose a useful resource group. When you shouldn’t have any useful resource group then you’ll be able to create that simply by clicking on the create a brand new button in a useful resource group.
Step 7 – Create a brand new server
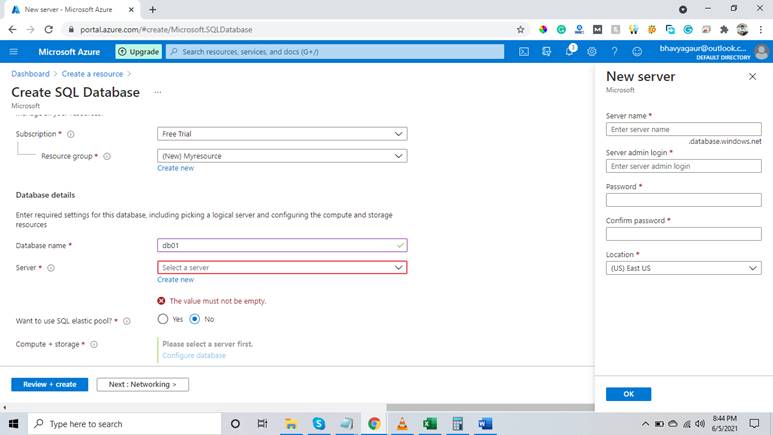
Right here you’ll be able to see that within the database particulars space we have to enter a database identify and likewise choose a server. We shouldn’t have any servers so I click on on create new and you may see on the appropriate aspect a brand new window will come up for a brand new server in that window it’s worthwhile to enter some particulars like server identify, server admin login, and password. After coming into all of the required info we have to click on on the okay button to reserve it. Right here you’ll be able to see a brand new possibility is there which is saying wish to use SQL elastic pool which we’ll depart no as default. We are going to focus on SQL elastic pool in our upcoming articles intimately. For now, you’ll be able to perceive that through the use of SQL elastic pool we will save some huge cash. Now we click on on the subsequent button.
Step 7 – Networking
On this possibility, we don’t make any adjustments and depart all the pieces as it’s.

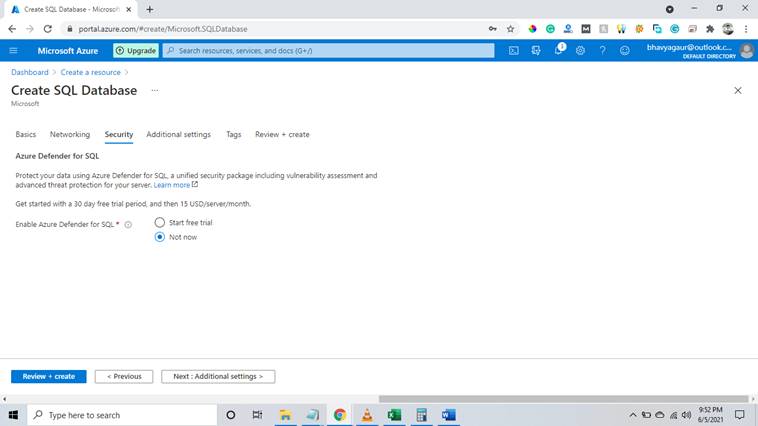
Step 8 – Safety
On this display, we don’t choose something just for this demo undertaking. However when you’ll work on different tasks it’s worthwhile to examine it for safety functions.
Step 9 – Further Setting
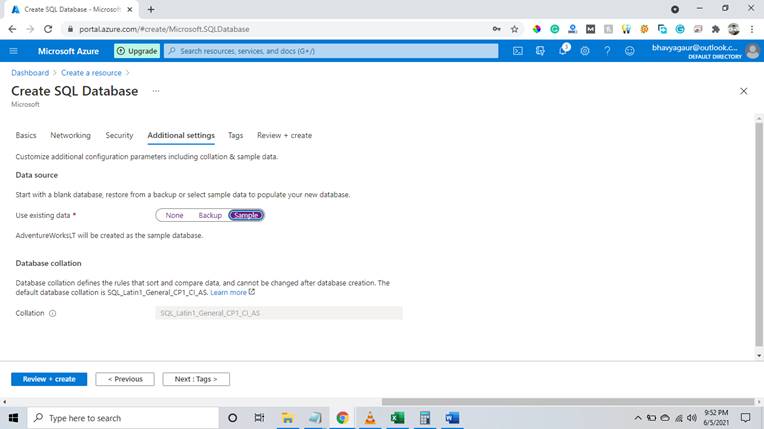
On this display, as you’ll be able to see beneath within the knowledge supply we have now an possibility to pick current knowledge, for now, we’ll click on on the pattern to load a pattern database when you have any database backup you’ll be able to choose that as effectively.
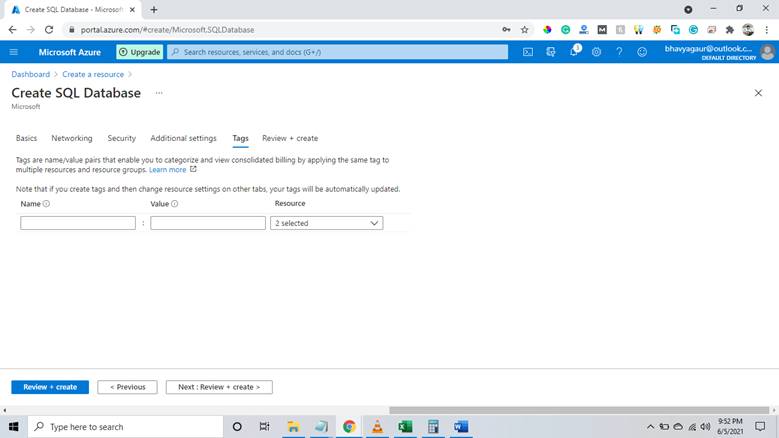
Step 10 -Tags
On this display, we don’t change something. However tags are actually good for our tasks. It may be used within the pricing and one other method the place you should utilize your undertaking you should utilize tags to distinguish that.
Step 11
On this display, we will examine all the pieces that must be reviewed for us to examine earlier than creating our undertaking. If we discover one thing that we have to replace we will return and do this and if all the pieces is alright then we click on on the evaluate and Create button.
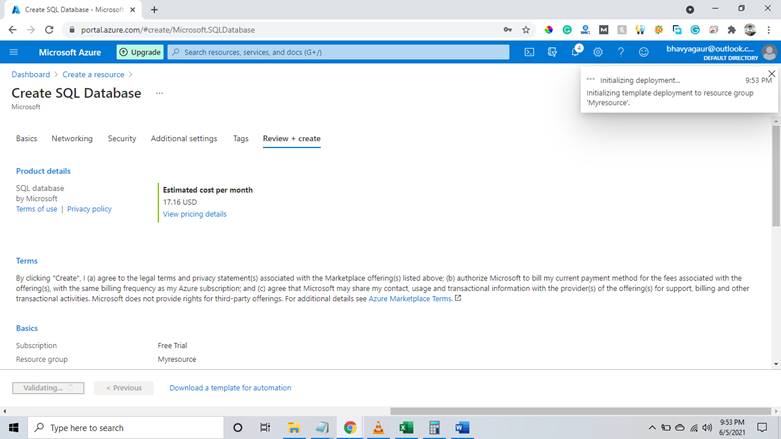
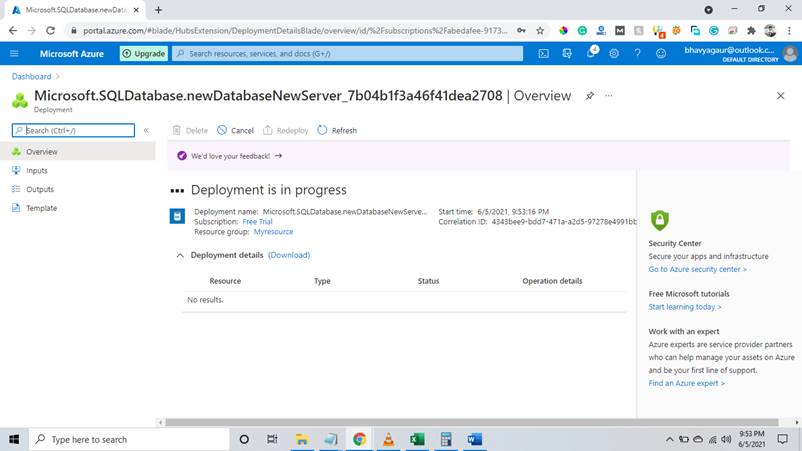
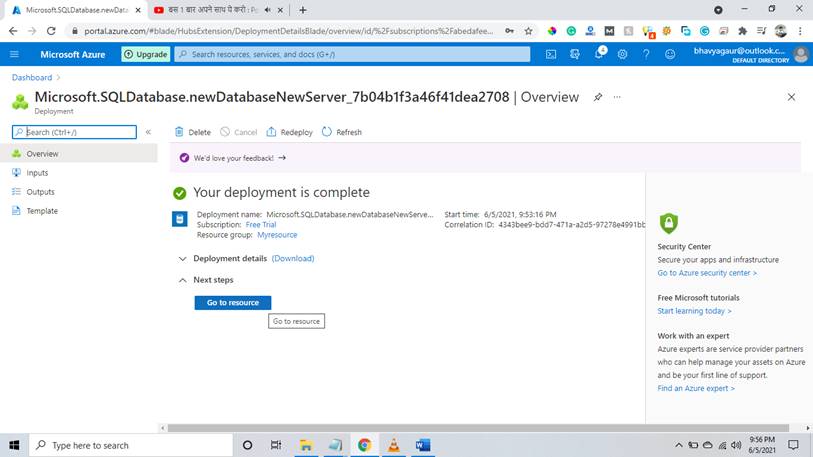
Step 12
On this display it’s worthwhile to look forward to some time. You possibly can see that deployment is in progress.
Step 13
Lastly, our undertaking has been efficiently deployed.
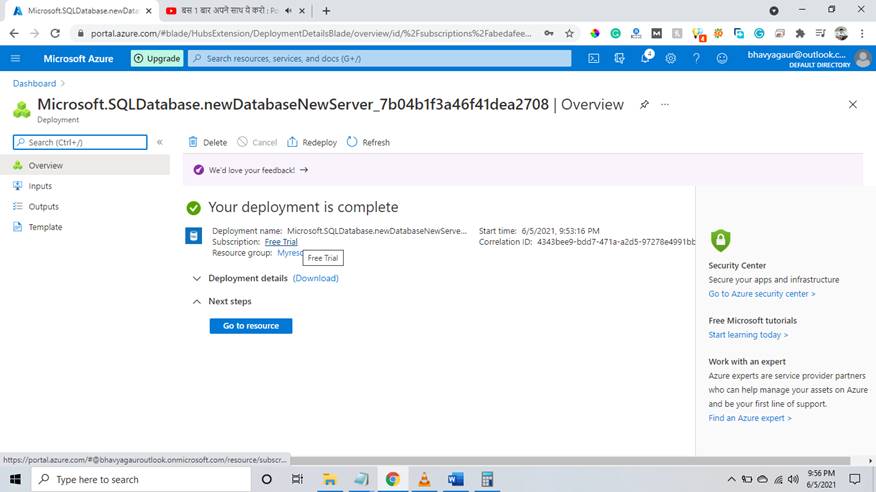
Step 14 – Go to the useful resource
Now we’ll click on on the “Acquired to useful resource” button.
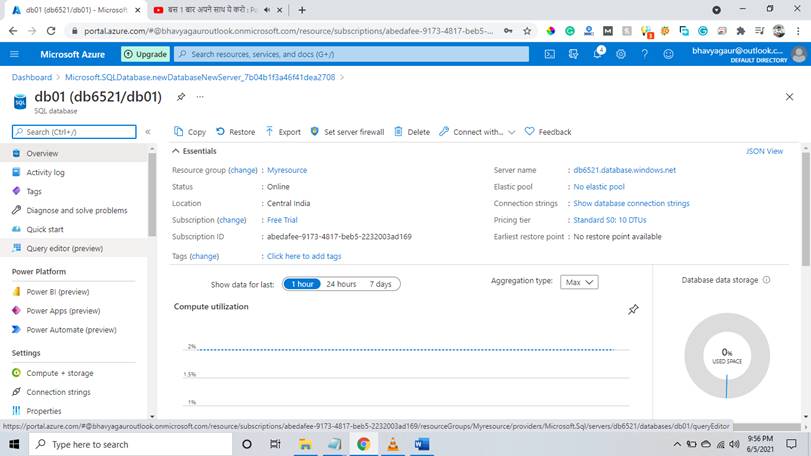
Step 15
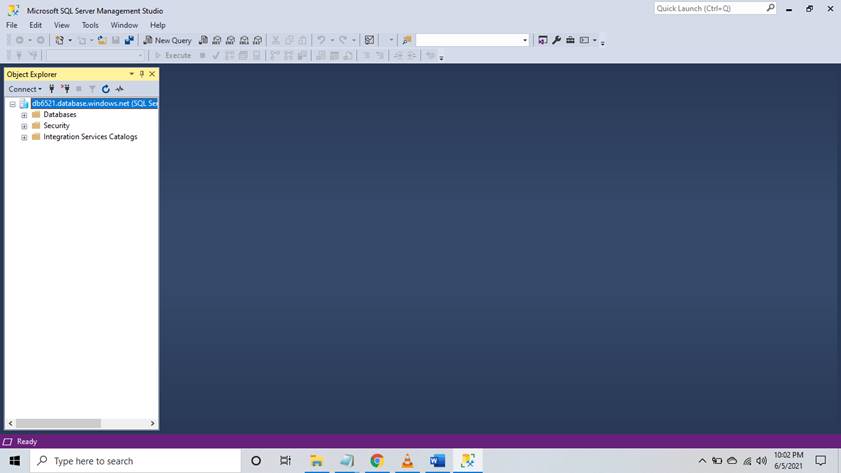
Right here you’ll be able to see our server has been created. And on the appropriate aspect, you’ll be able to see the entire info of our server like server identify and many others.
Question the database
Step 16 – Question editor preview
On the left aspect, you’ll be able to examine that you’ve got an possibility Question editor preview so we’ll click on on there and you’ll redirect to the display as proven beneath,
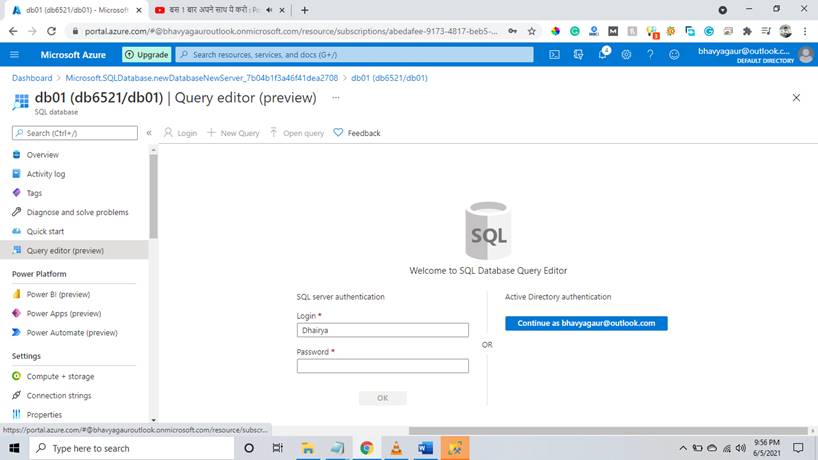
Step 17 – Error for firewall
Right here you’ll be able to see that once we enter the login particulars as we created earlier and attempt to login we acquired this error. We are going to resolve this error and login once more to our server.
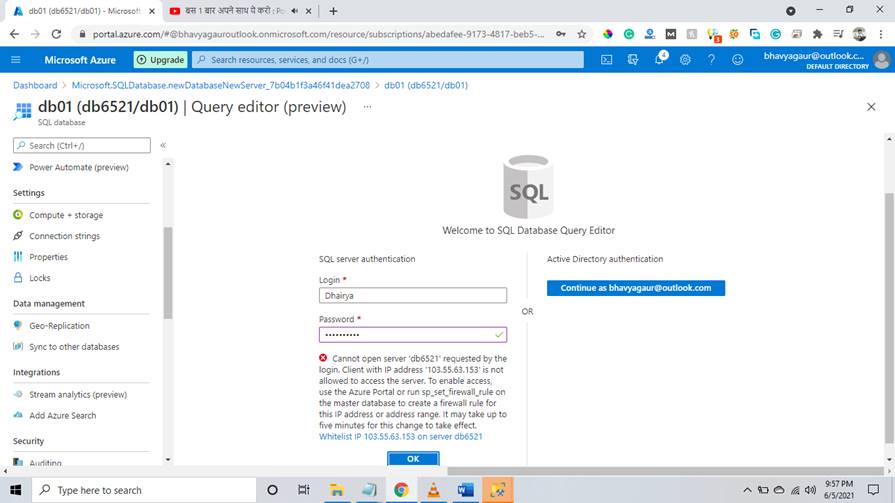
Step 18 – Add consumer IP
To resolve this error we have to add consumer Ip in our Azure firewall. For doing that we’ll click on on the “firewall and digital community” possibility from the left aspect and we acquired this display after clicking on that. Right here you’ll be able to see we have now a button so as to add consumer IP. So we have to click on on that button.
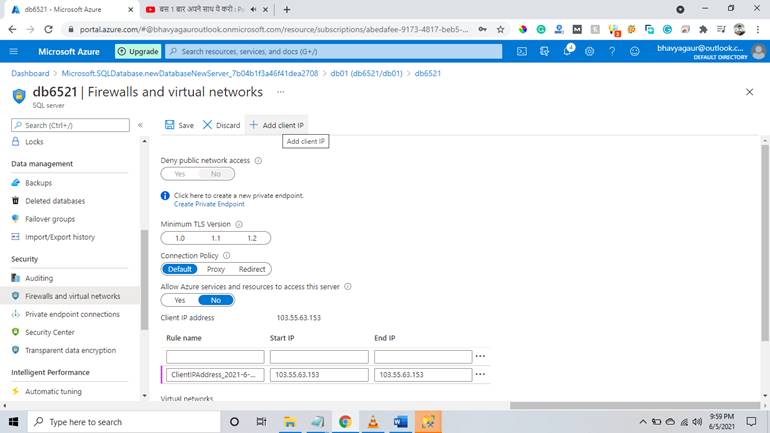
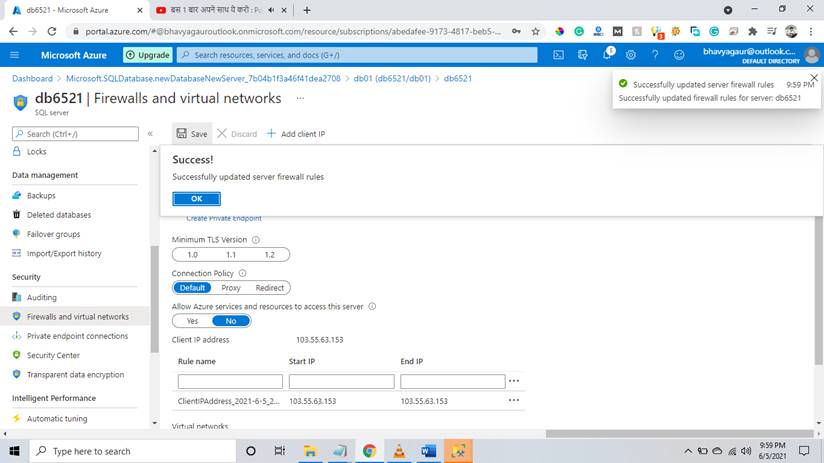
Step 19 – Up to date firewall guidelines
Right here you’ll be able to see that we added our consumer IP to Azure. We acquired a message right here that firewall guidelines have been up to date.
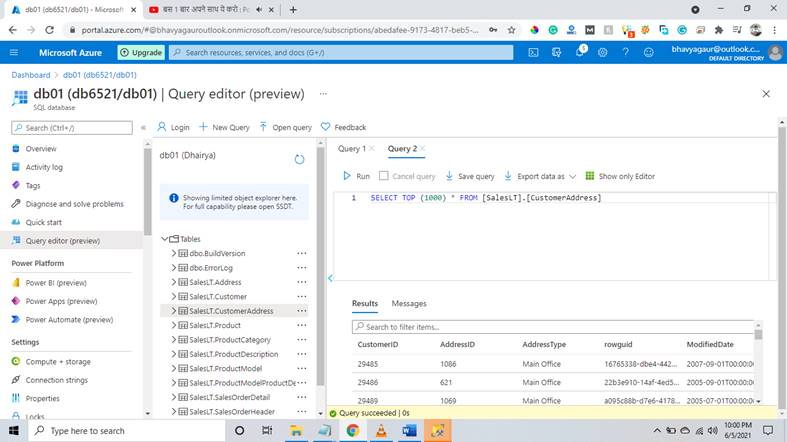
Step 20-Desk preview
So now we’ll attempt to login once more into our server and you may see within the beneath picture we efficiently entered into our server.

Step 21
Right here we’ll attempt to run a question in our database. And as you’ll be able to see we efficiently capable of run our question within the question editor preview.
Question in SSMS
Step 22
Now we’ll open SSMS in our system. Right here we’ll choose database engine within the server kind and we paste our server identify right here after which choose SQL server authentication and login with our credentials which we created earlier in Azure.
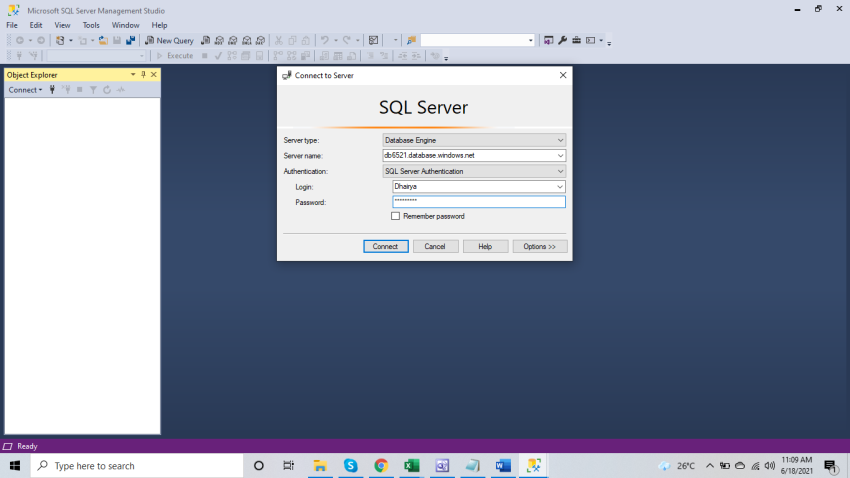
Right here you’ll be able to see that we efficiently logged into our server.
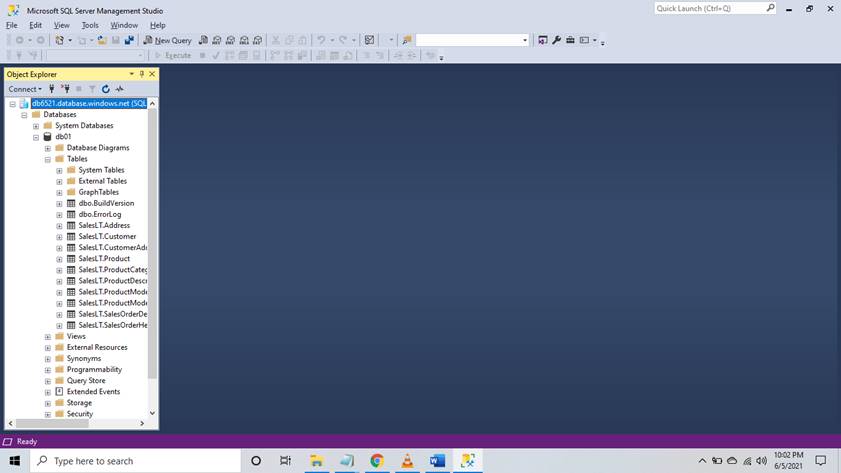
You possibly can see within the picture we will examine our desk preview in SSMS.
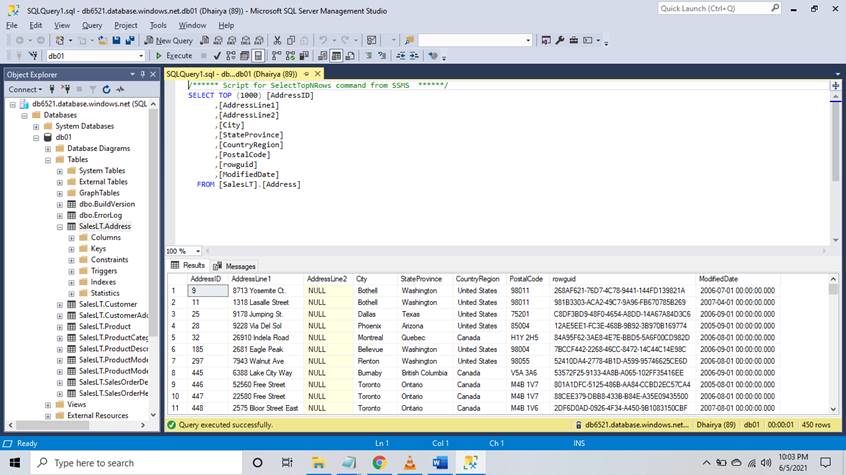
SO now we’ll attempt to run a question within the SSMS. And you may see that we get this outcome as proven beneath,
Abstract
On this article, you discovered how we will create an SQL database in Azure and join that to our on-premised SSMS. We additionally resolved an error which we acquired for the firewall.
If you wish to know extra please learn from right here,
Completely happy clouding.