Introduction
On this article, I’ll present you easy methods to create a digital machine within the Azure portal within the correct and simplest way.
Advantages of Azure digital machine
- Price discount: Azure VMs might be cheaper than operating workloads in your servers.
- Excessive-performance computing: Azure VMs can run workloads like scientific simulations and monetary modeling quicker and extra effectively than on-premises {hardware}.
- Networking capabilities: Azure VMs provide a spread of networking capabilities and associated providers, resembling Azure Digital Community, private and non-private IP addresses, community safety teams, digital personal networks (VPN), and Azure ExpressRoute.
- Patch administration: Azure’s patch administration workflow makes it simple to handle and keep up to date throughout all of the nodes.
- Failover: You possibly can replicate your digital machines to any Azure area and create a restoration plan to automate the failover course of in your software.
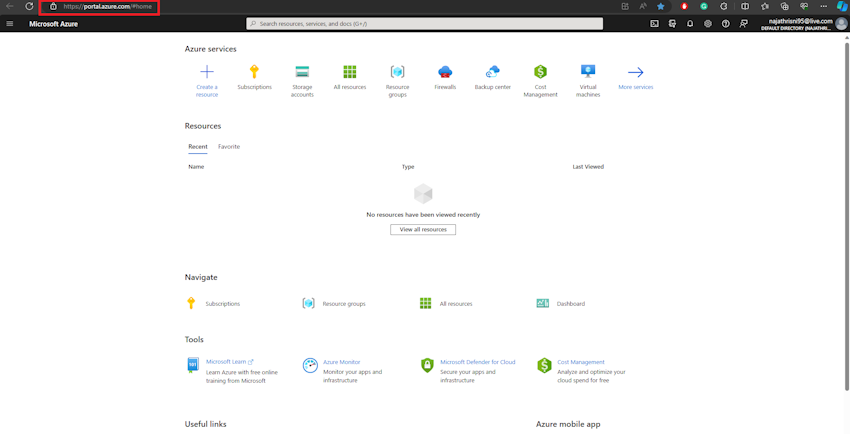
Step 1. Login to your Azure portal utilizing the below-mentioned hyperlink. Dwelling – Microsoft Azure.
Step 2. Click on “Create a useful resource”.

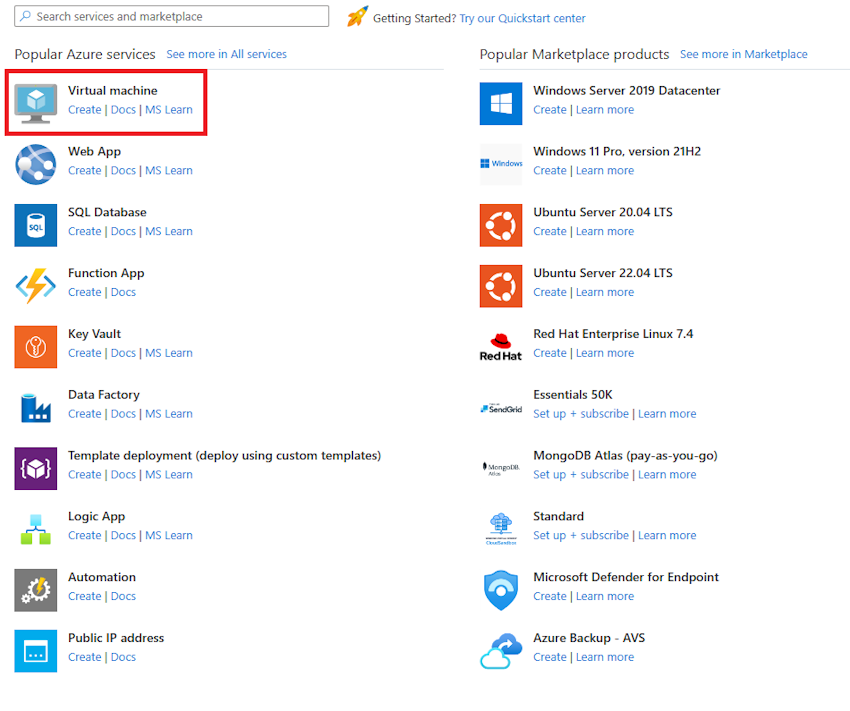
Step 3. Click on “digital machine create”.
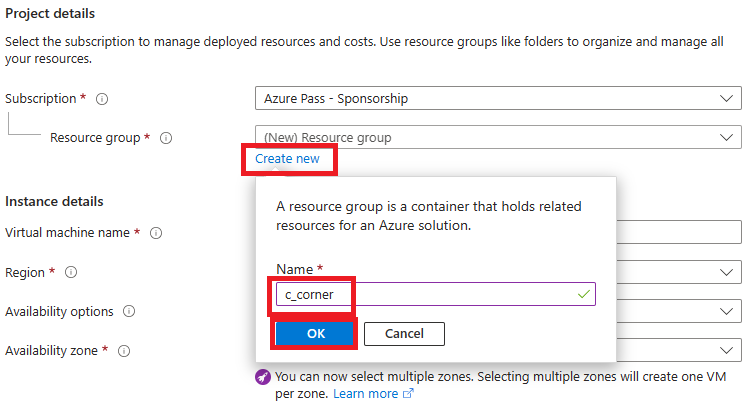
Step 4. Select a useful resource group or create your self by clicking “create new” after giving the correct identify in your useful resource group then click on “okay”.
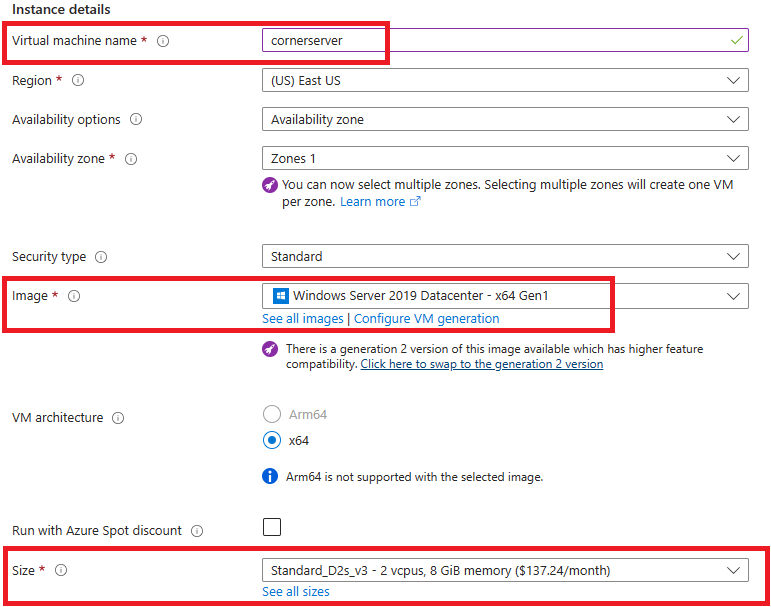
Step 5. Give your digital machine identify after choosing your working system’s model and customise your measurement.
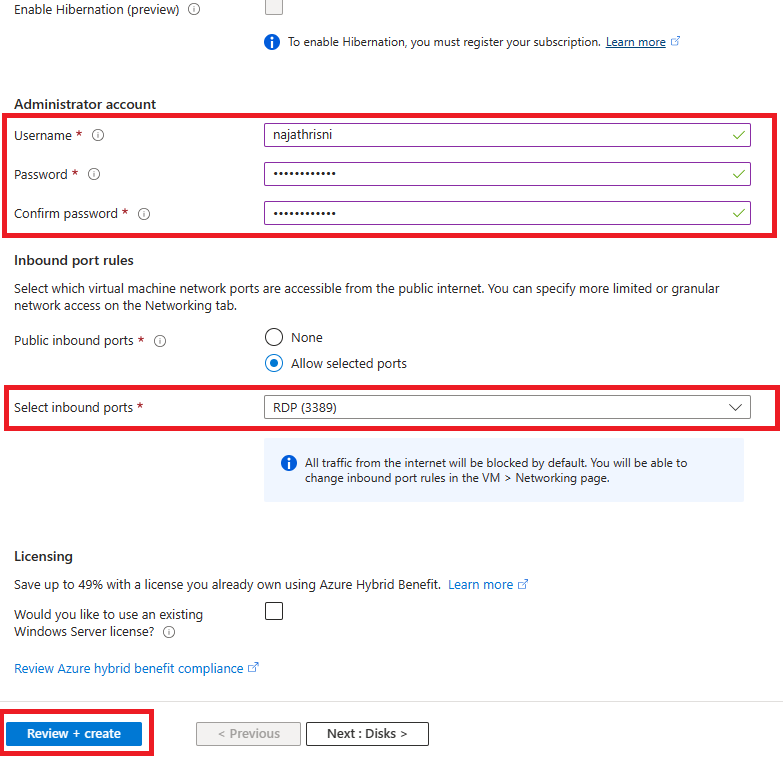
Step 6. Give your consumer’s identify and password after choosing inbound ports to “RDP” after which click on “Assessment + create”.
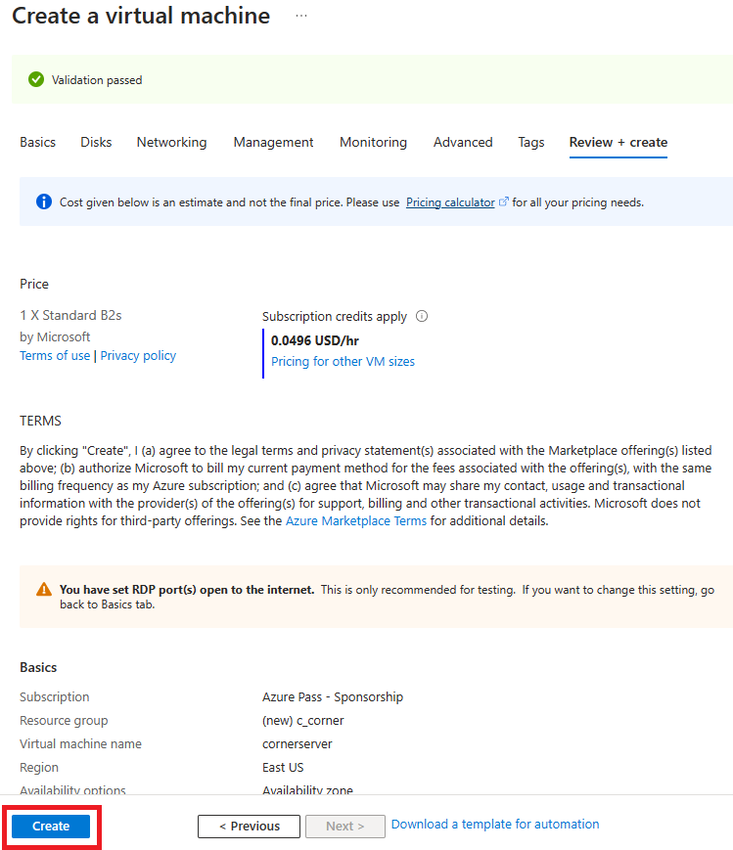
Step 7. Click on “create”.
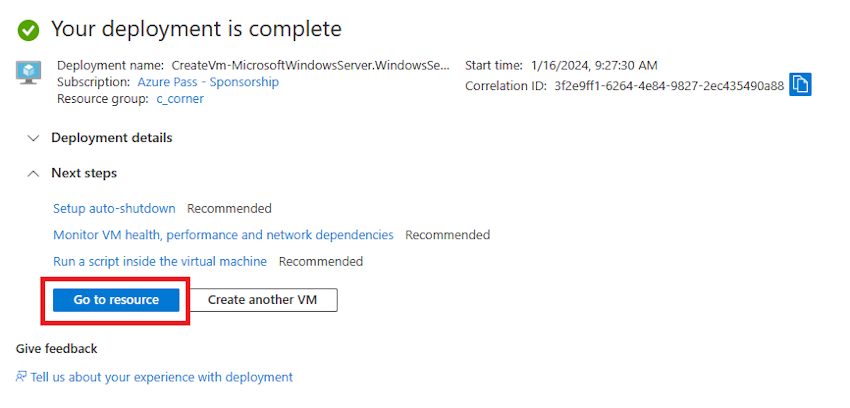
Step 8. Click on “Go to useful resource”.
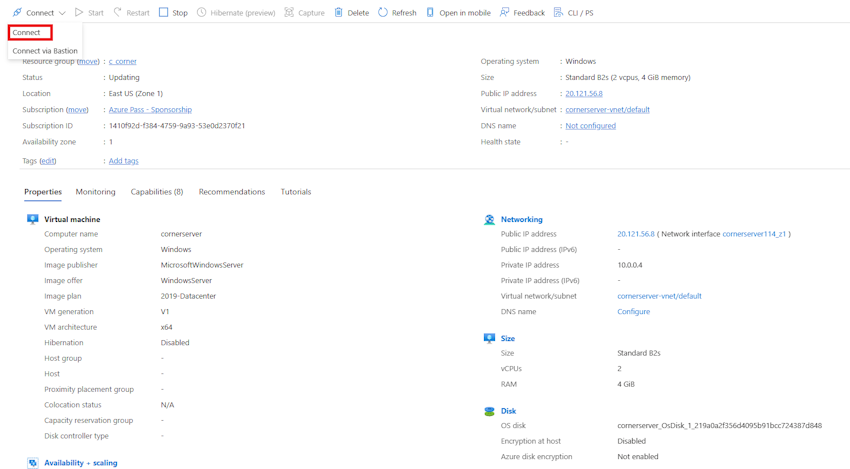
Step 9. Click on “join”.
Step 10. Click on “Obtain RDF file”.
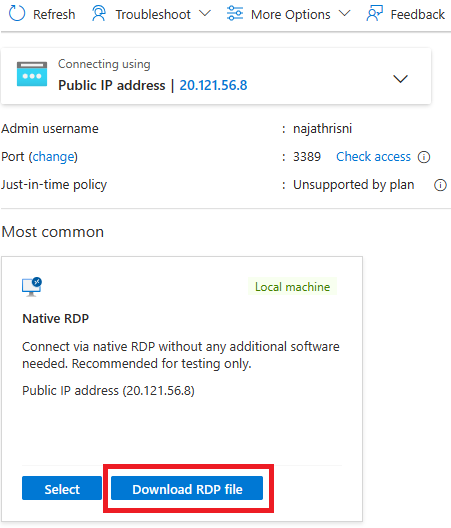
Step 11. Click on obtain file.
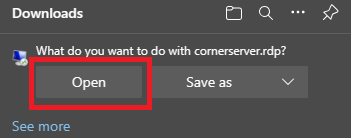
Step 12. Click on “join”.

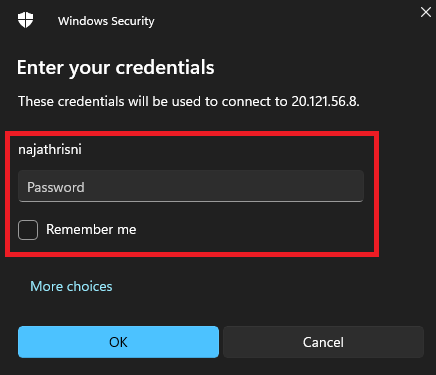
Step 13. Give your Azure VM’s password and username.
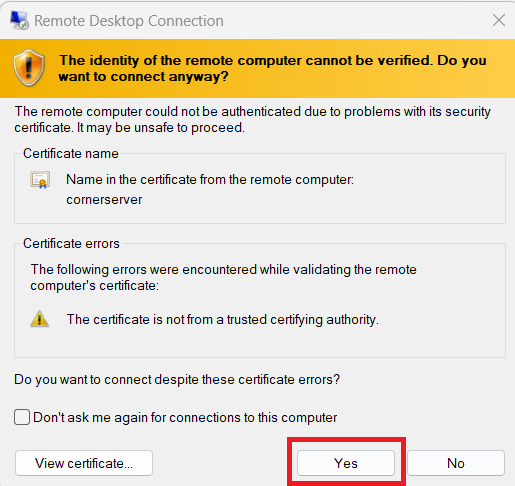
Step 14. Click on “Sure”.
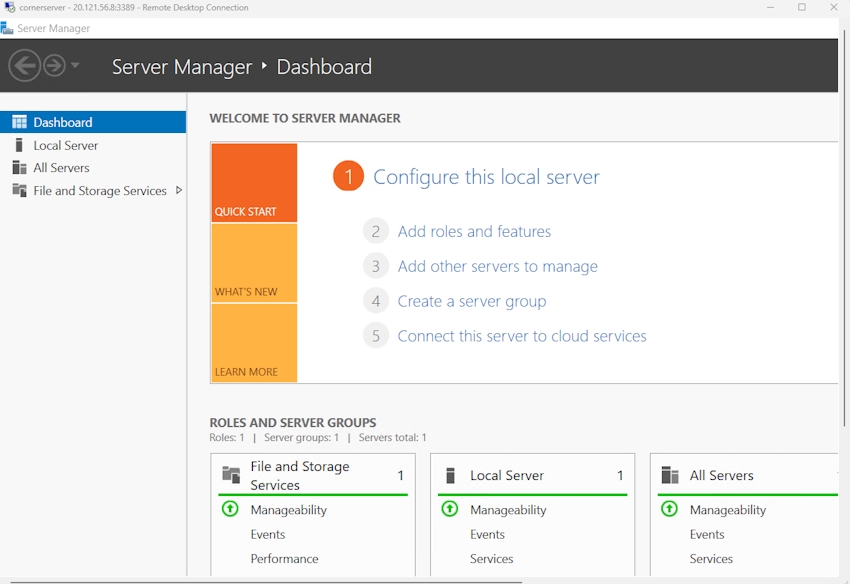
Now you possibly can see our Azure VM operating easily.
Conclusion
On this article, all of us clearly perceive easy methods to create the digital machine within the Azure portal within the correct and simplest way. If there’s clarification relating to this matter, be at liberty to drop feedback beneath.
Know extra about our firm at Skrots. Know extra about our providers at Skrots Providers, Additionally checkout all different blogs at Weblog at Skrots