Introduction
You’ll be able to host your area utilizing Azure DNS, which affords a globally distributed, high-availability title server structure. You’ll be able to handle your DNS data utilizing the identical login info, APIs, instruments, billing, and assist in your different Azure companies should you host your domains in Azure DNS. Area title purchases are usually not but supported by Azure DNS. You need to work with a third-party area title registrar should you want to purchase a website title. A minor annual price is generally charged by the registrar. After that, the domains may be hosted in Azure DNS for DNS document upkeep. For additional info, see Delegate a Area to Azure DNS.
On this article, we are going to discover ways to create an Azure DNS and find out how to register the Azure DNS title server to the exterior area suppliers.
Step 1
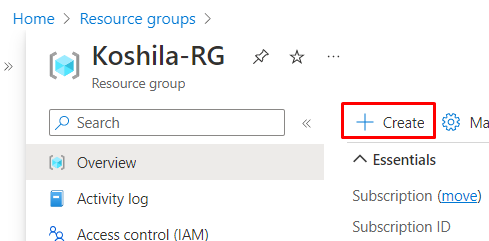
Within the useful resource group click on on + Create.
Step 2
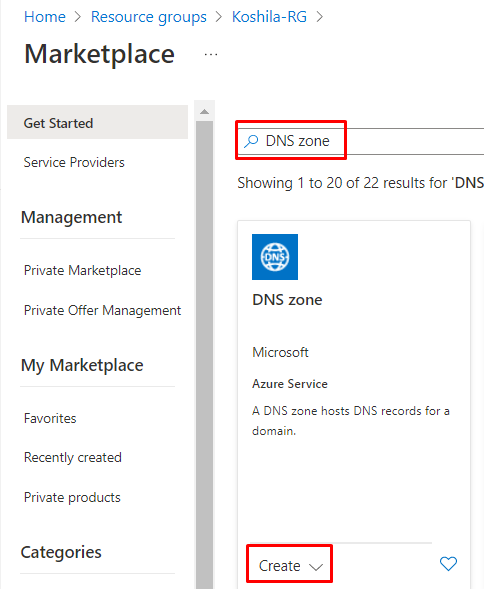
Sort DNS Zone within the search bar and click on Create to deploy the DNS Zone.
Step 3
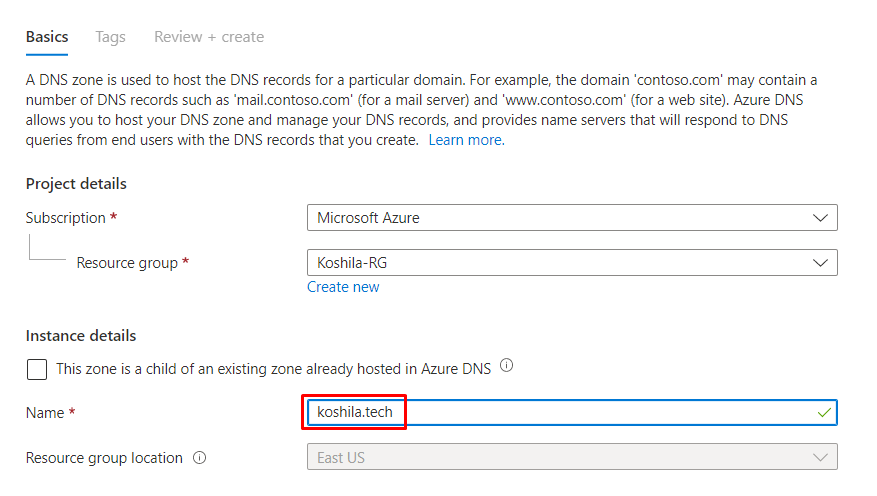
Choose the right subscription and the useful resource group. Then enter the title for our public area title. on this article I’m going so as to add my very own area title Koshila.tech. Then click on Create to deploy the Koshila.tech DNS Zone.
Step 4
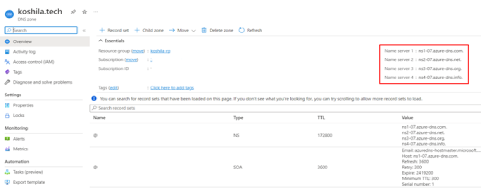
Go to the DNS Zone (Koshila.tech) after which copy the title servers to interchange the default title servers within the area supplier (hostinger).
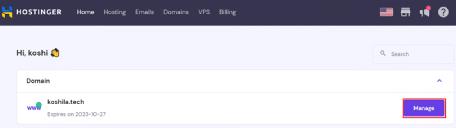
Step 5
Go to Handle in your area supplier (hostinger) web site to handle DNS/Nameserver.
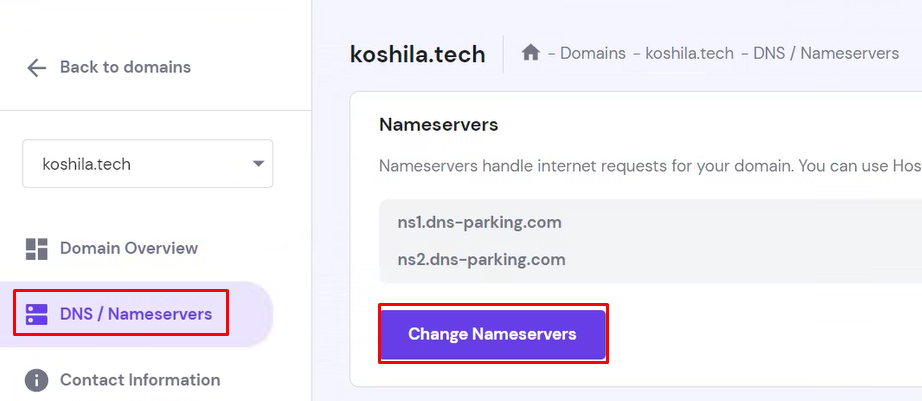
Step 6
Go to DNS/Nameservers to alter Nameservers.
Step 7
Choose Change Nameservers radio button to interchange the default title servers within the area supplier (hostinger).
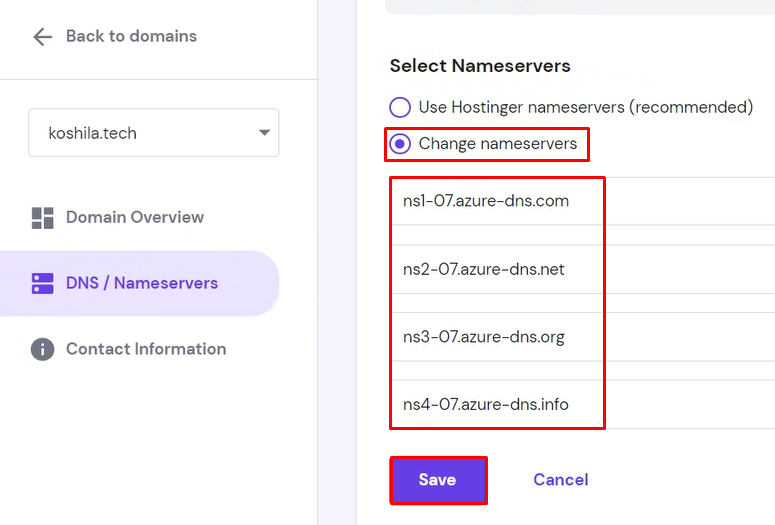
Step 8
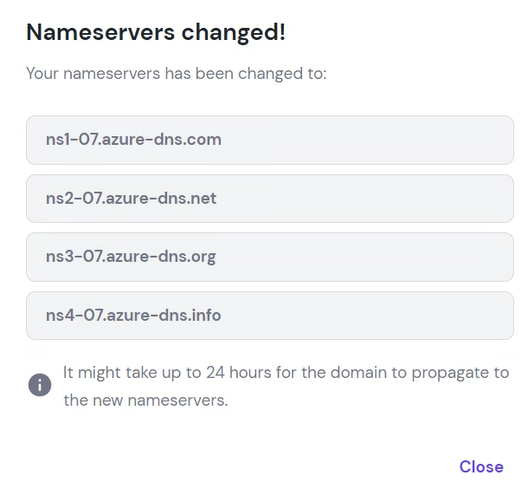
Click on Save to save lots of the brand new nameservers.
Abstract
On this article, we discovered find out how to create the Azure DNS and find out how to map our Azure DNS to a exterior area supplier. In our subsequent article, we are going to discover ways to map our exterior area to Azure App Providers.


