Azure Logic Apps
Azure Logic Apps is a convenient cloud service that enables users to respond to events in one service and take actions with the data from those events in another service. It simplifies business processes by allowing users to create workflows that automate various tasks and processes across different applications and services. By integrating with Azure Logic Apps, you can automate workflows seamlessly without the need to write any code.
Before we dive into this topic, make sure to check out some essential articles linked below.
Prerequisites
In this guide, we will demonstrate how to construct an approval-based automated workflow using Azure Logic App.
Follow the steps below to build a workflow using a template.
Step 1
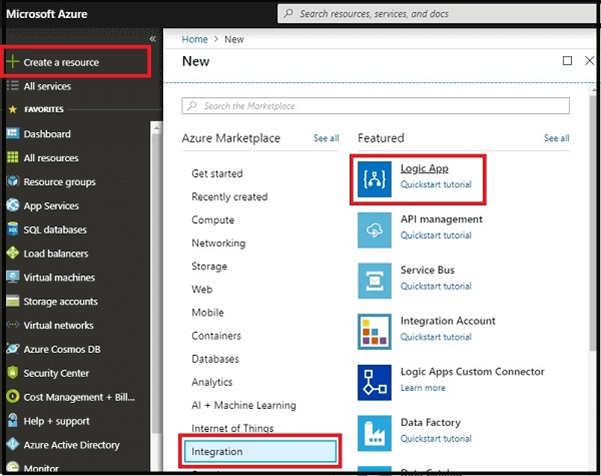
- Sign in to https://portal.azure.com/.
- In the dashboard, choose to create a resource, click on Integration, and select “Logic App”.
Step 2
- Specify a name for your logic app. Select the subscription, resource group, and location for storage. Then, click on “Create”.

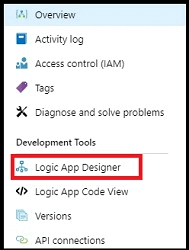
- Access the dashboard and click “Logic App Designer”.
Step 3
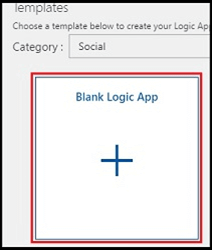
Click on Blank Logic App.
Step 4
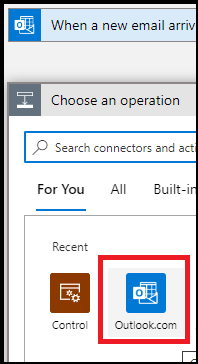
Set up the Email by signing into Outlook
- Search for Outlook in the search bar.
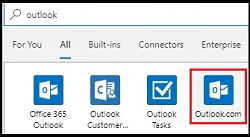
- Select the Triggers.
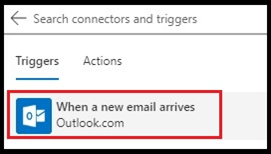
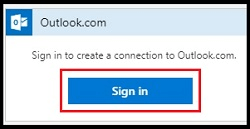
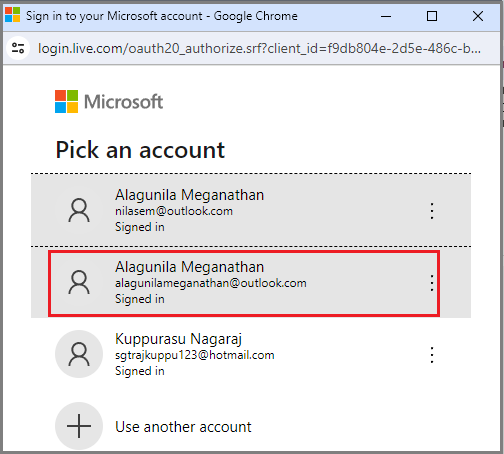
- Sign in to Outlook.
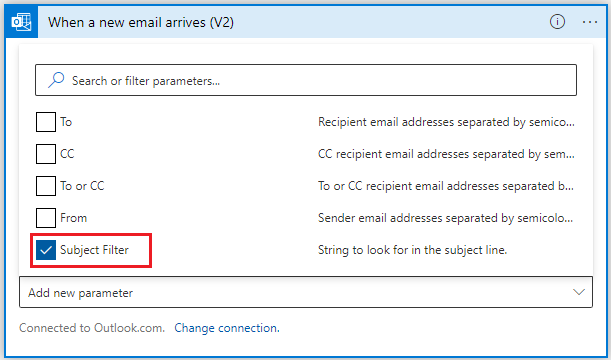
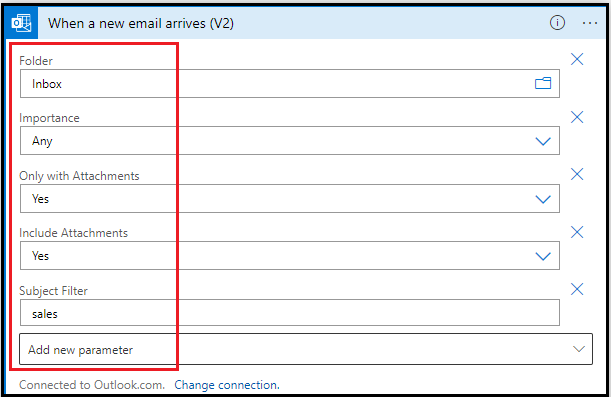
Step 5
Set up the values.
- Choose the Folder.
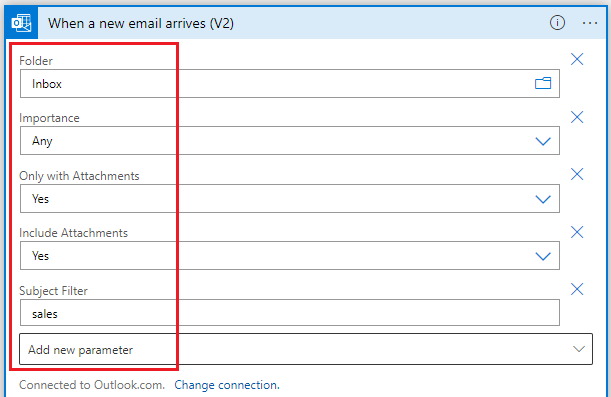
- Add the parameter Subject Filter with a specific keyword (Eg. Sales).
- Finally,
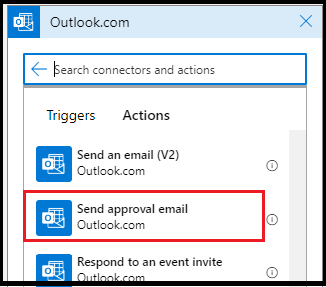
Step 6
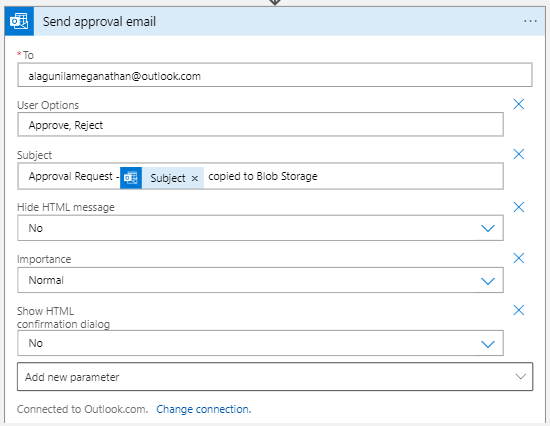
Configure Outlook to send approval emails
- Search for the outlook mail.
- Select the action to send an approval email.
- Map To address and subject.
Step 7
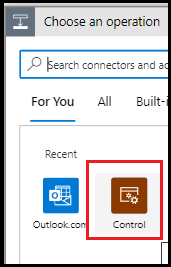
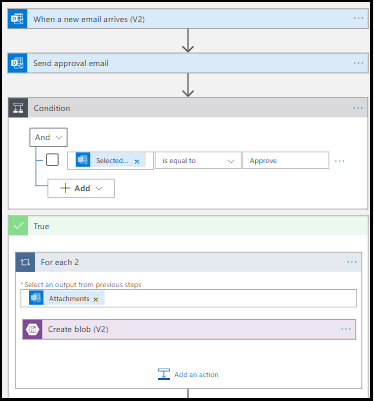
Set up Control to check the approval email.
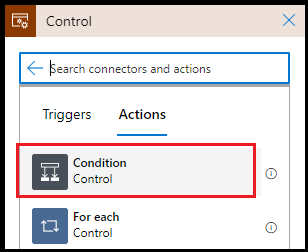
- Look for Control operation.
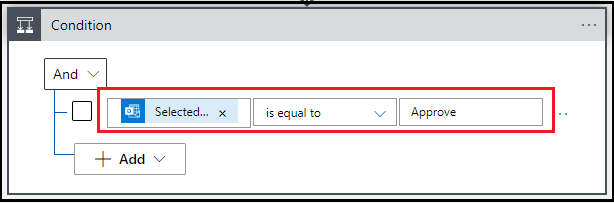
- Choose the condition as actions.
- Choose Selected options are equal to Approve.
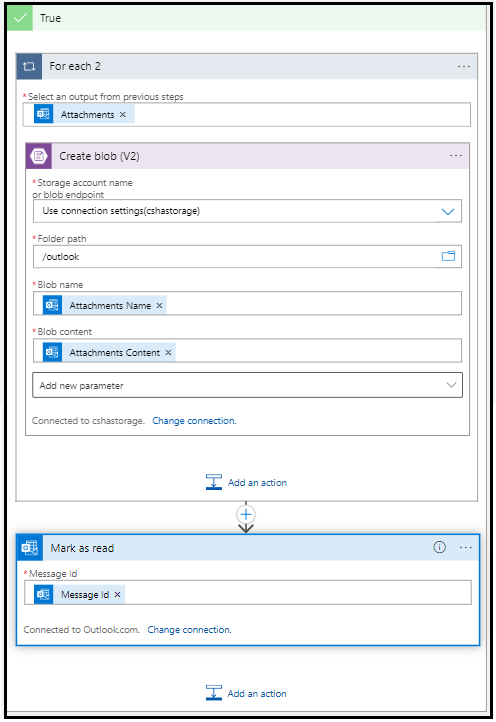
True
The flow will resemble this.
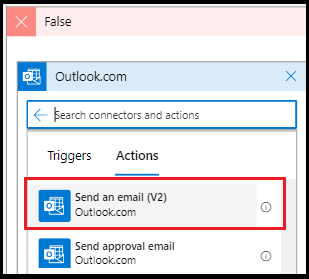
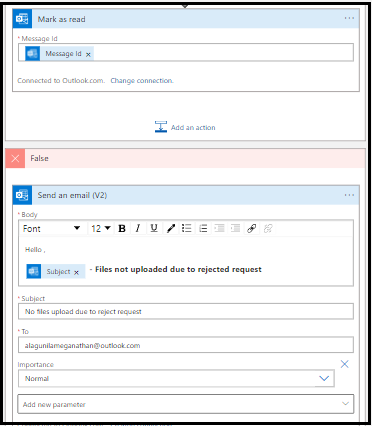
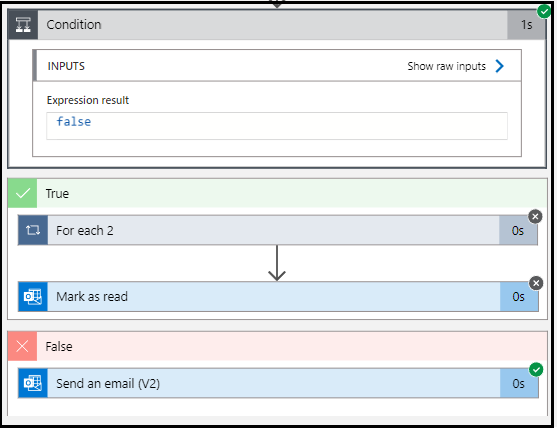
False
- If false, choose Outlook to send a rejection email.
- Compose the email.
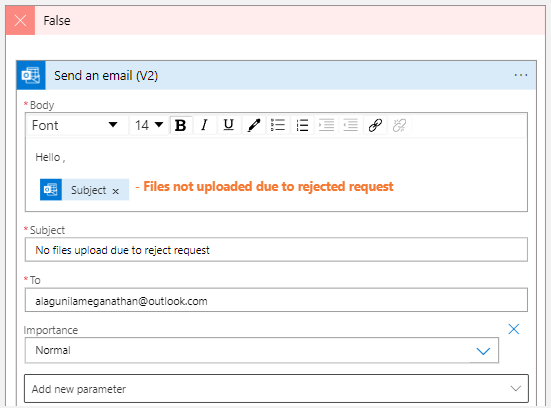
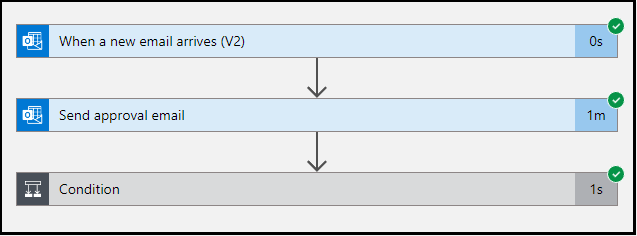
The workflow will appear like this.
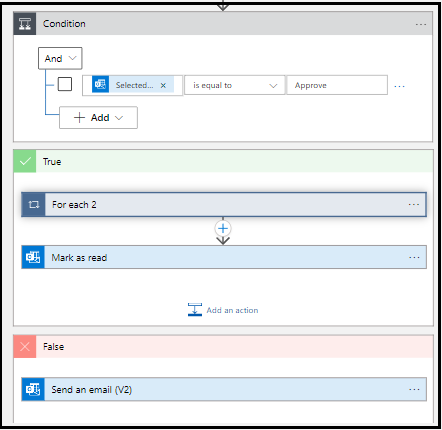
The final workflow will be displayed as follows.
Now, save and execute the workflow.
Output
Run the Logic App
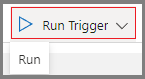
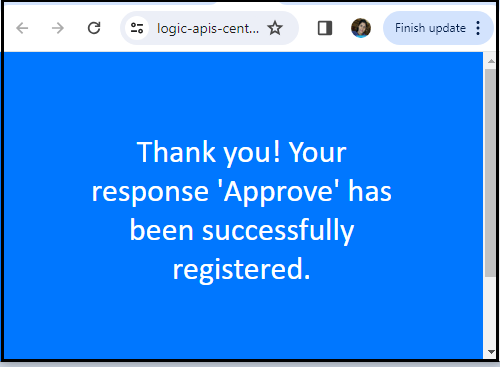
The operation has been successful.
Send a demo email with a specific keyword and refresh to view the outcome.
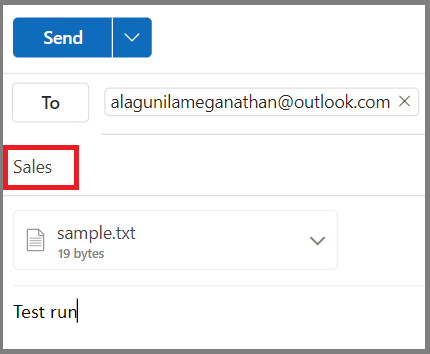
Finally, the system executes successfully and sends an Approval email.
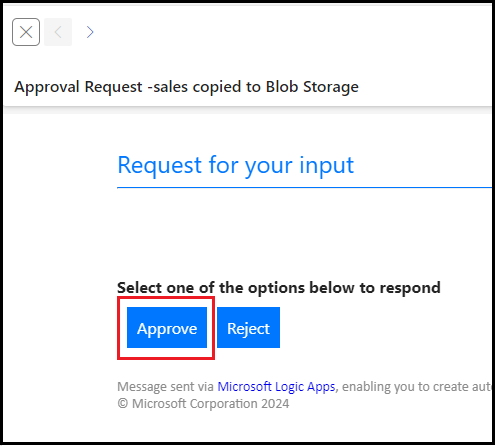
If you choose to Approve, it will.
Move the email attachment to the blob storage container folder.
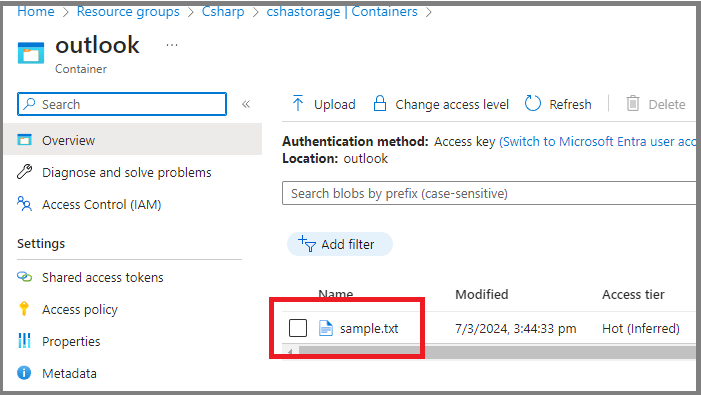
Additionally, the email is marked as Read.

The operation is successful.
If you opt for Reject.

You will receive a notification email for the rejected request.
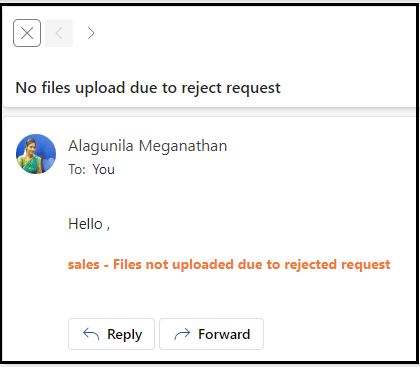
The operation is successful.
Summary
Now that you have learned how to create an approval-based automated workflow using Azure Logic App. Visit Logic App for more insightful articles.
Enhance your workflow automation experience by visiting our company Skrots. Check out our various services at Skrots Services. Also, explore more blogs on our platform at Blog at Skrots .


