Containerize .NET Core Utility And Push It To Azure Container Registry Utilizing Visual Studio
Introduction
Azure Container Registry is a personal Container Registry on the Azure Platform. You’ll be able to containerize your software and push it to the Azure Container Registry. Container-based companies like Azure Container Occasion, Azure WebApp, Azure Kubernetes Service, and Azure Service Material can pull the picture and run it. You can even pull the picture from anyplace outdoors the Azure platform like on-premises or different vendor clouds and run it. The photographs saved in Azure Container Registry aren’t publicly obtainable and it’s essential to give specific permission to customers who needs to be pulling and utilizing it.
You’ll be able to create a .NET Core software, containerize it and push it to Azure Container Registry. All these steps you are able to do it utilizing Visual Studio. You’ll be able to allow Docker help to your answer after which publish it to the Azure Container Registry with few clicks within the Visual Studio. You can even use Docker instructions to containerize an software and push it to the Azure Container Registry.
On this article, we are going to create a.NET Core software with Docker help enabled and push it to the Azure Container Registry. We’ll carry out all these steps utilizing Visual Studio. As a prerequisite, it’s best to have Docker Desktop put in in your system. Beneath is the hyperlink for the earlier article the place we mentioned how you can create an Azure Container Registry.
Making a Docker Assist Enabled .NET Core Net Utility
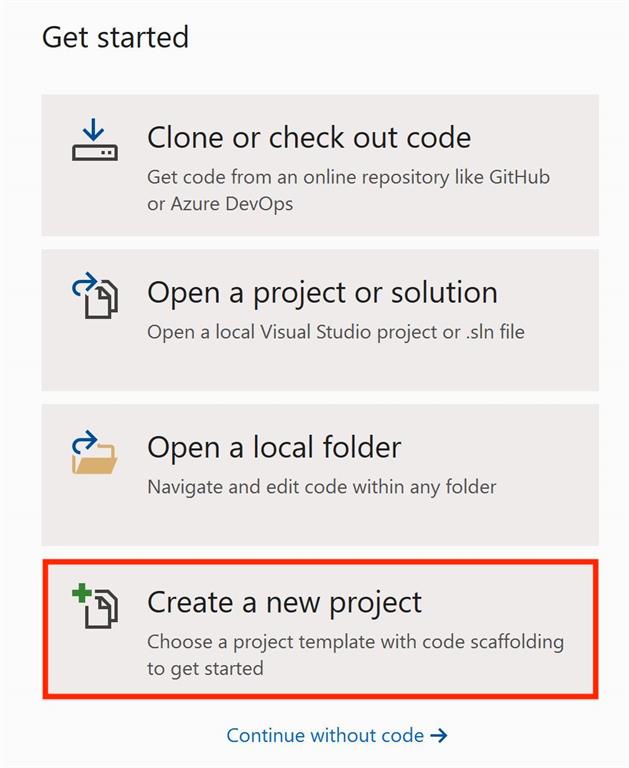
Allow us to create a .NET Core MVC software and allow Docker help for the appliance. Open Visual Studio and click on on Create a brand new mission.
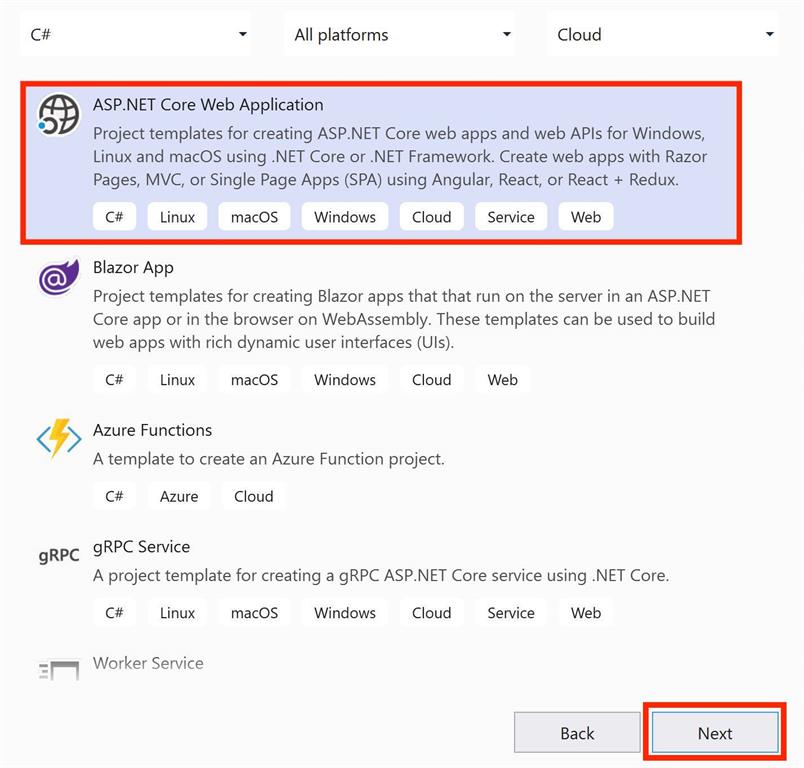
Choose ASP.NET Core Net Utility. Click on on Subsequent.
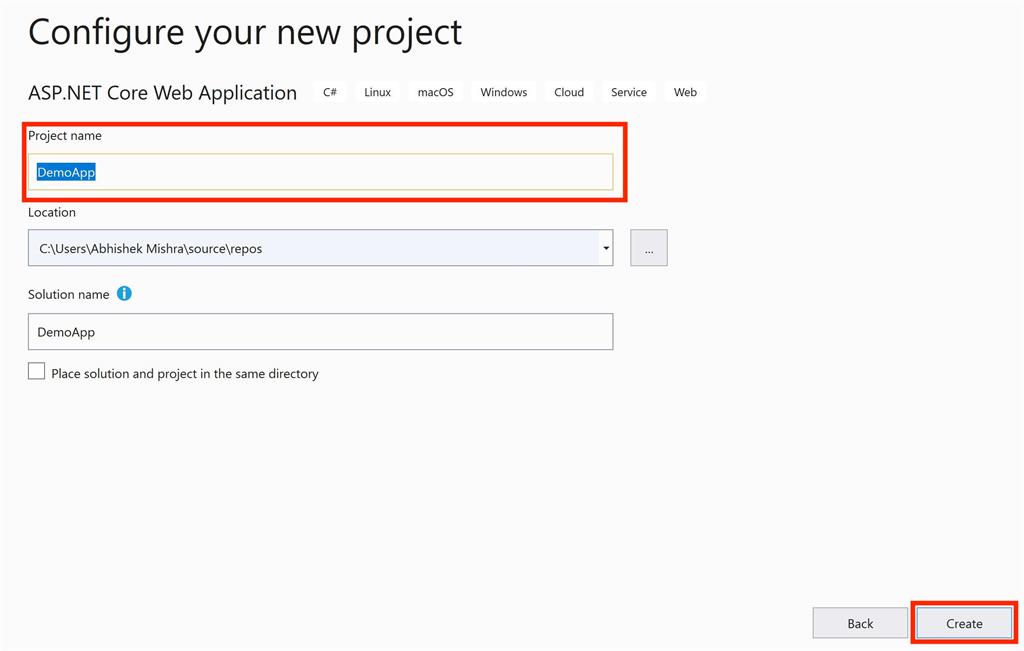
Present the title of the mission and click on on Create.
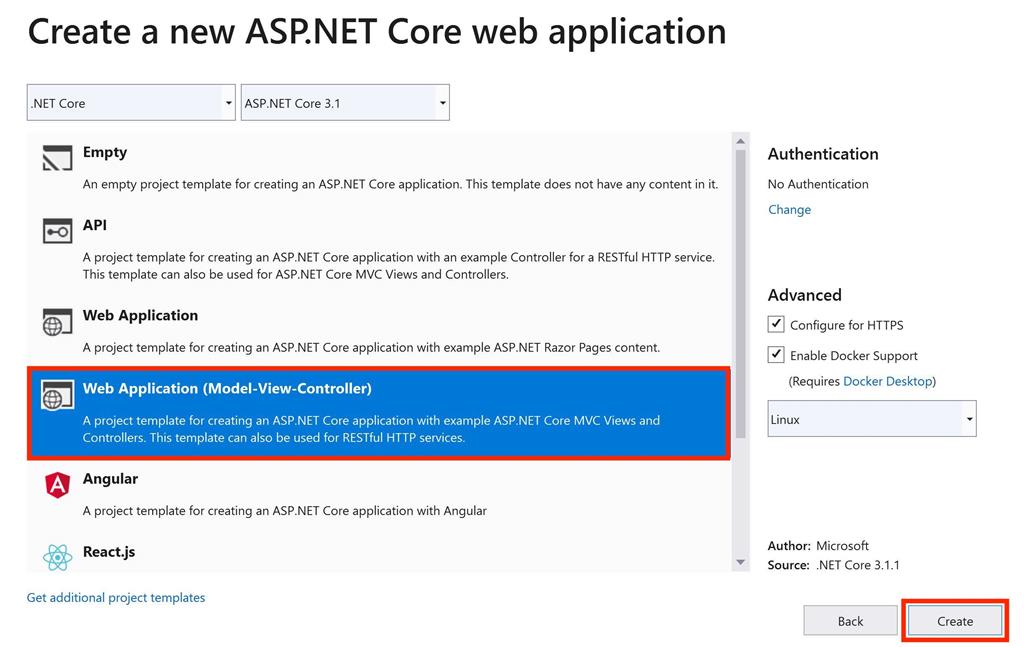
Choose Net Utility (Mannequin-View-Controller). Choose Allow Docker Assist and click on on Subsequent.
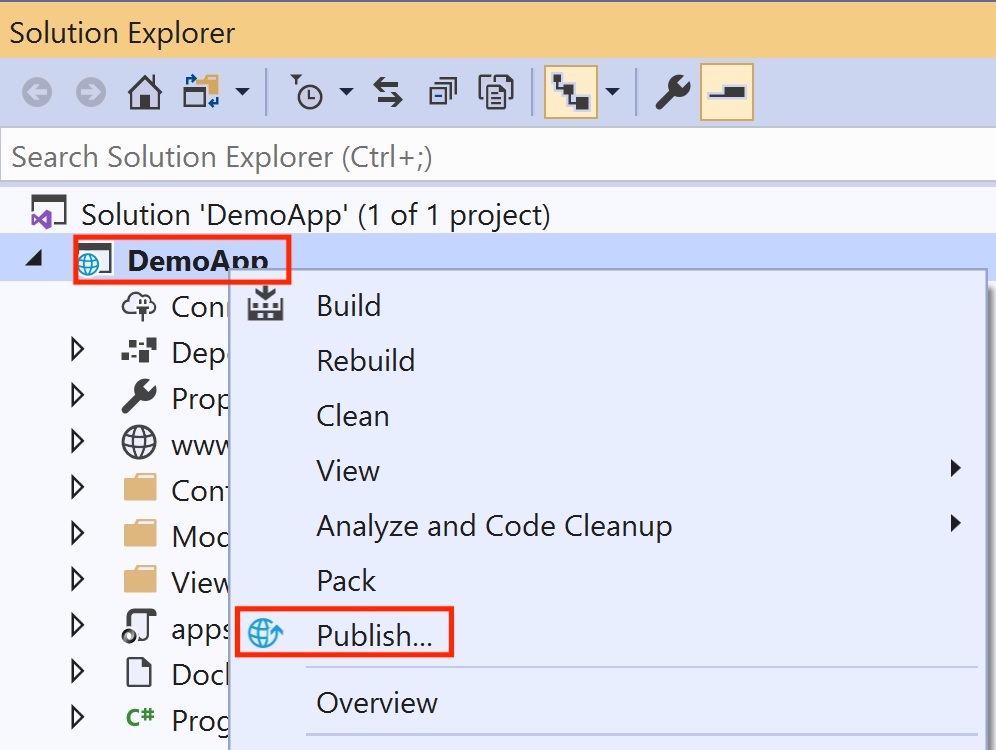
The default Net Utility will get created. Now allow us to containerize the Default Net Utility as-is. It’s possible you’ll optionally select to make some modifications within the default software and add your customized functionalities. Proper-click on the Net Challenge and click on on Publish.
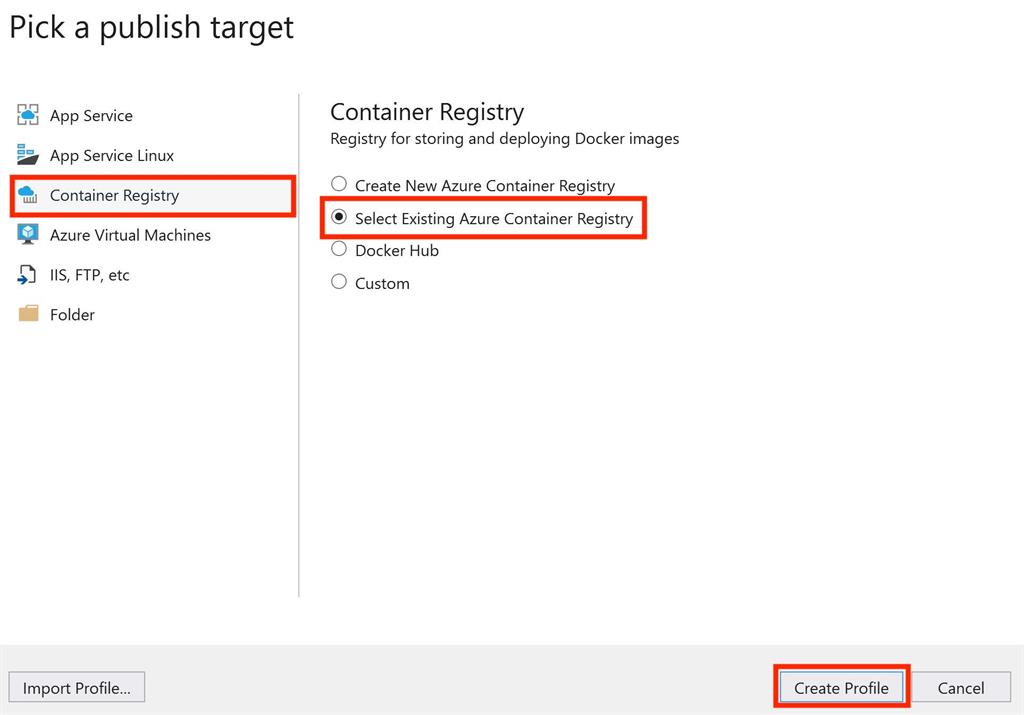
Click on on Container Registry after which click on on Choose Present Azure Container Registry.
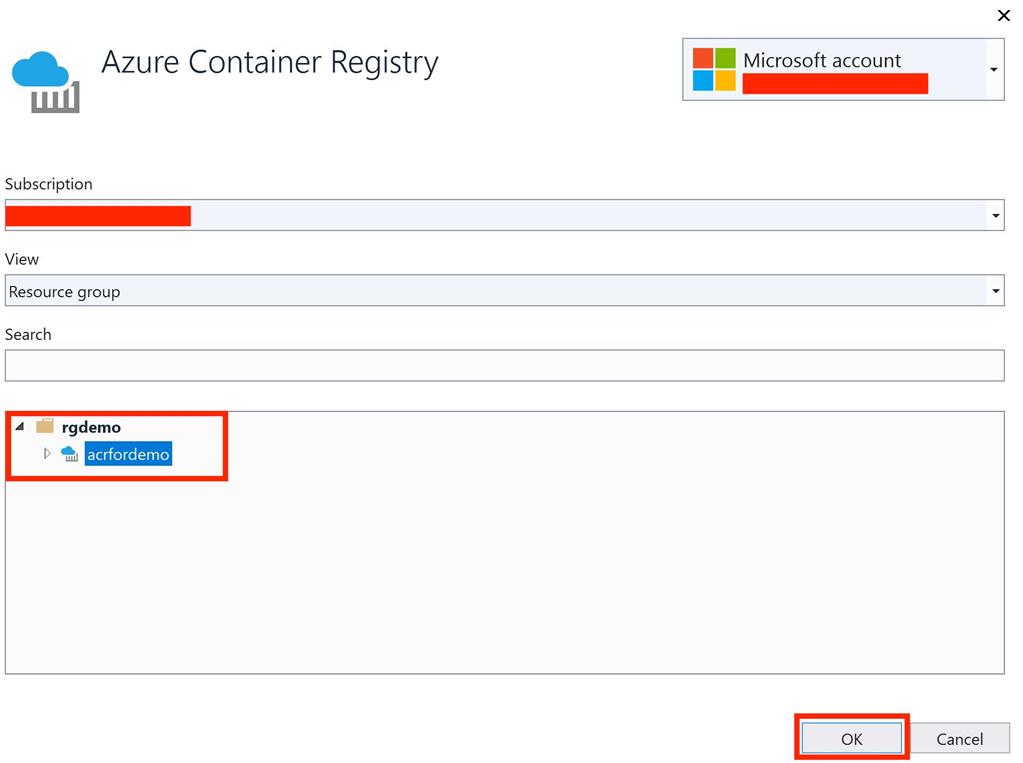
Choose your Azure Subscription, Useful resource Group, and Azure Container Registry. Click on on OK.
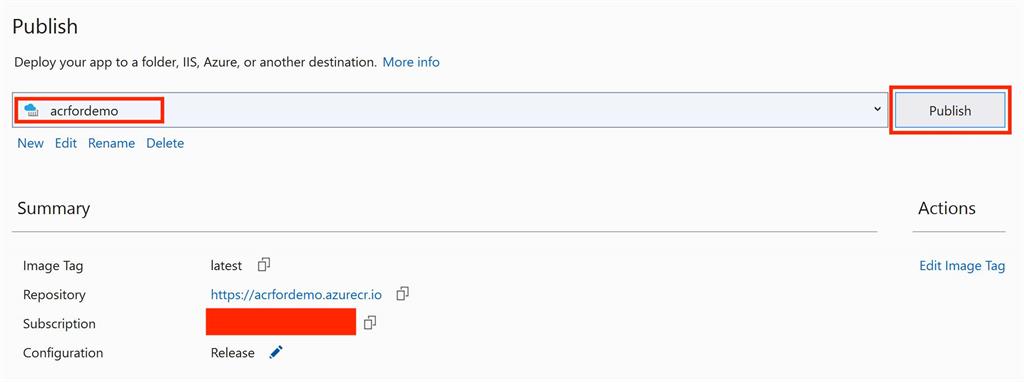
Click on on Publish. The default software will get containerized and be pushed to Azure Container Registry.
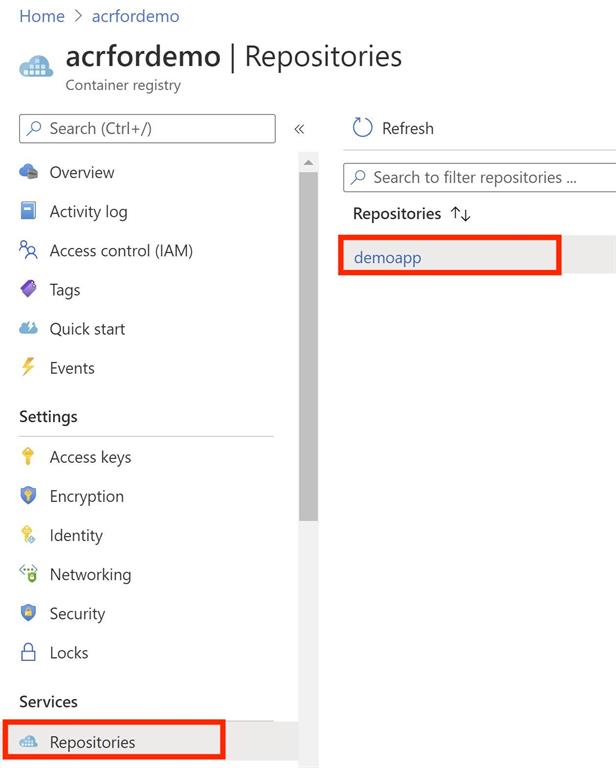
Open Azure Portal and go to the Azure Container Registry. Click on on Repositories. You’ll be able to see the containerized picture for the appliance.
Conclusion
On this article, we realized how you can containerize a .NET Core net software and push it to Azure Container Registry utilizing Visual Studio. Within the subsequent article, we are going to containerize a .NET Core software, push it to Azure Container Registry utilizing Docker instructions. This system would maintain good for non-Microsoft primarily based purposes that aren’t supported on Visual Studio.