What’s Azure perform ?
Azure perform is a serverless compute providing of Microsoft Azure which helps you to make occasion pushed functions with out worrying in regards to the infrastructure administration for the appliance. It’s a Perform as a Service providing (FaaS). You possibly can write Azure capabilities in a wide range of languages, starting from C# to Java. This compute possibility asks you to pay relying upon the code execution time of your code.
Easy methods to Construct an Azure perform utilizing Visual Studio ?
Step 1
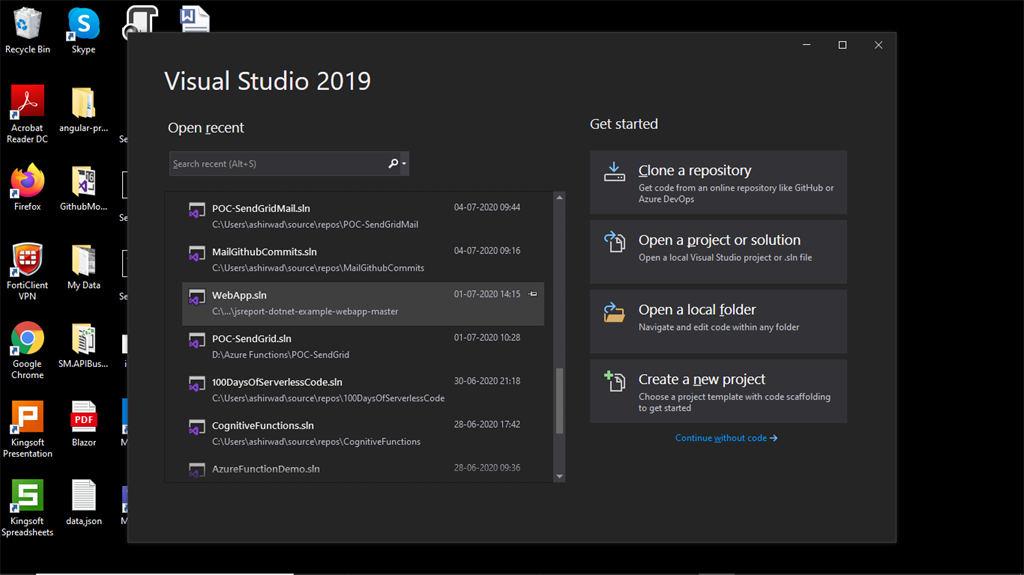
Open Visual Studio 2019 and Click on on Create a brand new Challenge
Step 2
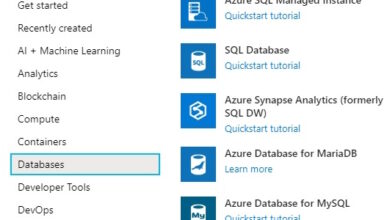
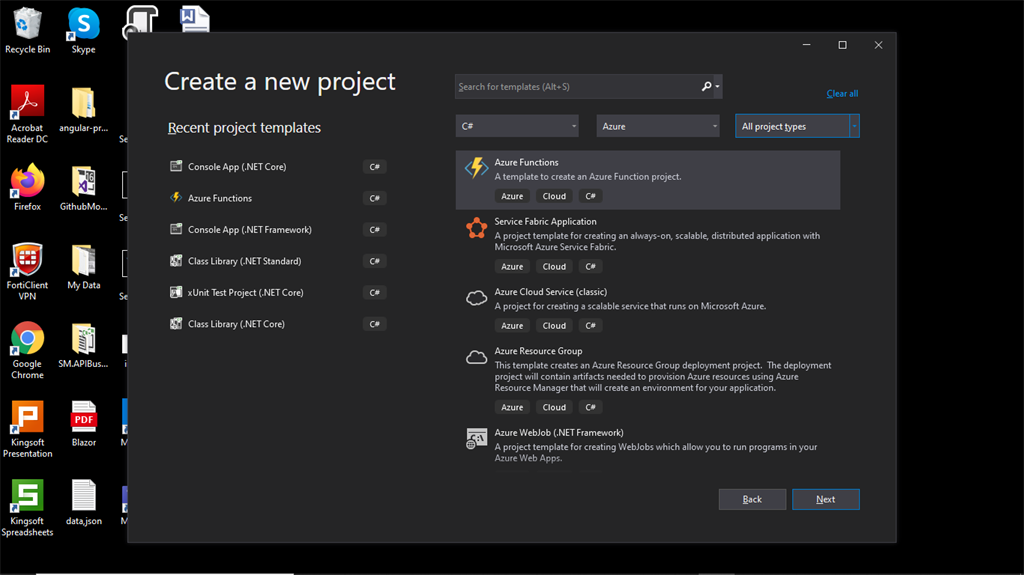
Now you have to choose Azure Capabilities from the Challenge Templates out there
Step 3
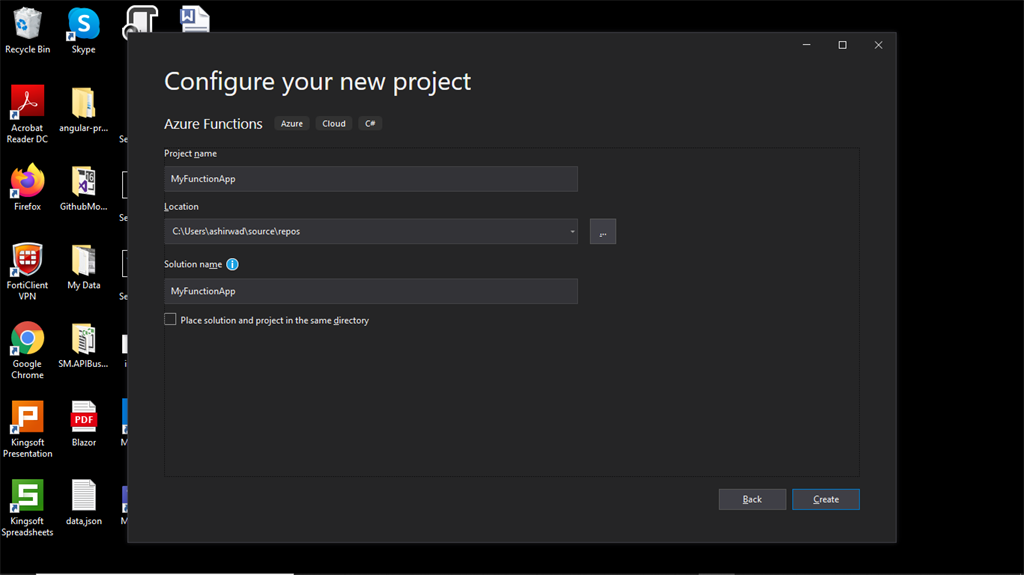
Configure the Challenge by giving it a challenge identify and answer identify. Additionally, if you need you’ll be able to choose the placement the place you need the answer information to be created.
Step 4
Now, choose the Azure perform runtime model, for this text I am utilizing V2. Then choose the set off sort, storage account and Authorization of your Azure perform. If you have not determined with which set off you wish to make your Azure perform then you can begin with an Empty azure perform. Authorization ranges lets you prohibit the entry to your Azure perform from undesirable customers.

Step 5
Within the earlier step, I had choose the HttpTrigger because the Set off Kind for our Azure Perform so when you click on create within the display screen of Step-4, Visual Studio will create the answer together with a default template for an Azure Perform with HttpTrigger as Set off Kind. You possibly can see the perform identify, the Http strategies which your Azure perform can take, the authorization sort which you had chosen earlier and a easy code to fetch information from the question string or request physique at any time when a request is distributed to the zure perform. Let’s click on on the MyFunctionApp button, besided Any CPU to run our Azure perform.

Step 6
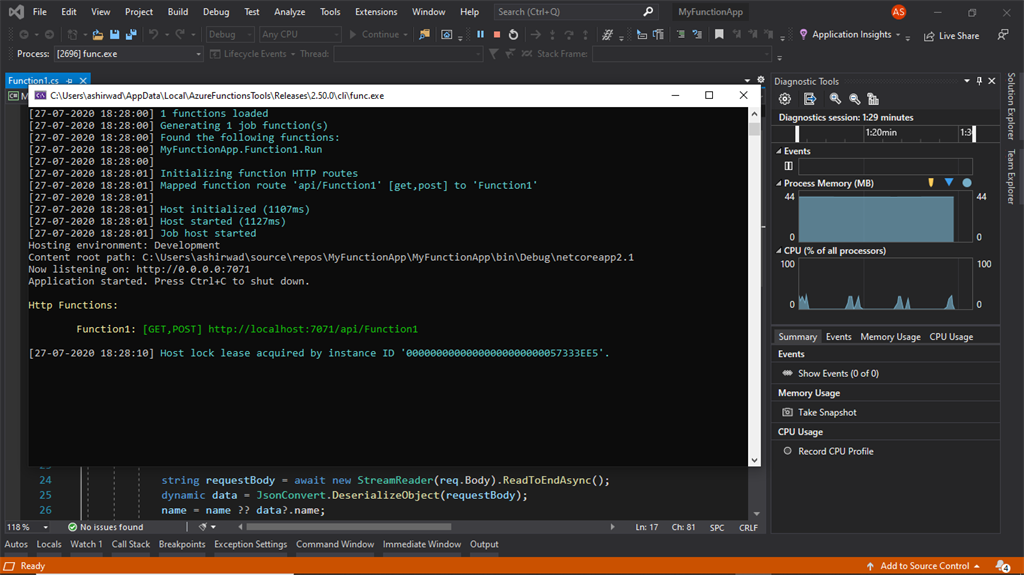
After you click on on the MyFunctionApp to run the Azure Perform, you’ll be able to see a window popup, which is the Azure Perform core software. This window will present us all of the details about our Azure capabilities, ranging from the URLs of our Azure capabilities, and requests and responses obtained and despatched by them to the Logging data.

Step 7
Let’ scroll down a bit and the get URL of our Azure perform which is http://localhost:7071/api/Function1, Let’s copy this URL.
Step 8
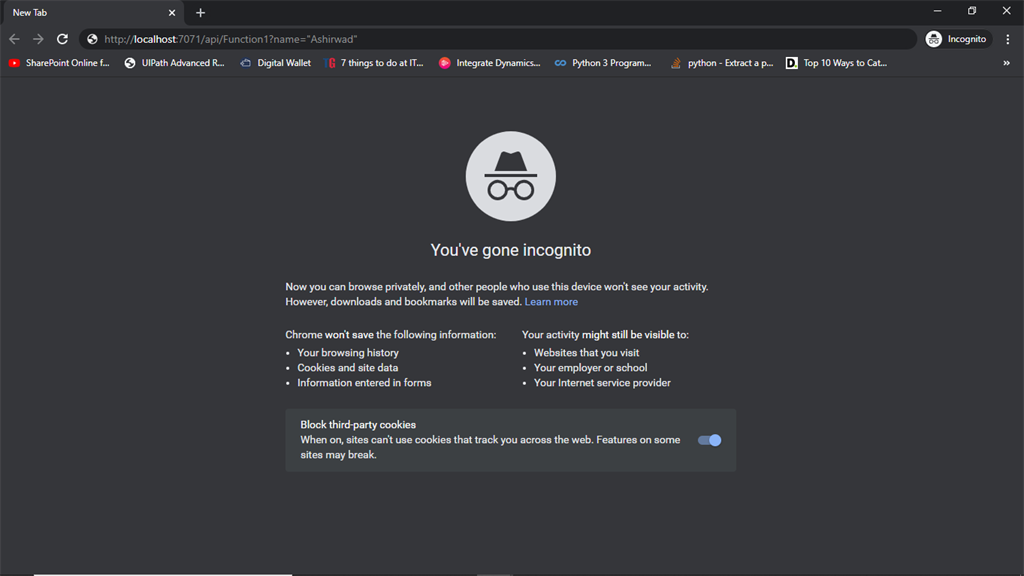
Now let’s open a browser and paste the Url and add a question string ‘identify’ and click on enter to ship a request to our Azure perform.
Step 9
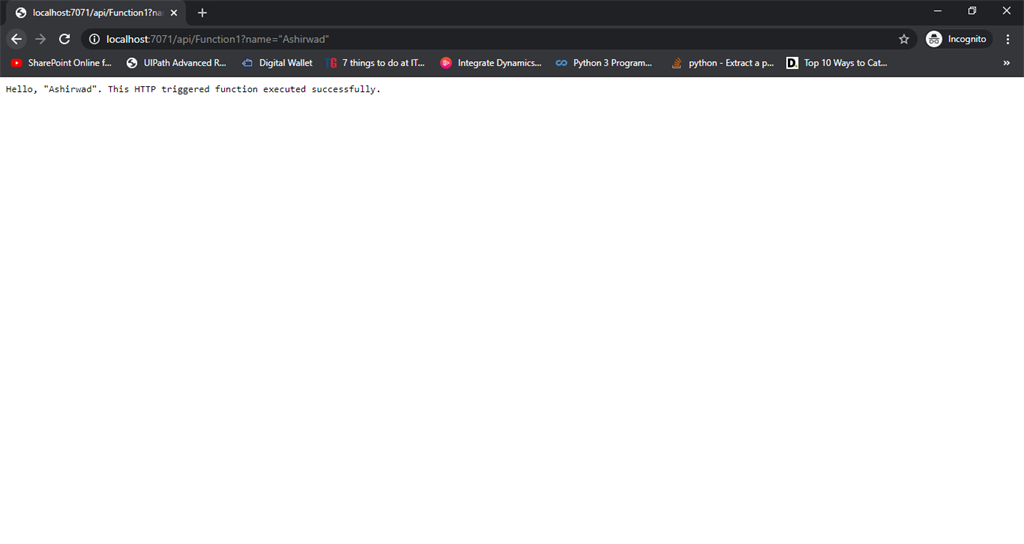
And now you’ll be able to see the respone supplied by the Azure perform within the browser display screen as written within the code. You possibly can alter the code and Mess around to make the Azure perform do what you need it to do.
Conclusion
This can be a easy information to develop and run an Azure perform domestically in your personal system utilizing Visual Studio 2019. There may be extra customization that you are able to do with it, like having customized routing, limiting the quantity Http strategies that your perform permits, altering the enterprise logic of the azure perform, including dependecies to it and lots of extra. And at last concerning Azure Capabilities Runtime Core software, in my opnion it acts as server to host your Azure capabilities. Azure capabilities present a easy and simple option to develop serverless functions in the identical manner we usually make our net APIs or schedulers.