Introduction
On this article, I’m going to indicate learn how to arrange assets to work with Azure utilizing energy shell. We are going to study primary energy shell instructions that are required to work with Azure. This text can be utilized by inexperienced persons, intermediates, and professionals.
Prerequisite
- Azure subscription
- Home windows Energy shell model 5.1.1
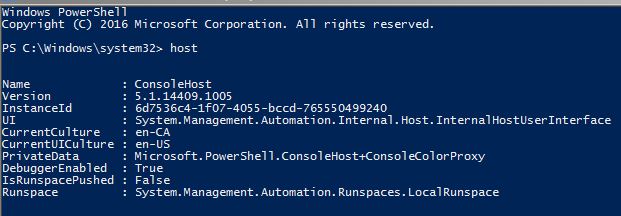
First, we are going to test which model of Powershell has been put in in your machine utilizing the beneath command
Command
Host
For those who don’t have model 5.1.1 in your machine, it means you don’t have Home windows Administration Framework 5.1 put in in your machine. You may obtain and set up the proper model from the beneath URL. Please choose the proper model as per the working system from the beneath URL.
https://www.microsoft.com/en-us/obtain/particulars.aspx?id=54616
Additionally, we must always have a NuGet put in on the machine.
The beneath command can be utilized to put in Nuget if not put in
Command
Set up-PackageProvider -Identify Nuget -RequiredVersion 2.8.5.201 – pressure

Instruments
We are able to join and use Azure in numerous methods utilizing numerous instruments. To work with Microsoft Azure it’s higher to know all these instruments.
Few of those instruments are,
- Azure Portal
- Home windows Energy shell
- Azure Command Line Interface (CLI)
- Azure cloud shell – This allowed you to make use of each Bash and energy shell from inside Azure portal.
Right here I’m going to indicate, learn how to join and use Azure with Window Energy shell instructions.
Learn how to join Azure utilizing Powershell?
Under are the steps we want to observe to work with an influence shell command,
- Open Window Energy shell command line as administrator.
- First, we have to set execution insurance policies so we will go and set up remotely signed packages.
Command
Set-ExecutionPolicy RemoteSigned

- As soon as the above settings will probably be executed, we are going to set up all Azure modules required for the present customers utilizing the beneath command.
Command
Set up-Module -Identify Az -AllowClobber -Scope CurrentUser

- As soon as Azure modules are put in, we have to import Az to work with Azure command. Please notice that ‘Az’ is used for Azure.
Command
Import-Module Az verbose
- As soon as modules are imported, we are going to attempt to join the Azure account. Execute the beneath command.
Command
Join-AzAccount
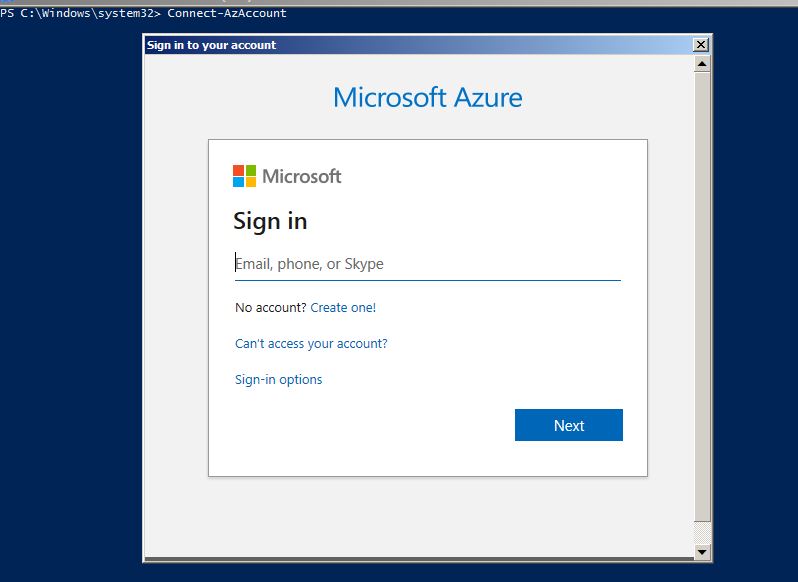
As soon as you’ve got logged in with credentials you will notice the beneath picture with subscription particulars like Account, SunscriptionName, TenantId, and Setting.

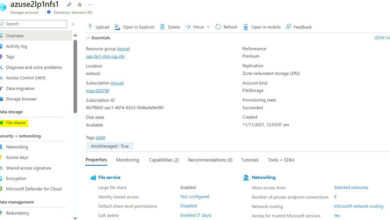
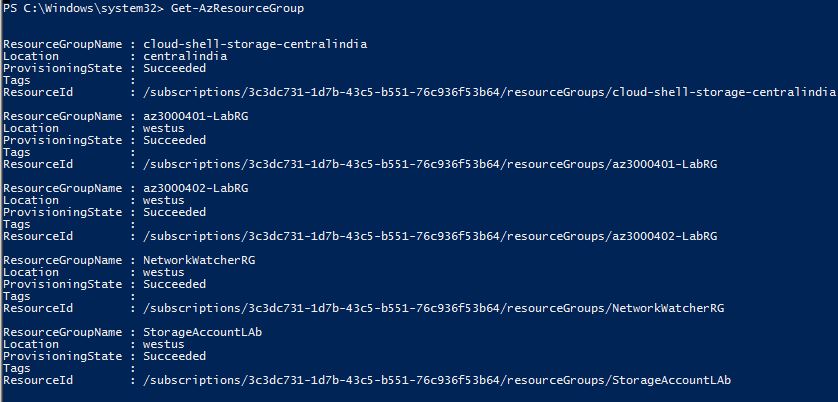
Let’s attempt to get all assets obtainable with our account.
Command
Get-AzResourceGroup
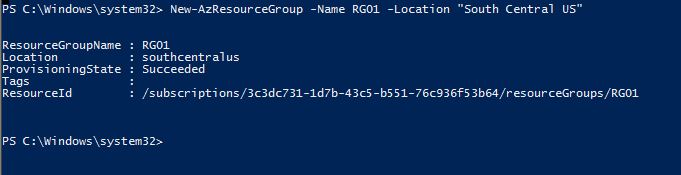
Now we are going to create a brand new useful resource group after which test once more utilizing instructions.
Command
New-AzResourceGroup -Identify RG01 -Location “South Central US”
Let’s attempt to get all useful resource teams once more to test if the brand new useful resource group is created or not.
Command
Get-AzResourceGroup
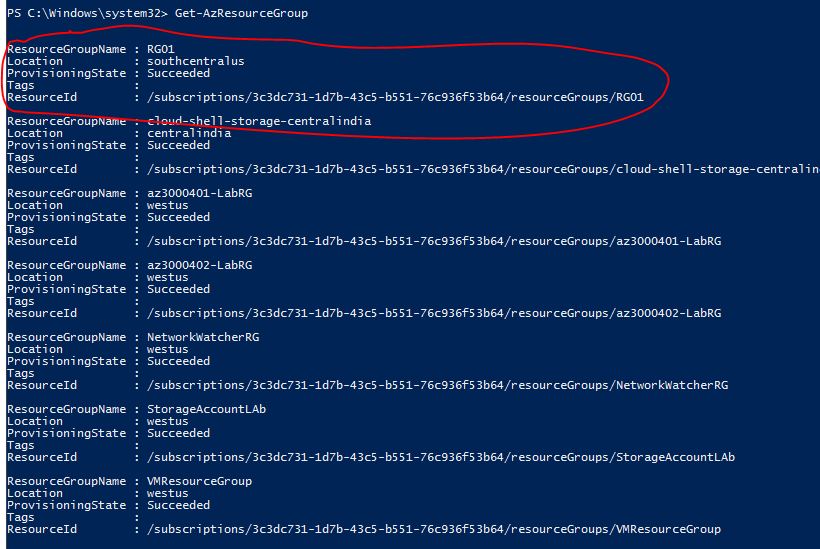
You may see within the above picture that newly created useful resource teams have been created.
We are able to execute and obtain any factor utilizing energy shell instructions. It is not attainable to cowl all instructions in a single article. I’ll attempt to publish one other article on this quickly.
That is all for this text. Hope you loved and realized from this text.