Azure Machine Studying Studio – A number of Language Named Entity Recognition (NER) Textual content Evaluation
Textual evaluation is likely one of the department of machine studying that extracts attention-grabbing insights from textual information, for instance, sentiment/emotional evaluation of human conduct based mostly on the tone by which the textual content is written, categorizing folks, organizations and places as a separate entity formally often called Named Entity Recognition (NER) mannequin, and plenty of extra.There are various instruments, applied sciences and languages on the market by which
machine studying fashions are written and processed reminiscent of python,
R-scripts, Azure Machine Studying Studio, IBM machine studying instruments and
many extra. Python is the preferred scripting language used for writing and processing machine
studying fashions.
Immediately, I shall reveal an Azure Machine Studying Studio Named Entity Recognition (NER) module to extract folks, location and group entities from my supplied textual dataset inthe Urdu language. Know that the Azure Machine Studying Studio Named Entity Recognition (NER) module presently helps solely English language textual content and may solely acknowledge folks, location and organizations from the textual content. Nonetheless, I’ll reveal a quite simple method to course of Azure Machine Studying Studio Named Entity Recognition (NER) module with any language. I’m selecting right here Urdu language as a base case. You’ll be able to nevertheless, select another language of your selection.
Prerequisite
Following are some stipulations earlier than you proceed additional on this tutorial,
- Data of Azure Machine Studying Studio.
- Registration on Azure Machine Studying Studio Free Account.
- Fundamental understanding of machine studying Named Entity Recognition (NER) idea.
- Data of SQLite Question Writing.
Let’s start now.
Step 1
Microsoft Azure Machine Studying Studio, Named Entity Recognition (NER) module presently helps English language solely. Subsequently, so as to carry out NER evaluation on the non-English language, step one is to translate the textual information into English language utilizing any appropriate translation API e.g. Google Translation API, Bing translation API or another appropriate translation API. In order a primary step, I’ve transformed my goal Urdu language textual content dataset into an English language textual content dataset utilizing Google Translation API.
Step 2
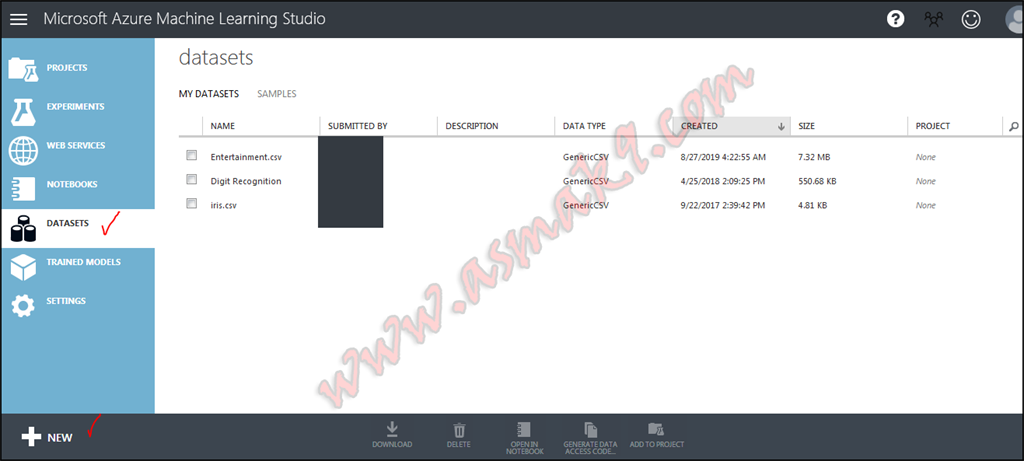
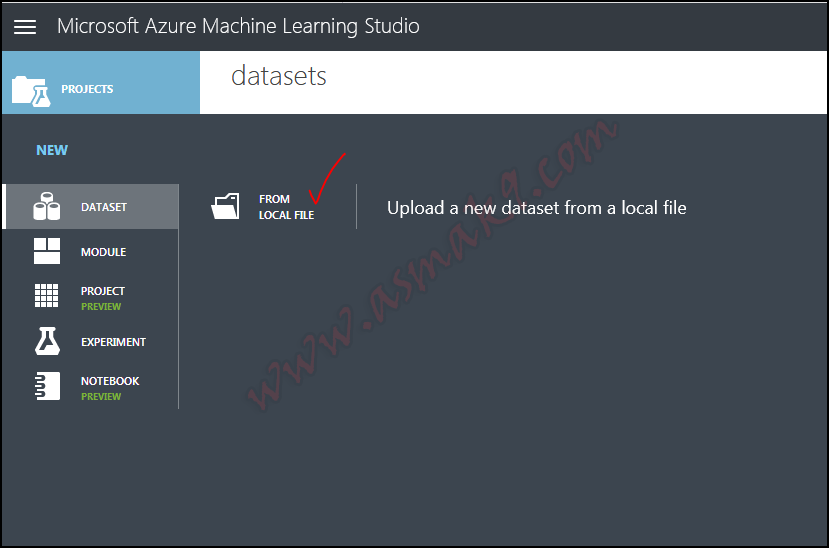
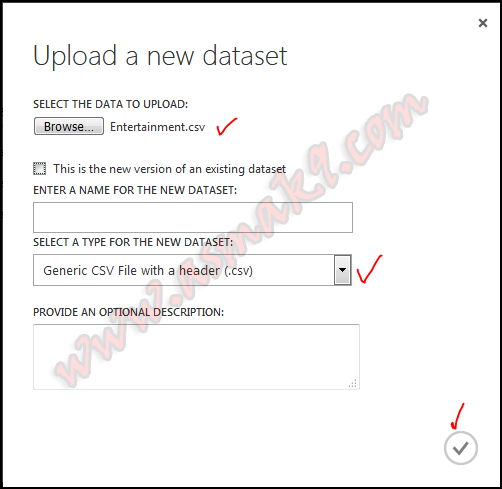
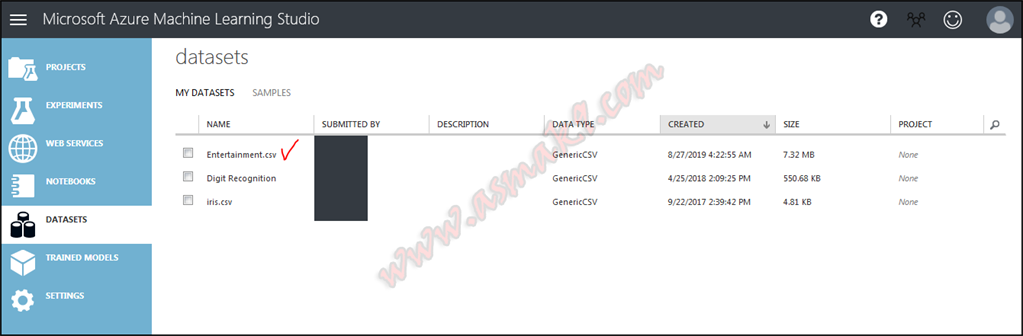
Subsequent step is to import my pre-processed dataset into Azure Machine Studying Studio i.e. login to your Azure Machine Studying Studio after which import the pre-processed dataset as proven beneath i.e.
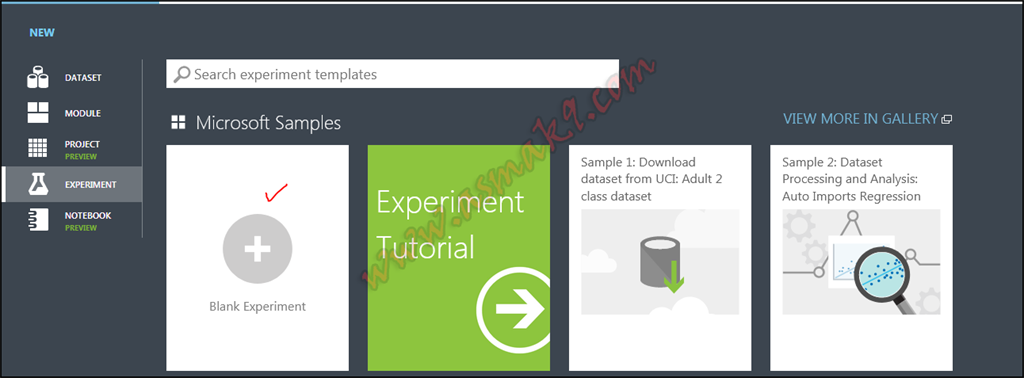
Step 3
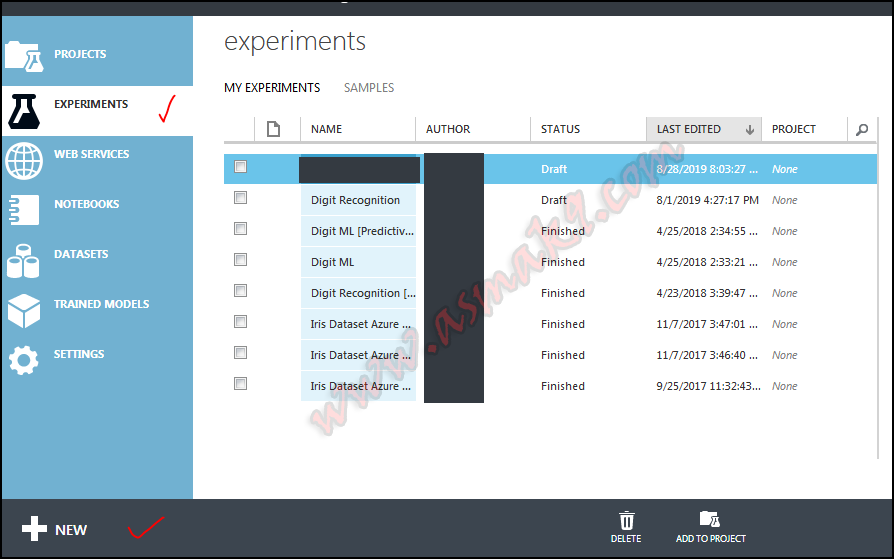
Now, create a brand new empty experiment and identify it “A number of Language Named Entity Recognition (NER)” as proven beneath i.e.
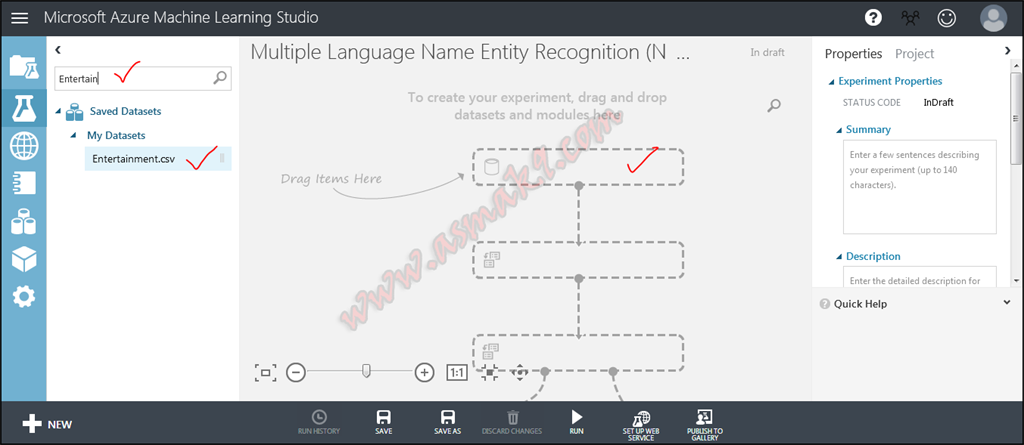
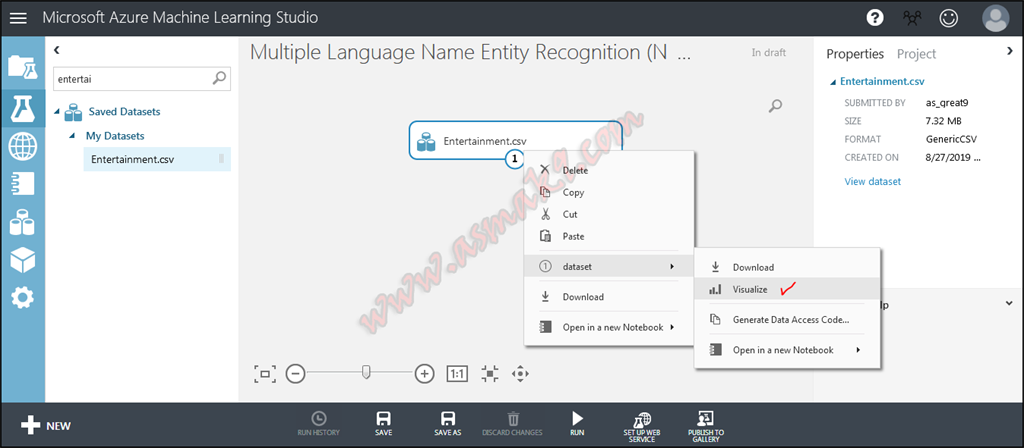
Step 4
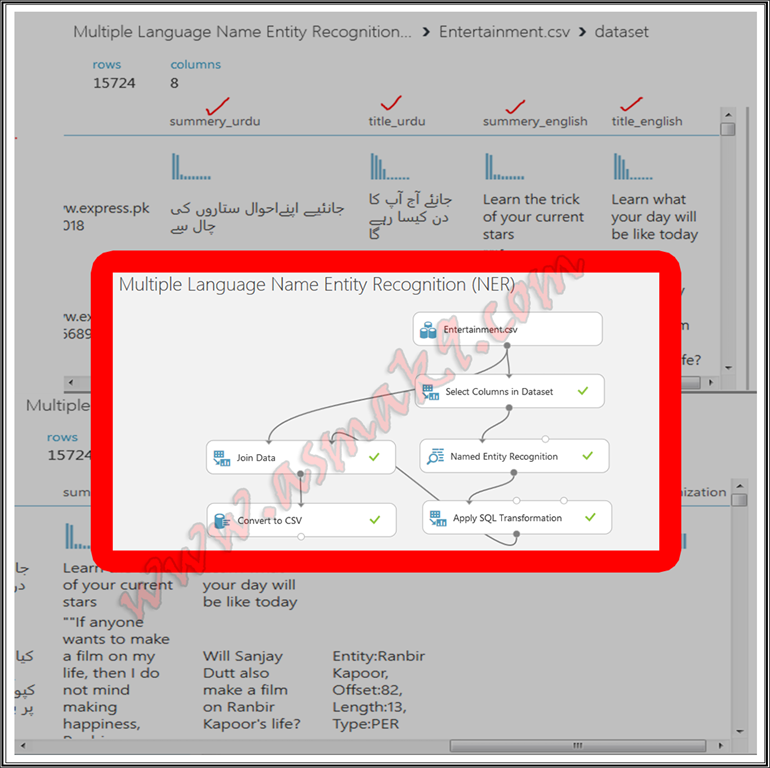
In the suitable pane, seek for your imported dataset after which drag n drop your dataset on the experiment window after which proper click->Dataset->Visualize on the module to view your dataset as proven beneath, i.e.:
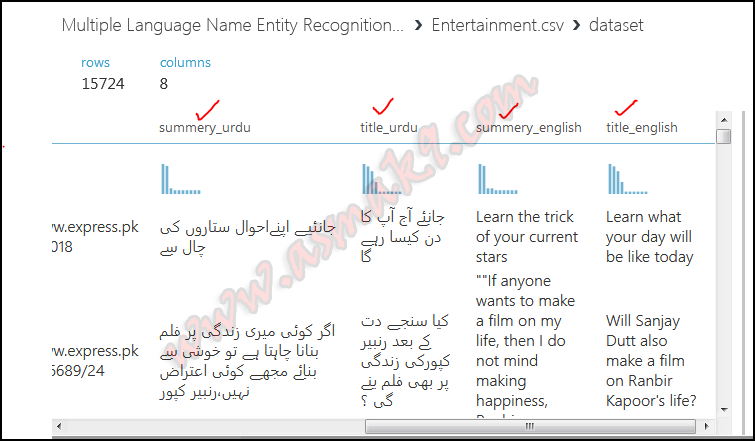
Within the above picture you’ll be able to see the Urdu in addition to English translated textual content of my dataset.
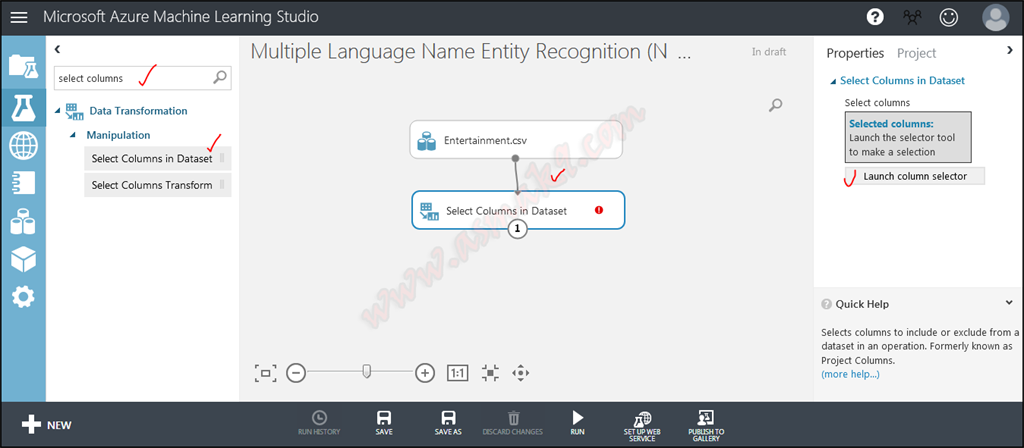
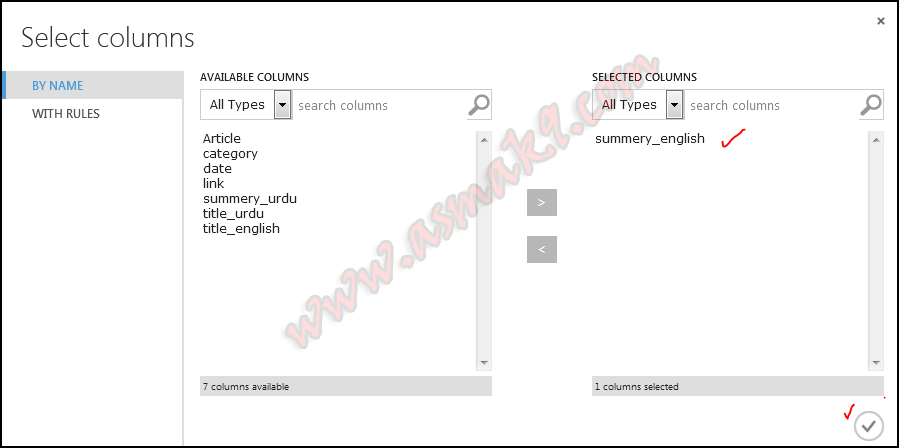
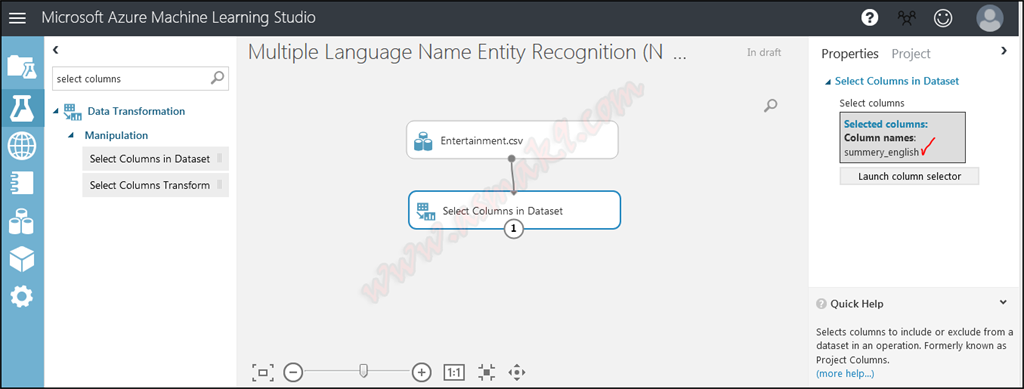
Step 5
Now, seek for “Choose Columns Dataset” module and choose solely “summery_eng” column, since NER module is utilized on a single column solely as proven beneath i.e.
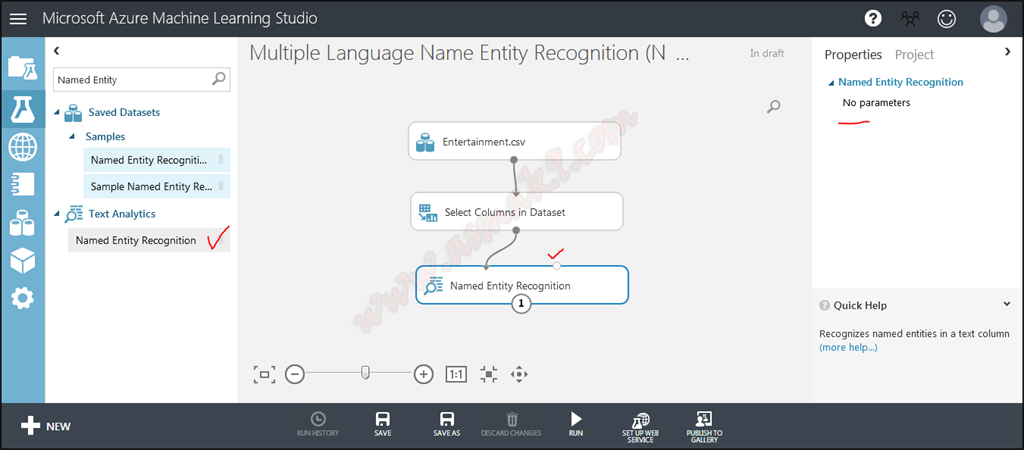
Step 6
Now, seek for “Named Entity Recognition” module and join your chosen English language textual content column which is chosen beforehand as an enter. Discover that Named Entity Recognition module doesn’t present any configurations as proven beneath i.e.:
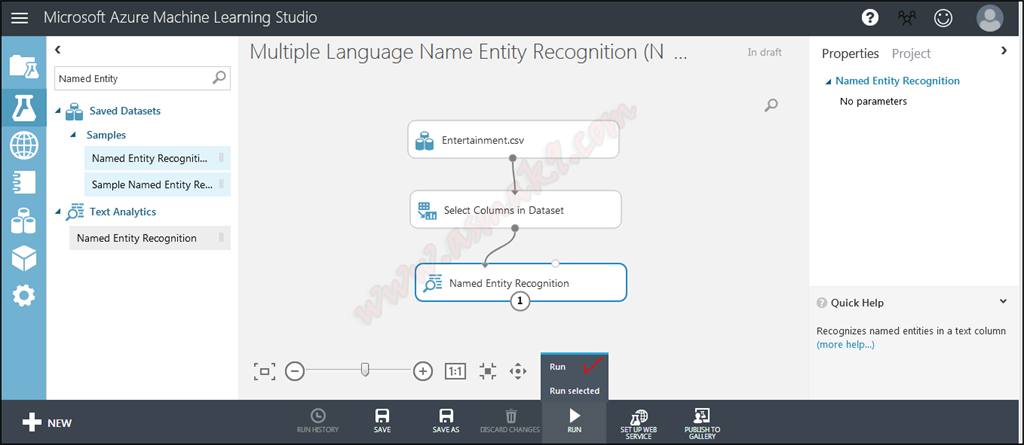
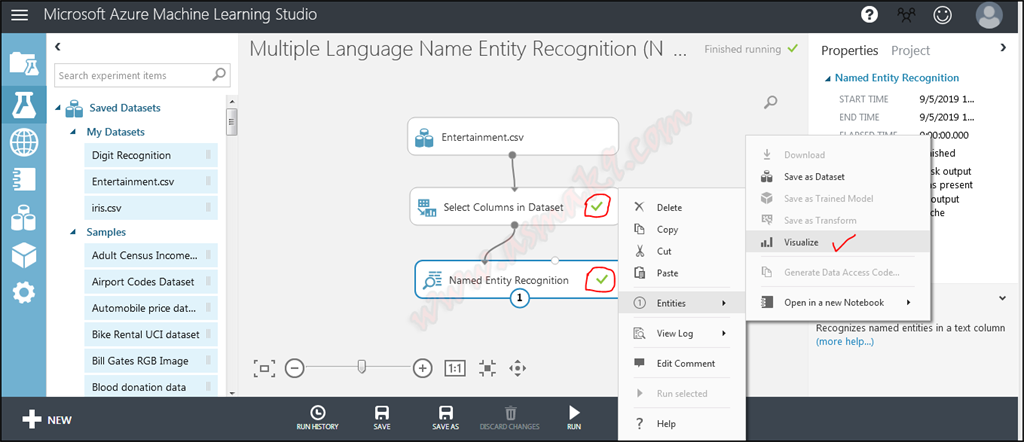
Step 7
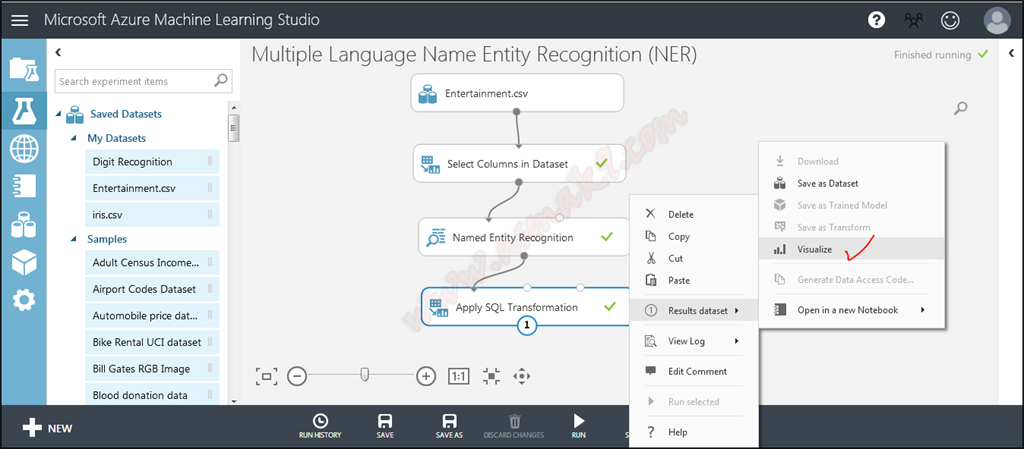
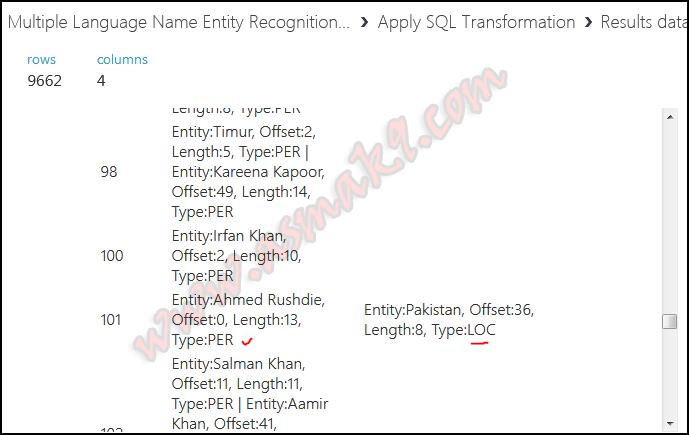
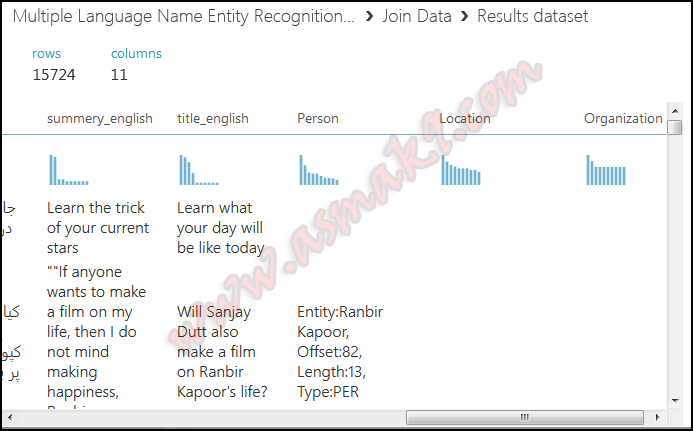
Run the experiment after which visualize the outcomes that Named Entity Recognition module has compiled as proven beneath i.e.:
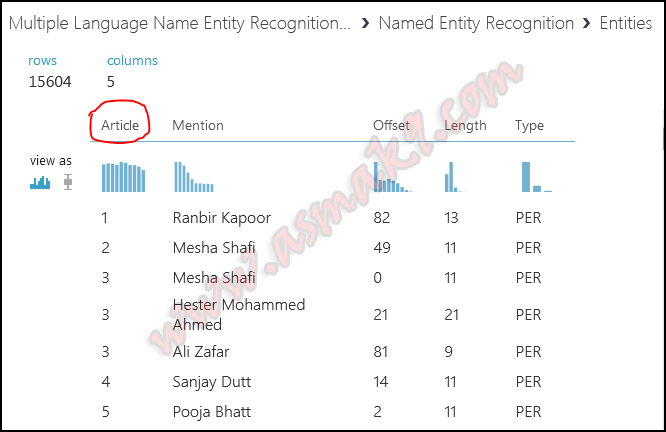
Within the above picture you’ll be able to see that Named Entity Recognition module extracts particular person, location and group entities for my chosen textual content column. If there are a number of entities within the textual content then every entity is expanded to a brand new row. Discover that Article ID is connected with every entity, the article ID is auto generated in the identical order because the order of the supplied dataset rows. Article ID begins with “0”, since, in my pattern dataset 0th row doesn’t include any entity due to this fact that row is just not included in the results of NER module. Equally, my supplied dataset row quantity Three incorporates a number of entities due to this fact every entity is expanded to new row however, connected Article ID is similar. “Offset” is the beginning place at which the acknowledged entity is discovered, “Size” is the scale of acknowledged entity together with areas if any and at last, “Kind” is the categorization of the acknowledged entity in particular person, location or group.
Step 8
For the following step, I need my resultant NER dataset to be mixed with my current dataset as a sparse matrix with one new column represents particular person entity, second new column represents location and third new column represents group. For this, seek for “Apply SQL Transformation” module by which I’ve written a SQLite question to group every entity right into a single row through the use of article Id and cut up sort column into three columns for every row. You’ll be able to obtain the question supplied above on this article. Beneath you’ll be able to see connection of “Apply SQL Transformation” module in motion i.e.
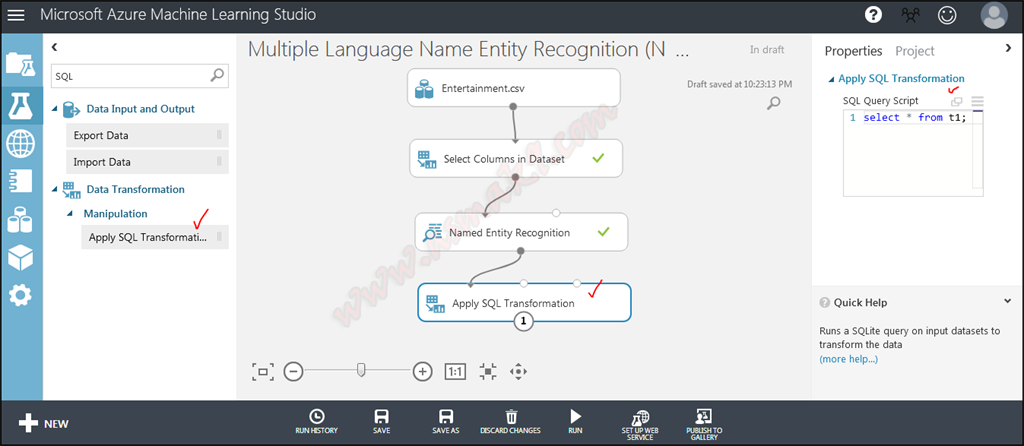
Within the above picture you’ll be able to visualize that I’ve separated every row with “|” image and mix every column by comma “,” image.
Step 9
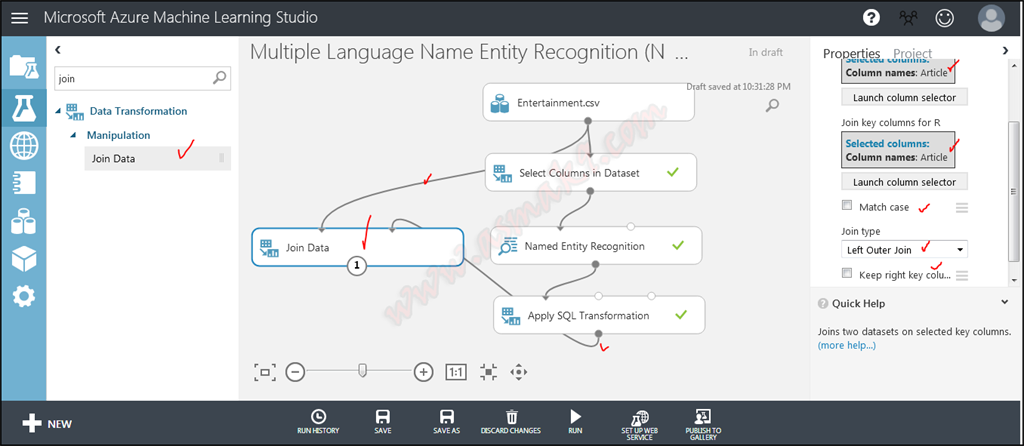
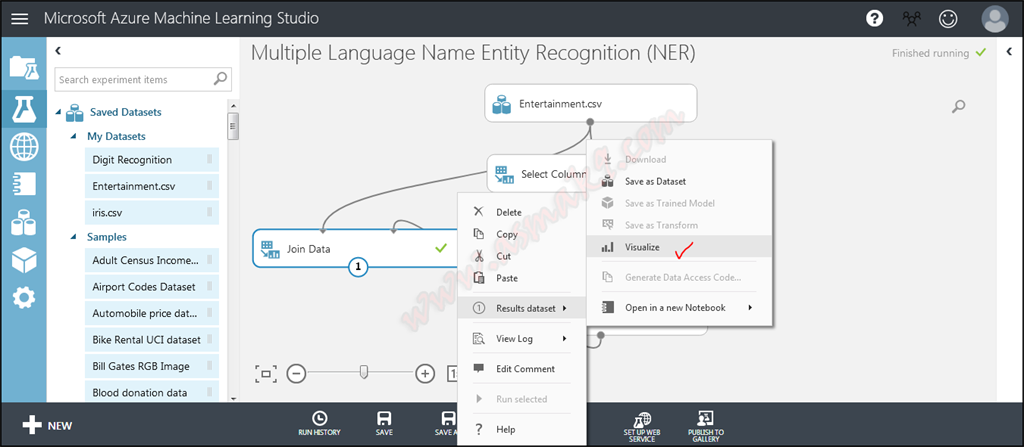
Let’s mix our enter dataset with the resultant dataset and type a sparse matrix. Know that I’ve already connected Article ID with my enter dataset on the pre-processing information transformation step. Seek for “Be a part of Information” module and use “Left Be a part of” and mix the 2 datasets as proven beneath i.e.
Step 10
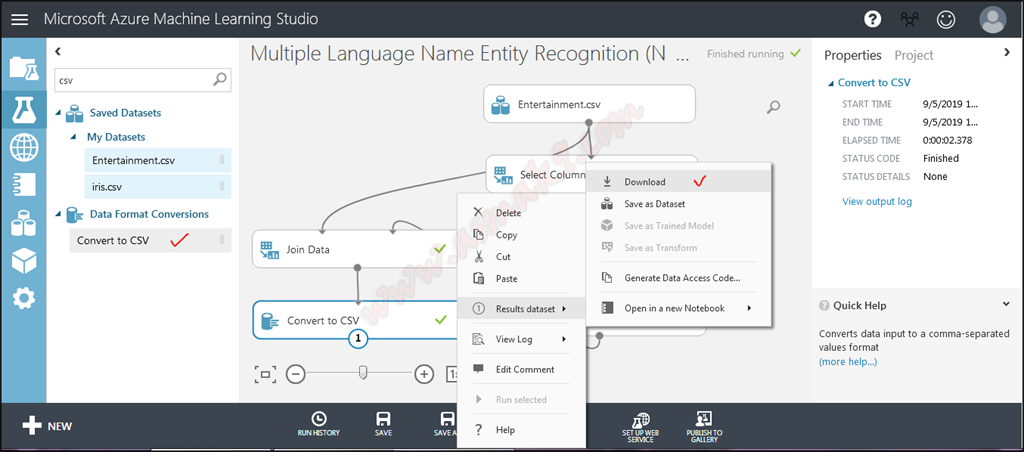
Lastly, obtain your resultant dataset as a CSV file. Seek for “Convert to CSV” module and obtain your dataset as proven beneath i.e.
Conclusion
On this article, you’ll be taught the method to extract folks, location and group entities from a number of language textual datasets utilizing Azure Machine Studying Studio Named Entity Recognition (NER) module. Additionally, you will be taught to attach “Apply SQL Transformation” module, you’ll be taught to make use of “Be a part of Information” module to mix two datasets with Left Be a part of and at last you’ll be taught to make use of “Convert to CSV” module to obtain your resultant dataset into CSV file format.