Introduction
This text will show you how to discover ways to create Azure Perform – Queue Set off in Visual Studio.
Earlier than studying this text, please undergo some vital articles talked about under,
- Exploring About Azure Perform
- Create Http Set off Azure Perform In Azure Portal
- Create The Timer Set off Azure Perform In Azure Portal
- Create Sturdy Perform In Azure Portal
- Create Sturdy Perform In Visual Studio
- Create Azure Perform In Visual Studio
- Create Azure Perform – Blob Set off In Azure Portal
- Create Azure Perform – Queue Set off In Azure Portal
- Create Azure Perform – Timmer Set off In Visual Studio
- Create Azure Perform – Blob Set off in Visual Studio
Azure Perform
Azure Features is a serverless computing service and is hosted on the Microsoft Azure public cloud. It’s designed to speed up and simplify utility improvement. The cloud supplier takes care of all of the complications of operating the server, dynamically managing the sources of the machine, and many others. It additionally gives auto scalability.
Serverless functions, also referred to as Perform-as-a-Service or FaaS, is an providing from a lot of the enterprise cloud suppliers through which they permit the customers to solely write code, and the infrastructure behind the scenes is managed by them.
Azure Features is the event-based serverless utility framework which might robotically scale up and down based mostly on the executions which might be being triggered. This Microsoft Azure service lets you run small items of code in Node.js, C#, Python, PHP and Java with none infrastructure configurations.
Right here, we’ll see about Azure Perform.
Function
Azure Features helps you to execute your code in a serverless surroundings with out having to first create a VM or publish an online utility.
Key Options
- Intuitive, browser-based consumer interface – You’ll be able to write code within the easy-to-use net interface.
- write code in numerous programming languages
- pay per perform execution
- parallel execution when a number of triggers happen
- Helps Steady Deployment and Integration
Create Azure Perform – Queue Set off in Visual Studio
Stipulations
Comply with the under steps to create an Azure Storage Account.
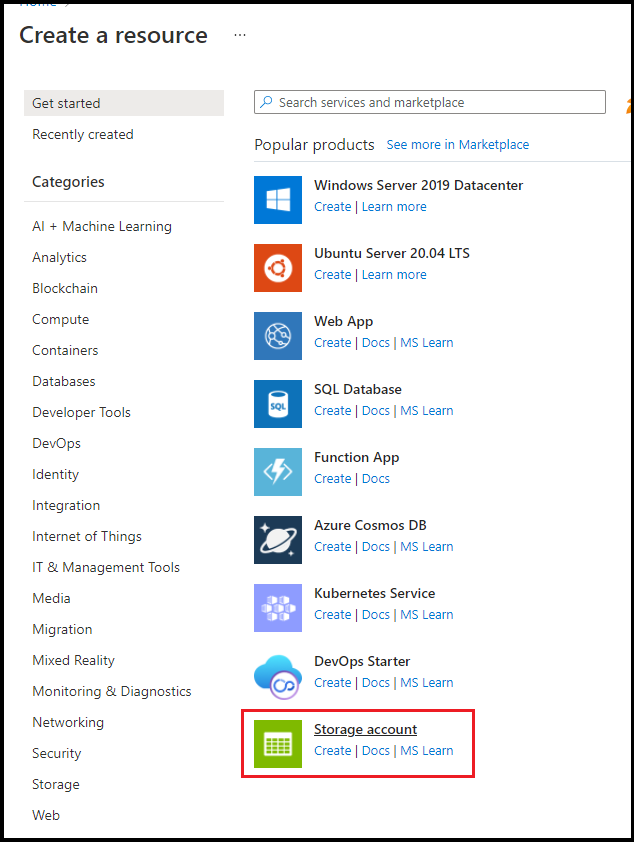
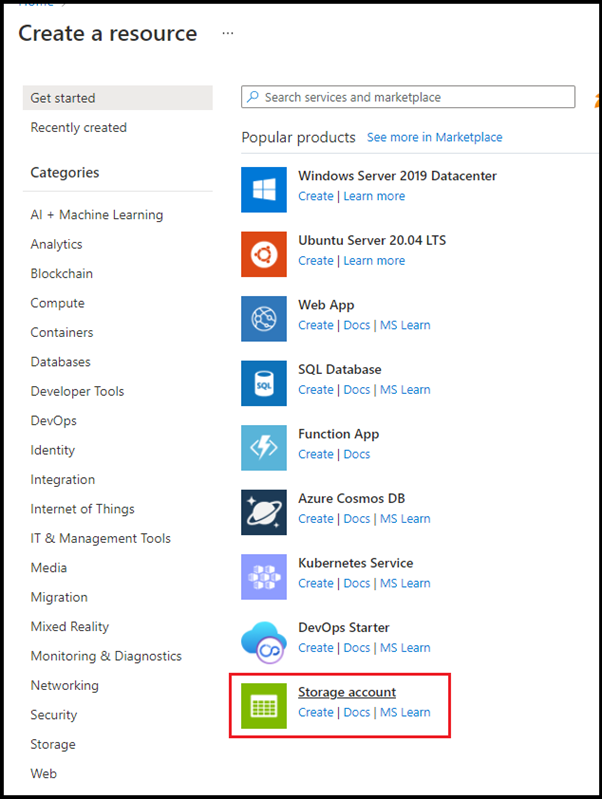
Step 1
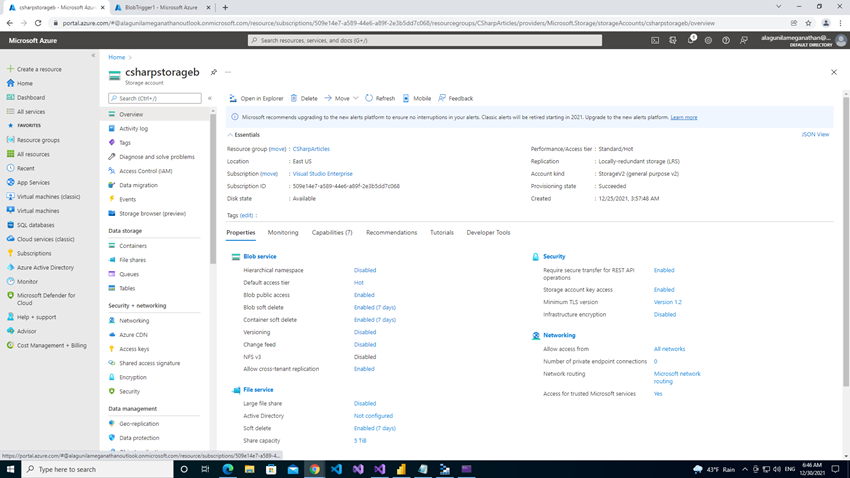
Log in right here. we have now to create a Storage account.

Enter the values and click on on create
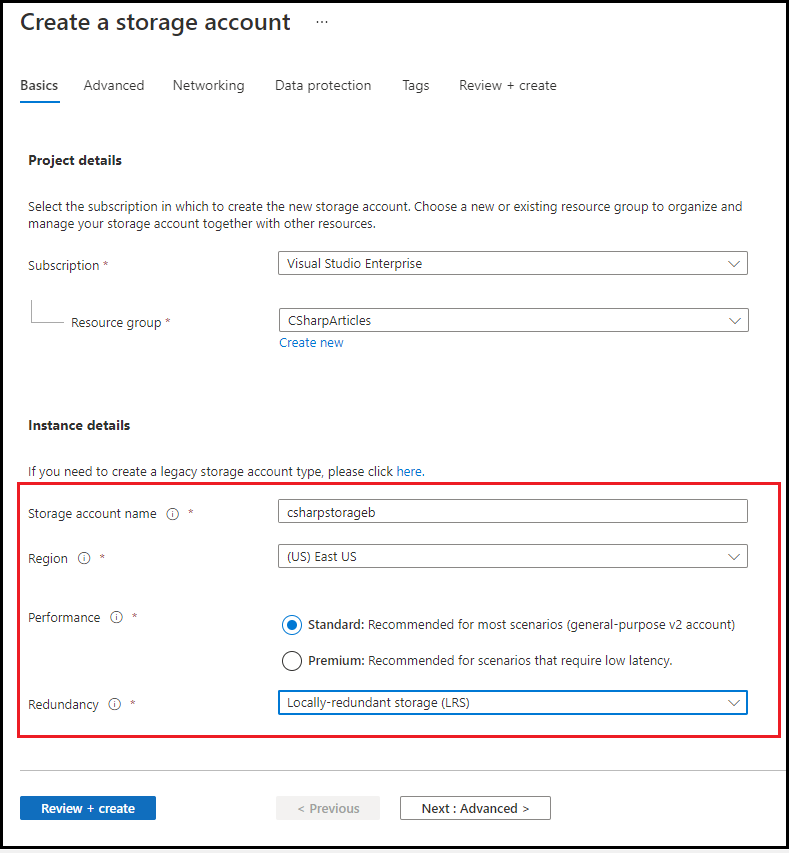
As soon as it’s created, the home windows like this
Step 2
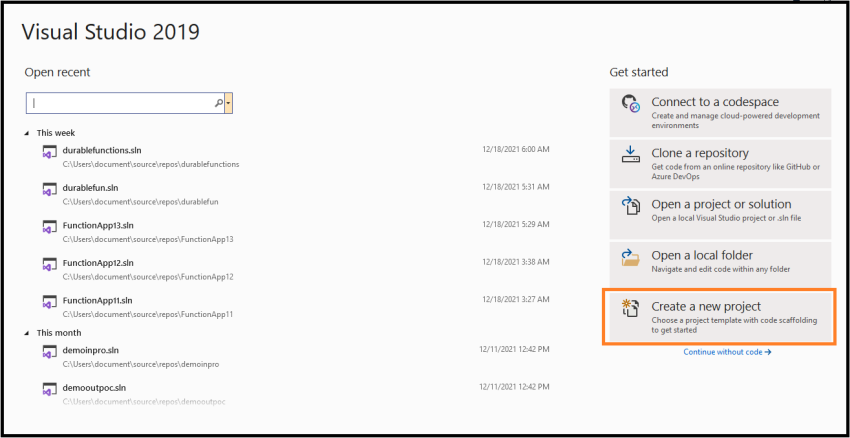
Open Visual Studio and select to create a brand new Challenge.
Step 3
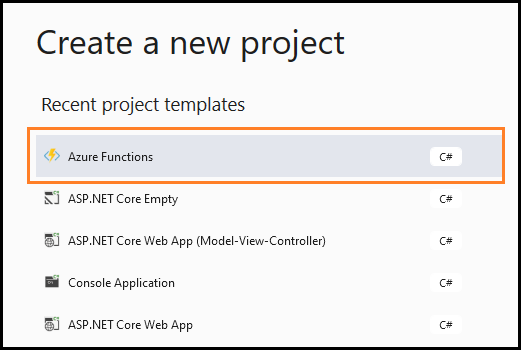
Now, select Azure Features right here.
Step 4
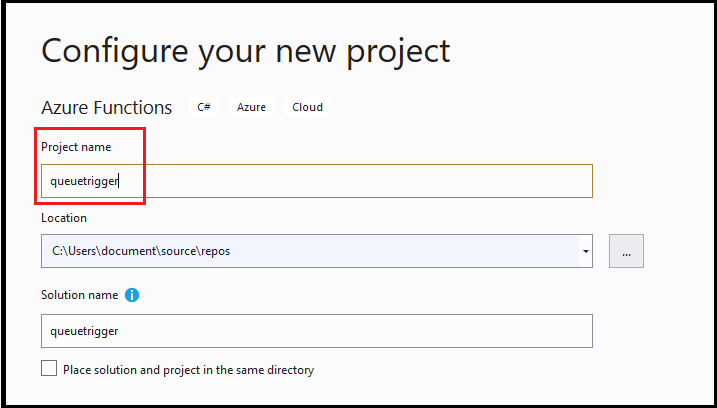
Subsequent, enter your Challenge identify. Then click on on the Subsequent button.
Step 5
Within the subsequent window, Select triggers as Timmer Set off Perform and Schedule for each 1 minute.
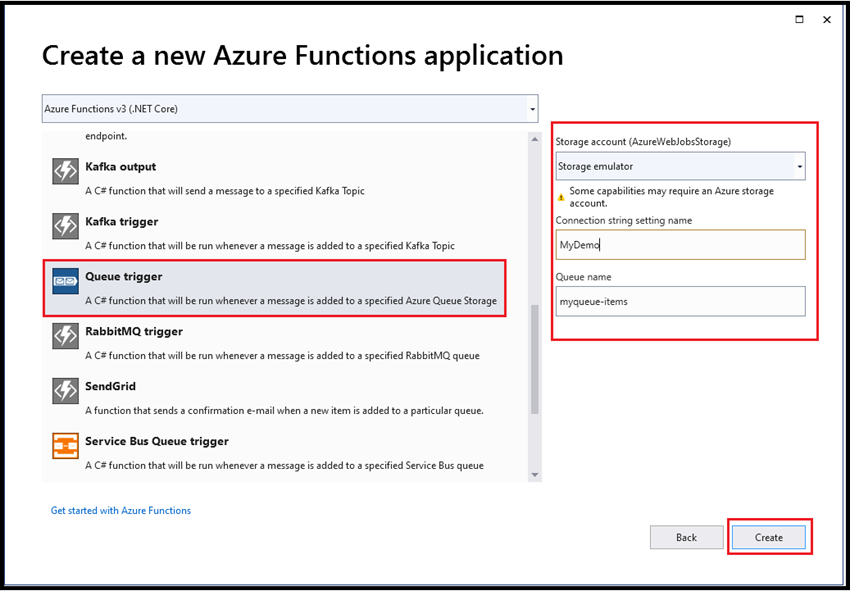
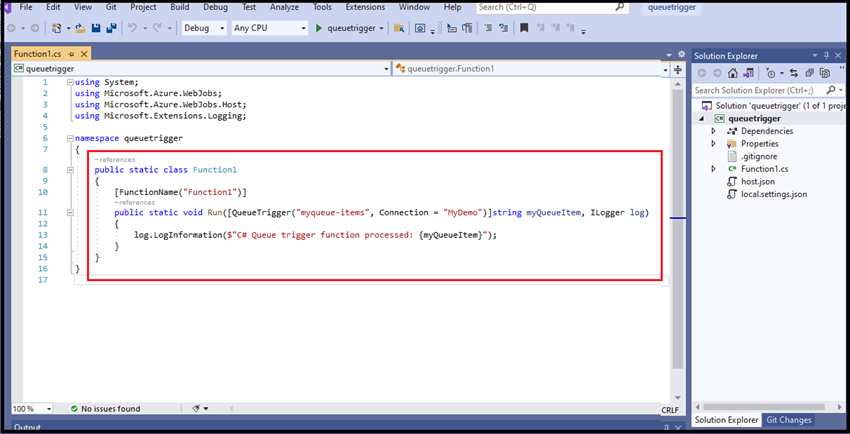
Step 6
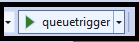
As soon as it’s created, we will see coding. It’s much like perform coding created within the portal. That is Queue Set off Perform coding.
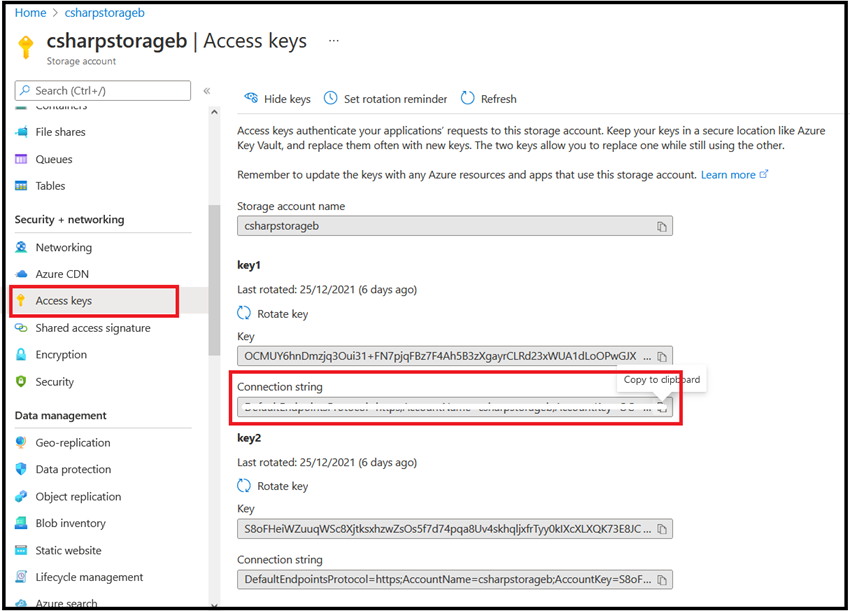
Step 7
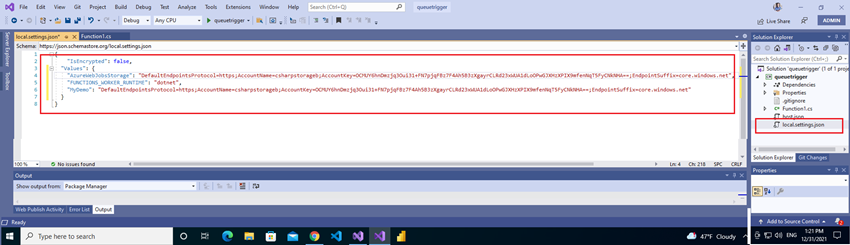
Now open the storage account and duplicate the Connection string
Then, add the connection string to native.setting.json in visible studio
Step 8
Now, we have to create a queue within the storage account for getting the log particulars in capabilities. So, transfer to the storage account.
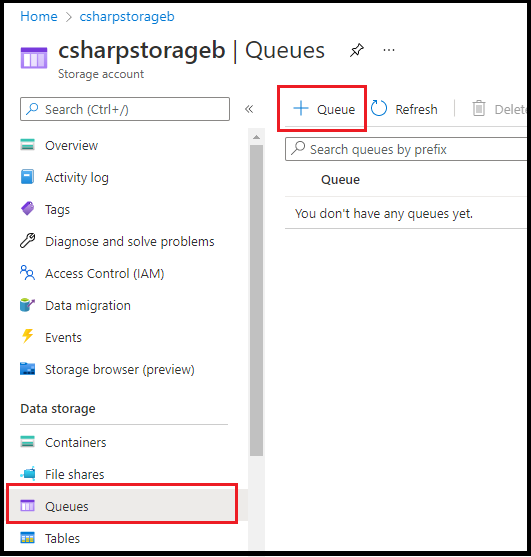
Then, click on on +Queue and enter the identify.
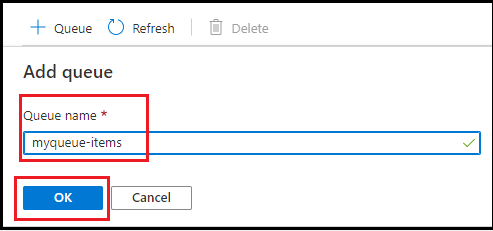
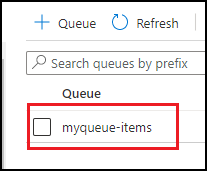
Its seems to be like this window.
Output
Run the code.
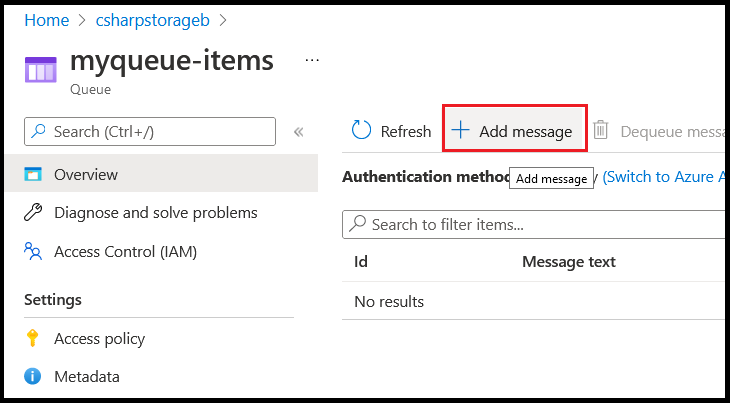
Now, Open the storage account and open the queue and click on on Add Message so as to add the message to the queue
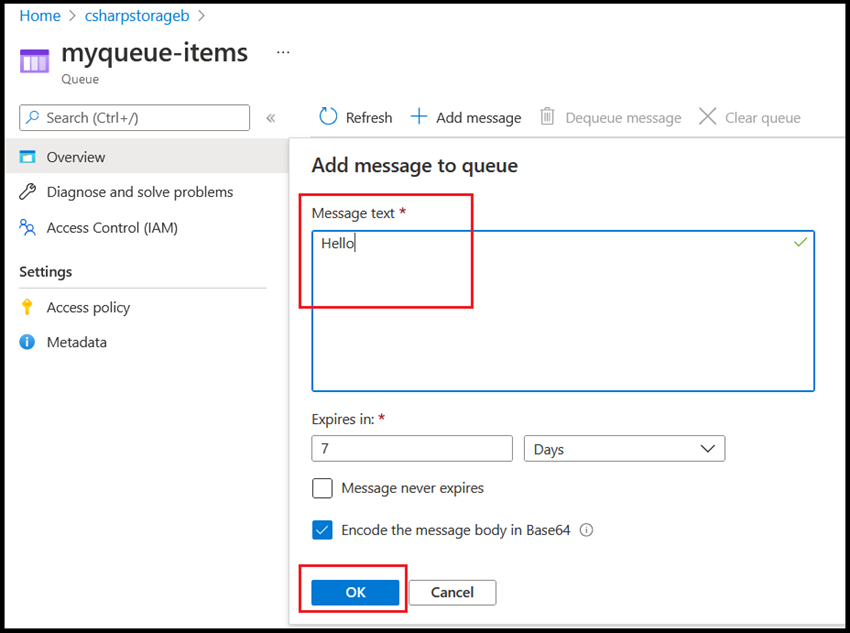
Add the “Hiya” file in Message Textual content and Click on on the okay button
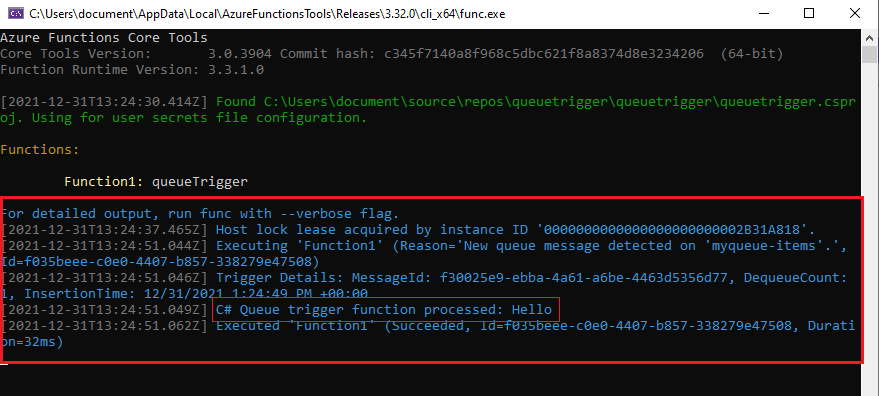
Now, open the visible studio. we will efficiently run our queue set off perform right here. The output will seem like this.
Abstract
I hope you understood how we will create a Queue set off perform in Visual Studio. Keep tuned for extra articles on Azure Perform.