
Centralized Administration for International Scale Networks utilizing Azure Community Supervisor
In our earlier article, we discovered methods to deploy the Azure Digital Community Supervisor, and on this article, we’ll learn to handle our digital networks utilizing the Digital Community Supervisor.
On this state of affairs, now we have 3 Digital Networks (Hub Digital Community and Spoke Digital Networks) and 1 Digital Community Gateway.
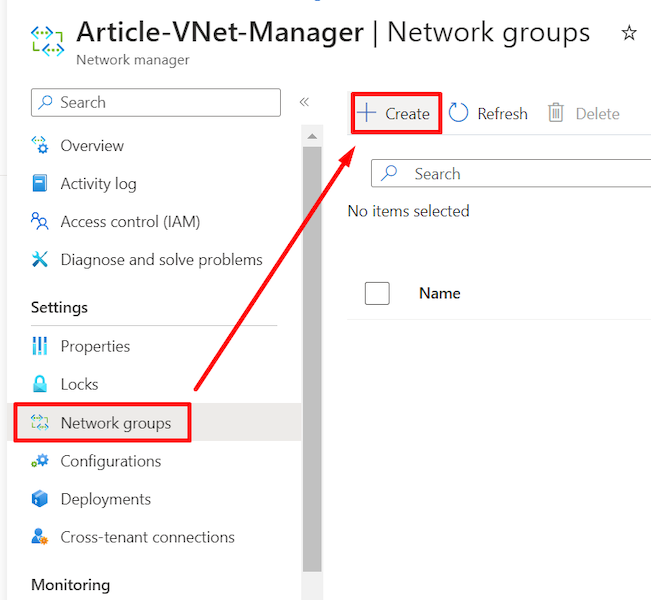
Step 1. Open the Community Supervisor, click on Community Teams underneath the settings, and click on + Create.
: The community group is a group of the identical kind of community sources that you would be able to affiliate with community supervisor configurations.
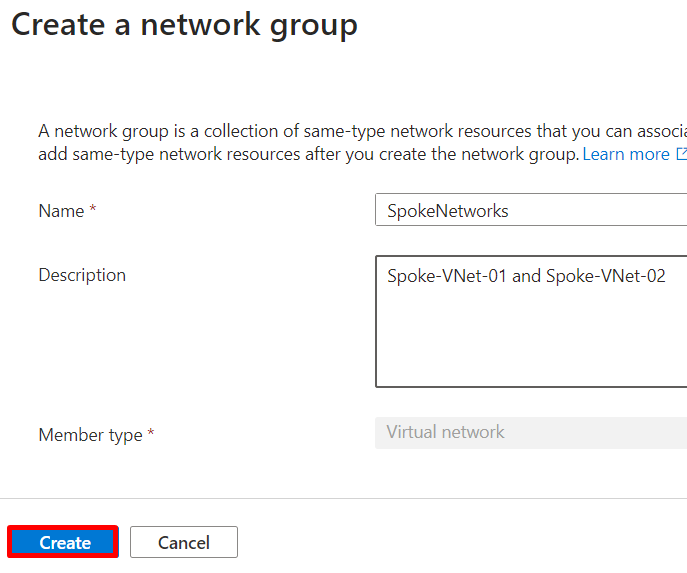
Step 2. Enter the identify for the Community group and click on Create.
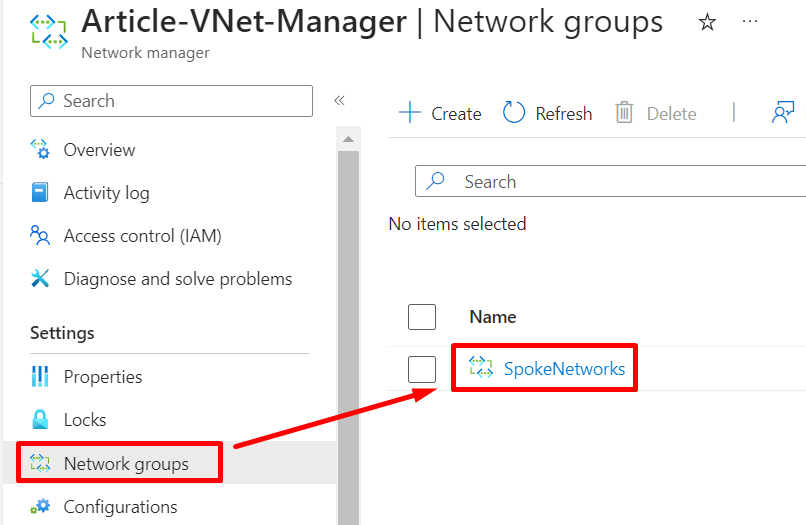
Step 3. As soon as we created the Community group, go to Community Teams and choose the Community group that now we have created.
We are able to add our digital networks manually or dynamically utilizing the coverage.
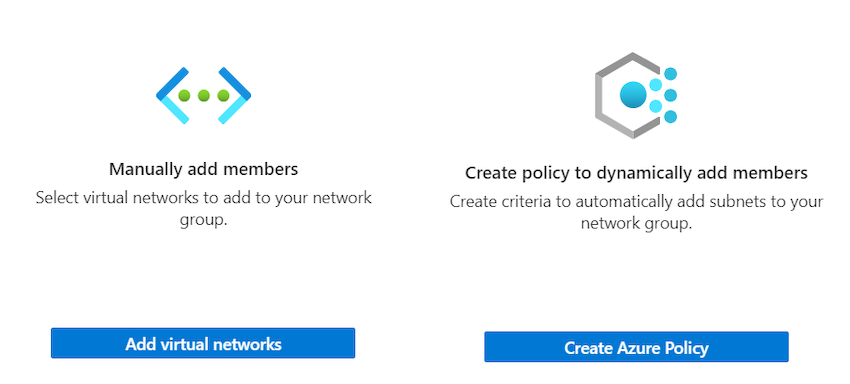
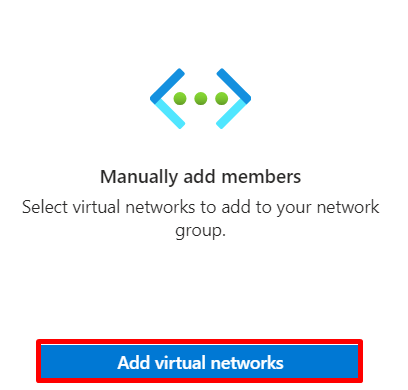
Step 4. On this article, we’ll choose the Manually add members choice and click on Add Digital Networks.
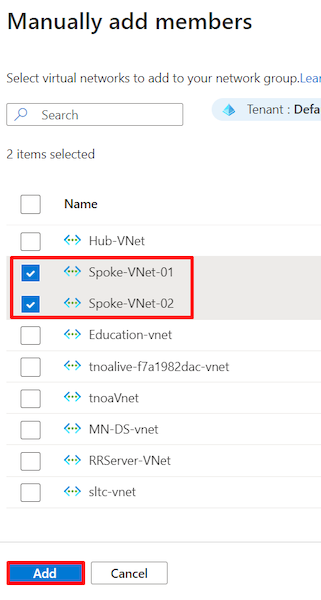
Step 5. There are a number of digital networks underneath the subscription in order that we will choose our spoke digital networks for our demo functions.
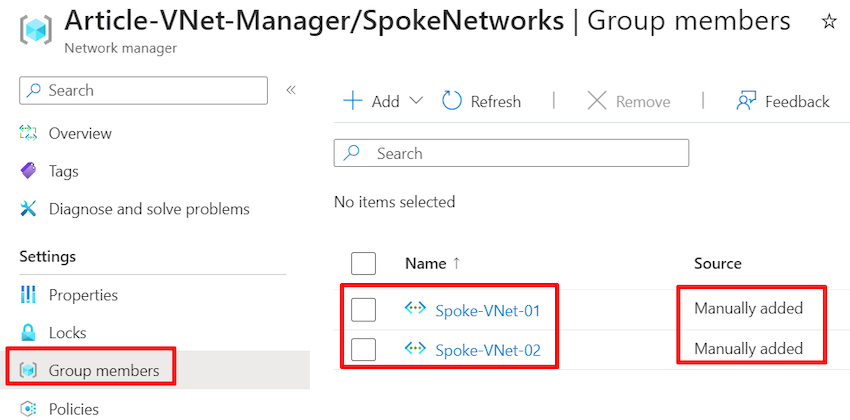
Step 6. As soon as we added our chosen networks, click on Group members to examine the networks.
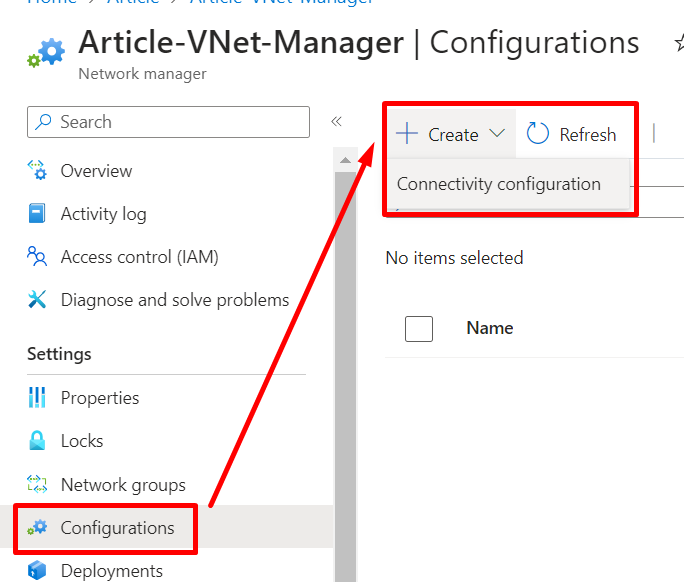
Step 7. Now, we have to configure the Hub and Spoke mannequin; go to Configurations underneath Settings, click on + Create, and choose Connectivity Configuration.
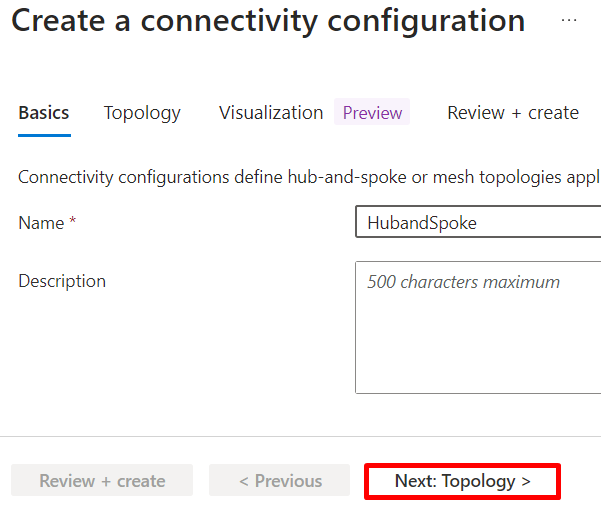
Step 8. Enter the identify for the connectivity configuration and click on Subsequent: Topology.
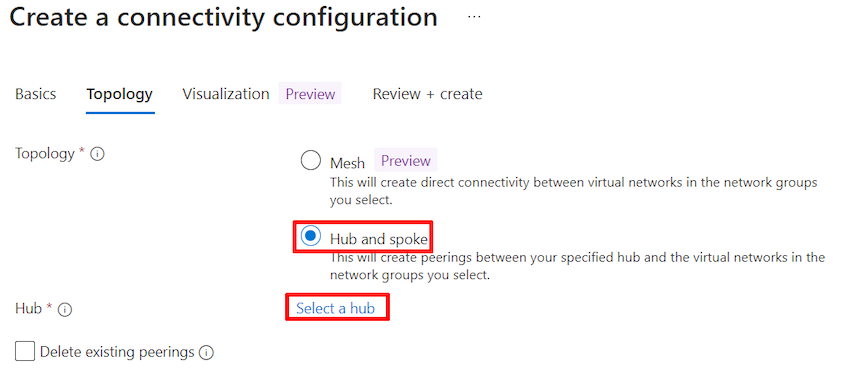
Step 9. Choose the Hub and Spoke choice on the Topology part and click on Choose a hub.
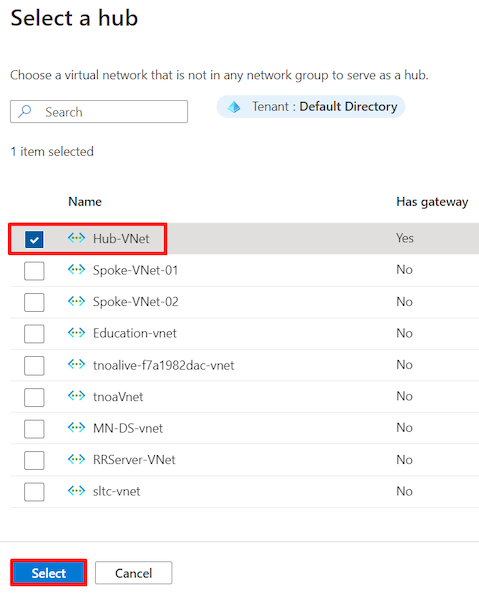
Choose 10. Choose the Hub Digital Community and click on Choose.
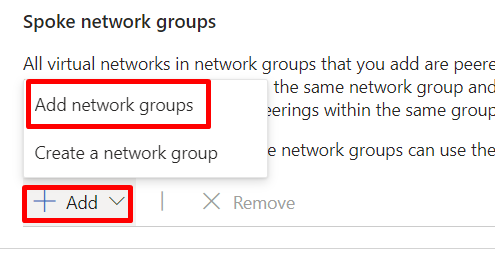
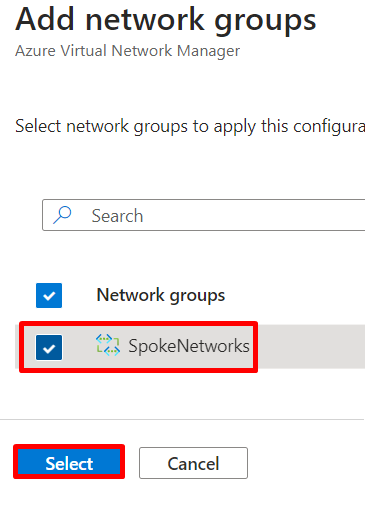
Choose 11. Click on + Add underneath the Spoke community group and click on Add community teams.
Choose 12. Choose the Community group and click on Choose.
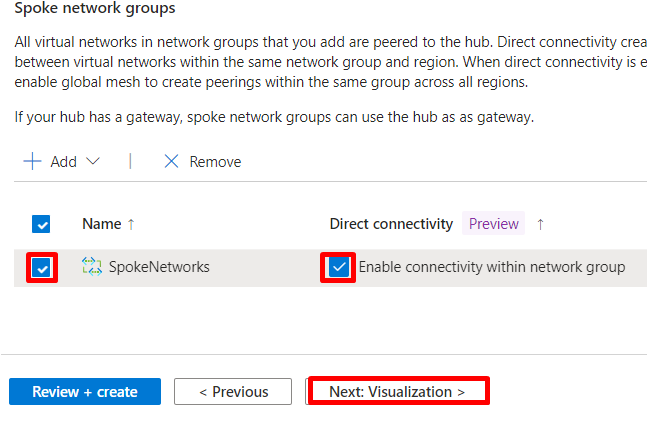
Step 13. Choose Direct Connectivity and Title and click on Create.
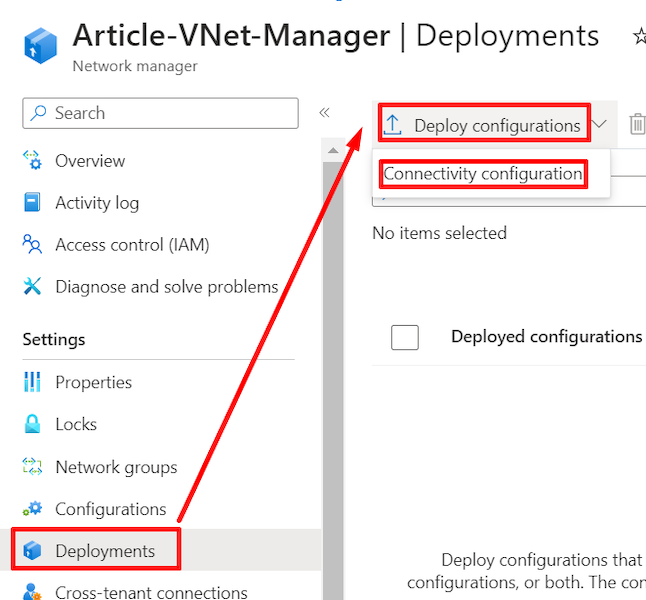
Step 14. Go to the Deployments underneath the settings, click on Deploy Configurations, and click on Connectivity configuration.
Step 15. Choose the Connectivity configurations (HubandSpoke), then choose the goal areas for West Europe and East US.
We now have hosted our Hub Community within the East US and the Spoke community in West Europe.
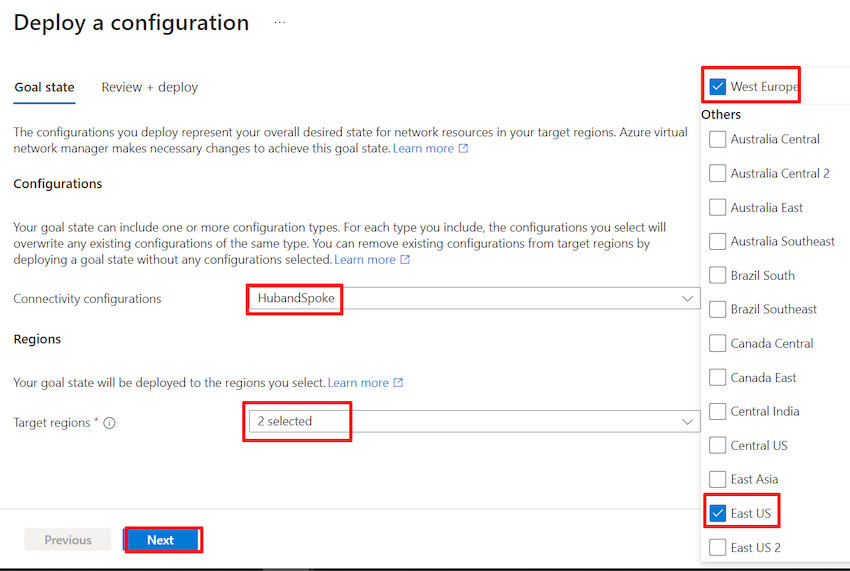
Step 16. Click on Deploy to complete the configuration.
Abstract
We now have efficiently configured the Community Supervisor. In our subsequent article, we’ll learn to take a look at our connectivity utilizing this Hub and Spoke mannequin.
Know extra about our firm at Skrots. Know extra about our companies at Skrots Companies, Additionally checkout all different blogs at Weblog at Skrots


