Within the earlier article Azure Arc, we discovered in-depth concerning the Azure Arc. We discovered the way it permits the extension of quite a few Azure Companies to different providers hosted on-premises or mainly exterior of Azure which may be in datacenters, or the multi-cloud surroundings and even on the sting. On this article, we’ll undergo a step-by-step course of to find out how we will handle the situations of our SQL Server by the Azure Arc-enabled servers.
Azure Arc
Azure Arc gives a platform that makes it extraordinarily simple to handle environments thus simplifying the method of administration and governance with constant supply of on-premises and multicloud. We’ll have a single management aircraft with Azure Arc which may lengthen Azure administration and providers anyplace from administration of databases, digital machines, and Kubernetes clusters. Builders and Architects can now achieve the central visibility, operations, and compliance with Azure Arc. Furthermore, constructing cloud native apps throughout platforms has by no means been this simpler that may scale so simply. Moreover, we will run Azure providers anyplace with the Azure Arc.
The way to Join SQL Server to Azure Arc?
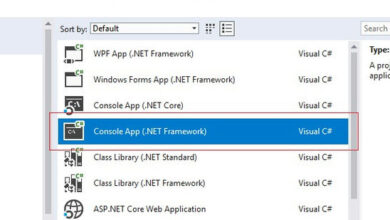
The very first thing to comprehend is that we’re connecting our SQL Server in our machine utilizing the Azure Arc. Therefore, it’s a prerequisite that in any case, one of many situations of SQL Server is put in in our machine. Subsequent, the useful resource supplier Microsoft Azure Arc Knowledge have to be registered.
How will we register the Microsoft Azure Arc Knowledge useful resource supplier?
Step 1
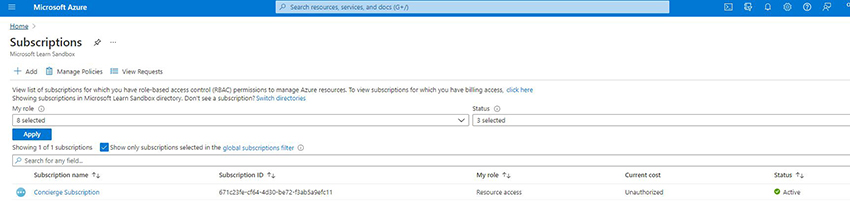
Firstly, search and go to the Subscriptions in your Azure Portal.
Step 2
Choose the Subscription you might be utilizing.
Step 3
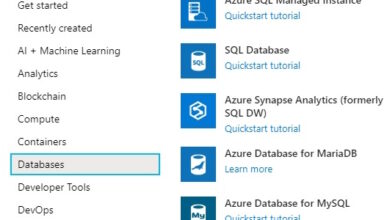
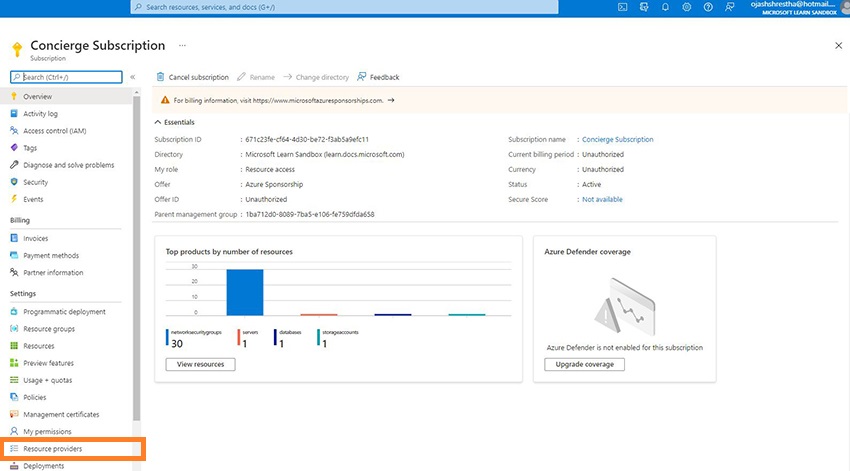
You’ll now be taken to the Subscription Element Web page. On the left-hand facet, Beneath the Settings Menu you’ll see the Useful resource Supplier Part. Choose that.
Step 4
Now, seek for Microsoft.AzureArcData and Choose the Register.
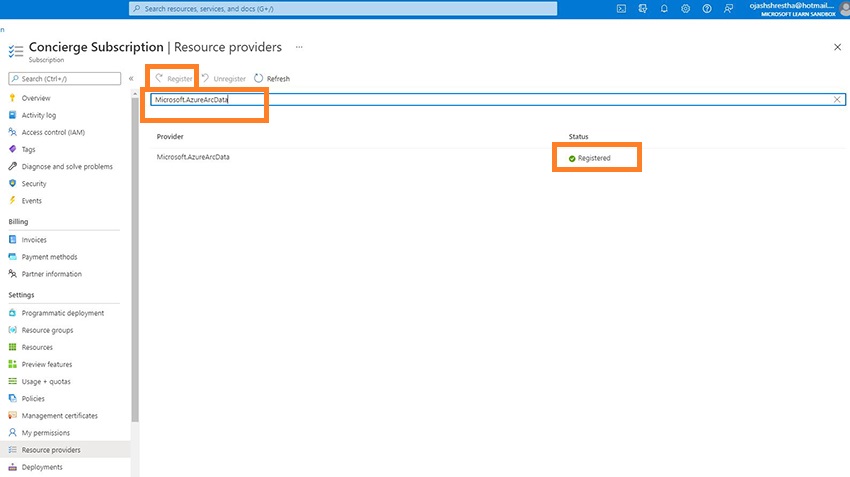
As soon as, it is registered, you’ll be able to see the Inexperienced Tick on the Standing.
Now, the AzureArcData has been prepared and we’re set to go.
How will we provoke the connection from the Azure?
We will provoke the connection of the SQL Server on the machine with Azure Arc in quite a few methods from utilizing the Azure Portal, PowerShell, and Azure CLI. Right here, we’ll be taught the Azure Portal method.
Step 1
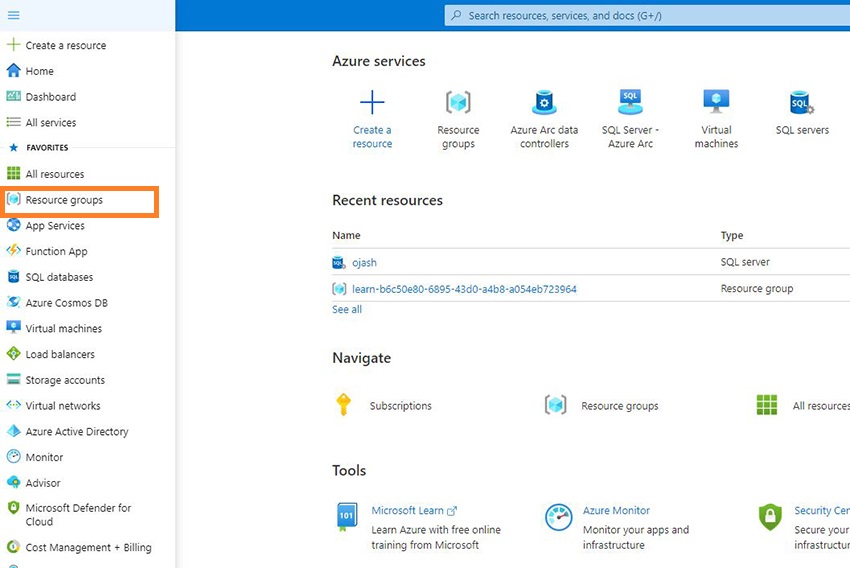
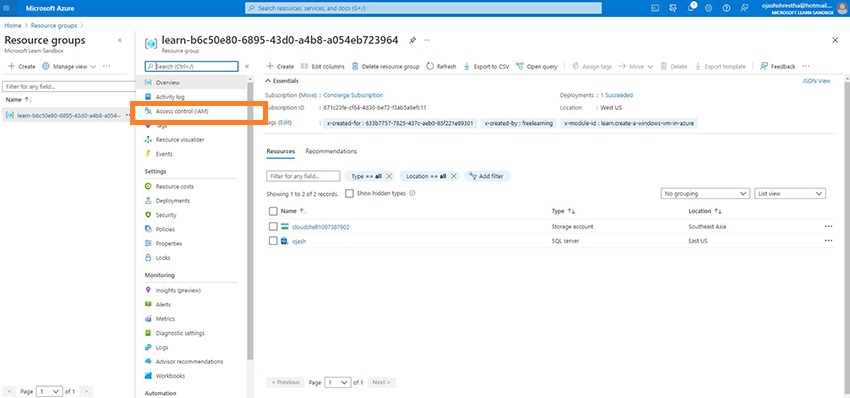
From the Menu bar on the Azure Portal Homepage, Choose the Useful resource Teams tab.
Step 2
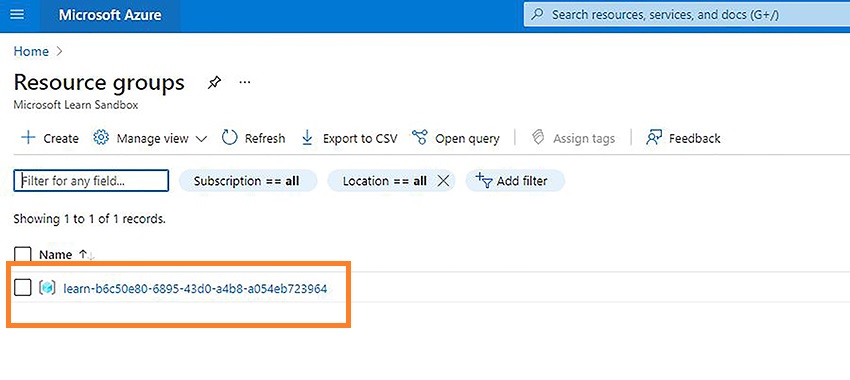
Select the useful resource group the place the Server-Azure Arc useful resource is contained.
Step 3
Click on on Entry Management (IAM)
Step 4
Click on on Add after which select Add position task.
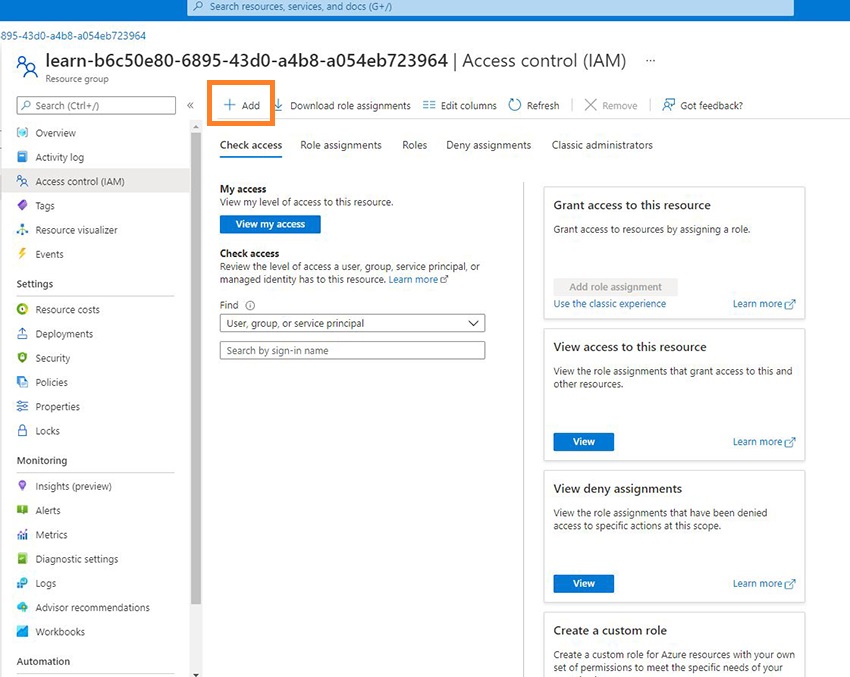
Subsequent, as per Function, Assign Entry and Choose select accordingly.
Choose Azure Related SQL Server Onboarding for Function.
Choose Person, Group or Service Principal for Assign Entry.
Search and choose Server – Azure Arc for Choose.
Subsequent, Click on on Save.
With this, the connection between our machine and Azure is constructed.
How will we initialize connection from our Goal Machine?
We’ll be utilizing the onboarding script from Azure to carry out this activity. Therefore, we should get hold of this from the Azure itself.
Step 1
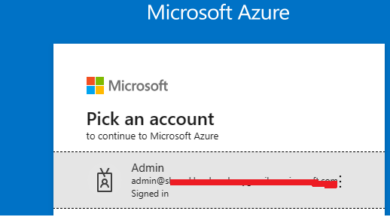
Go to the Azure Portal. You’ll be welcomed to the House Web page.
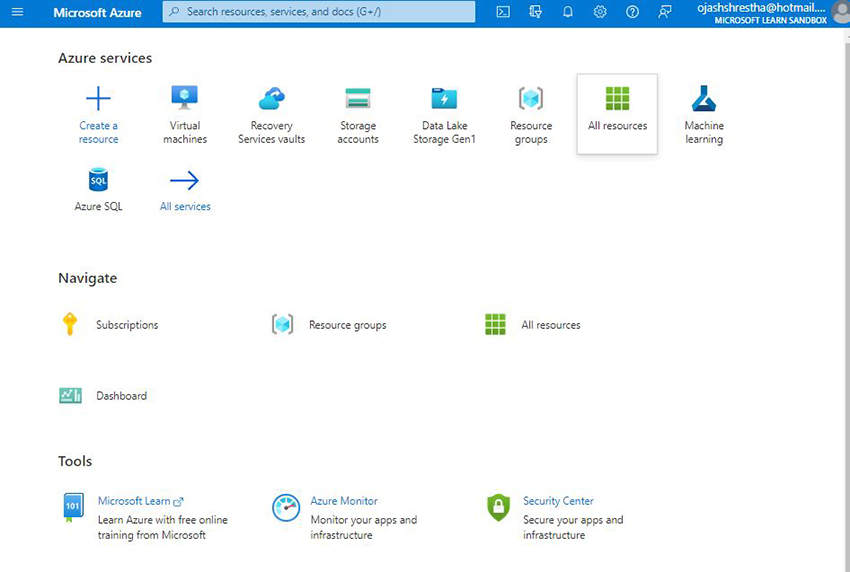
Step 2
Search from SQL Server – Azure Arc and Choose it.
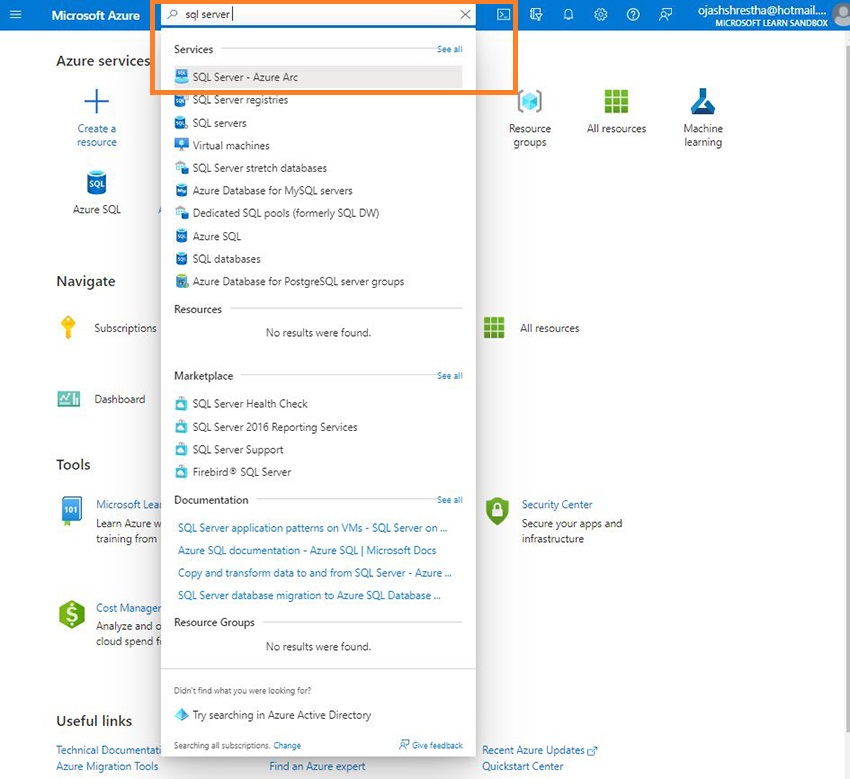
Step 3
Click on on Create SQL Server – Azure Arc.
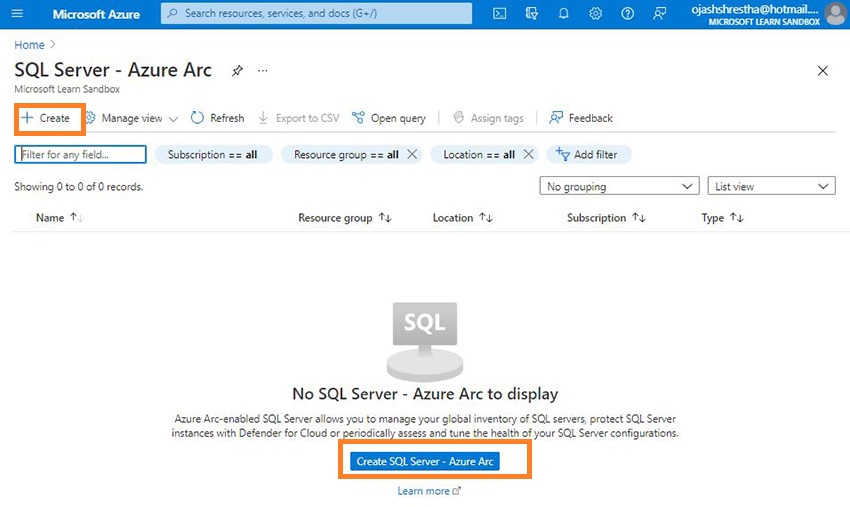
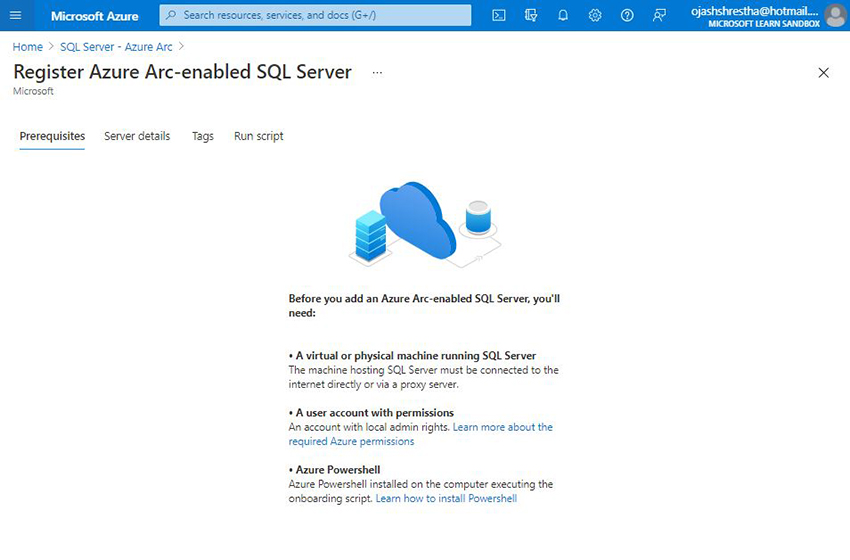
You’ll be showcased with the Pre-requisites which we’ve already fulfilled.
Step 4
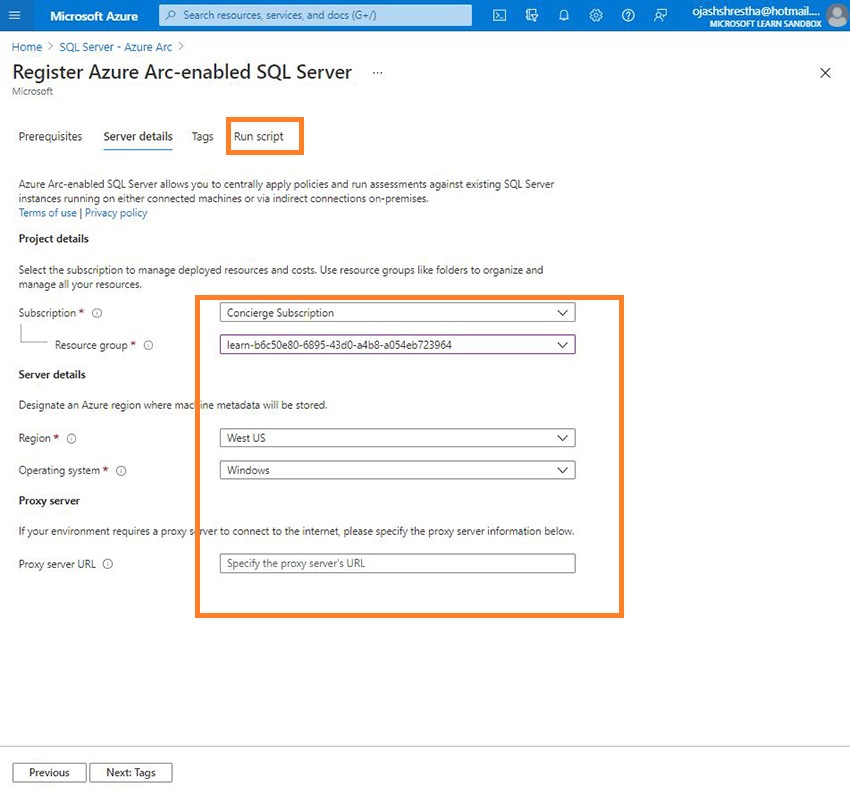
Subsequent, we fill within the Server Particulars.

Choose the Subscription and Useful resource Group, Area, and Working System to work on.
Step 5
Now, Click on on Run Script.
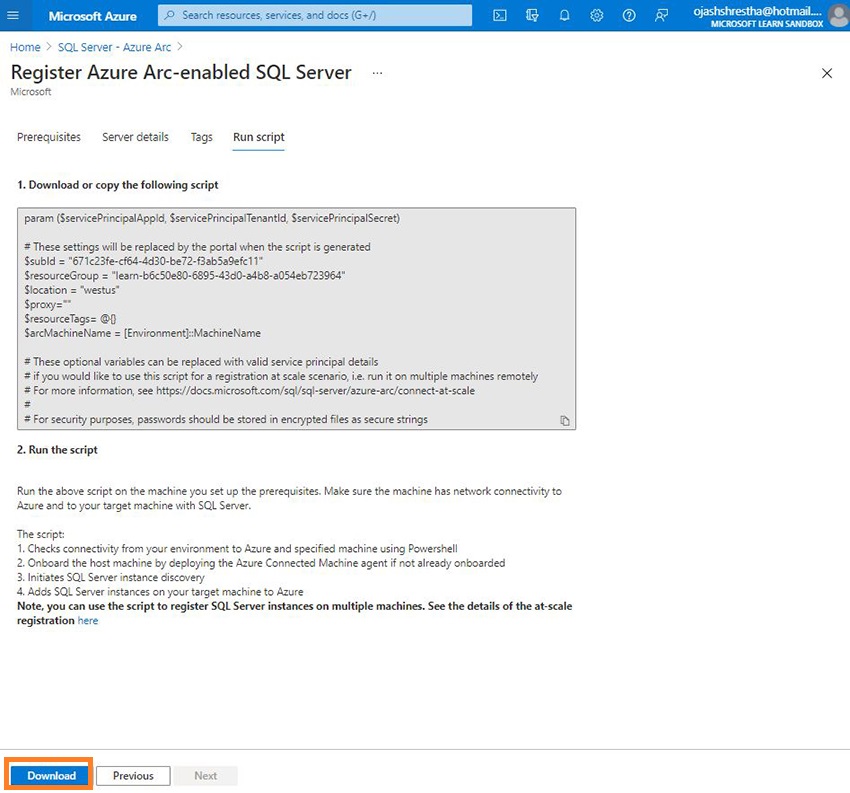
You’ll be showcased with the Downloadable script and the method to run the script in our machine.
Click on on Obtain to acquire the file.
Connecting the SQL Server Occasion to Azure Arc
With all different processes carried out, all we have to do now could be join the SQL Server in our machine to Azure Arc. That is carried out by completely different processes relying upon the working system in our machine.
For Home windows
We launch the powershell with admin accessibility. Subsequent, we check in to our Powershell utilizing the Azure credentials the place the Azure Arc is being linked.
Lastly, we execute the downloaded script utilizing the next command.
& '.RegisterSqlServerArc.ps1'
For Linux
We check in utilizing our Azure credential and within the terminal gratd entry with the execution permission with the command under to the script we downloaded from Azure after which execute it.
sudo chmod +x ./RegisterSqlServerArc.sh
./RegisterSqlServerArc.sh
With this, we’ve now linked our SQL Server and Azure by the Azure Arc. This course of permits group to attach with their on-premises machines or edge and even use multi-cloud structure with Azure providers.
Conclusion
Thus, on this article, we went by a step-by-step course of to attach SQL Server to Azure Arc. Firstly, we register Azure Arc Knowledge in useful resource supplier adopted by initiating the connection of the SQL Server on our machine to Azure Arc. As soon as that is performed, we imitated our connection to our goal machine and eventually was profitable to attach our SQL Server to Azure Arc.