Azure Logic Apps
Azure Logic Apps provide a convenient way to automate business processes by allowing users to create workflows that connect different applications and services without the need for coding. It enables reacting to an event in one service and taking action based on that event in another service. By connecting business-critical apps and services with Azure Logic Apps, workflows can be automated efficiently.
Before diving into the details of this article, it’s essential to go through some related articles mentioned below.
Prerequisites:
Here, we will demonstrate how to move a specific email attachment to a particular Excel file using Azure Logic App.
Follow these steps to create a workflow using a template.
Step 1
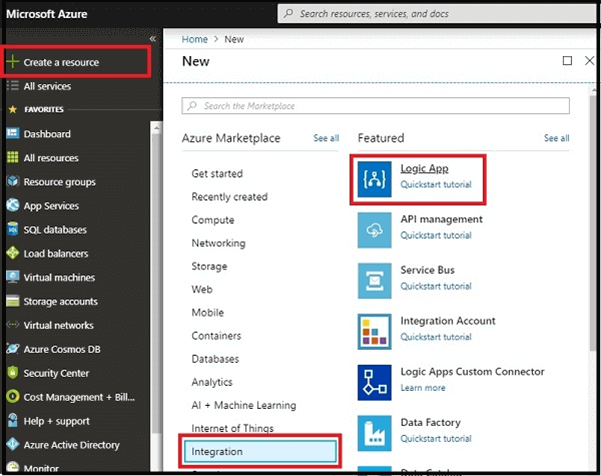
- Log in to https://portal.azure.com/.
- In the dashboard, select “create a resource” and click on Integration. Then, choose “Logic App”.
Step 2
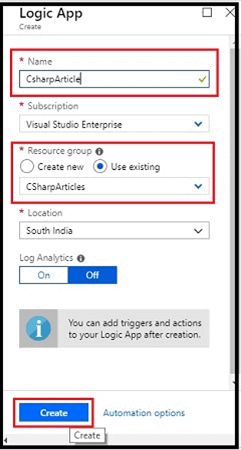
- Provide a name for the logic, select the subscription, resource group, and location, then click on “Create”.
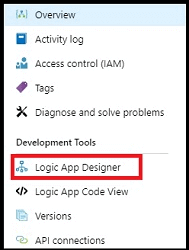
- Access the dashboard and click “Logic App Designer”.
Step 3
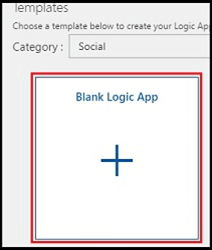
Select the Blank Logic App.
Step 4
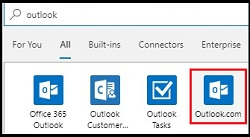
Configure the Email by signing in to Outlook.
- Look for Outlook in the search bar.
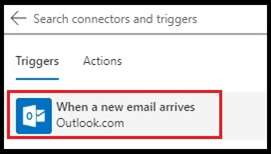
- Choose the Triggers.
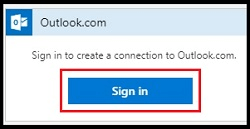
- Sign in to Outlook.

Step 5
Set the values.
- Choose the Folder.
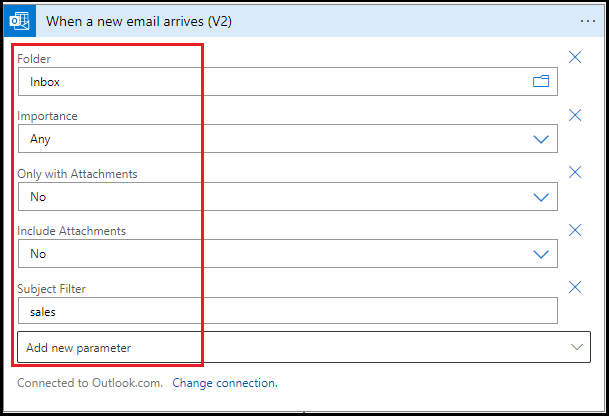
- Add the Subject Filter parameter with a specific keyword (e.g., Sales).

- Lastly,

Step 6
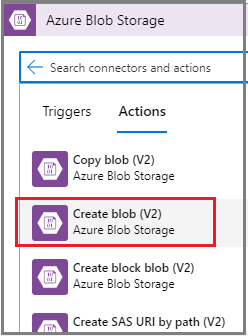
Set up Blob Storage.
- Choose an operation like Blob storage.
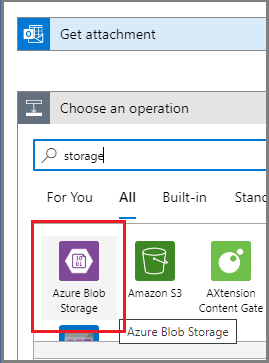
- Select to create a blob.
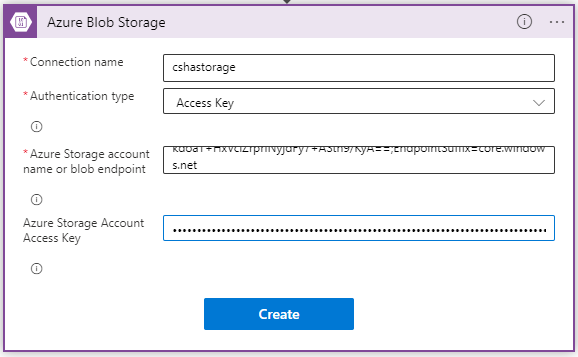
- Connect the Blob storage account with this logic app.
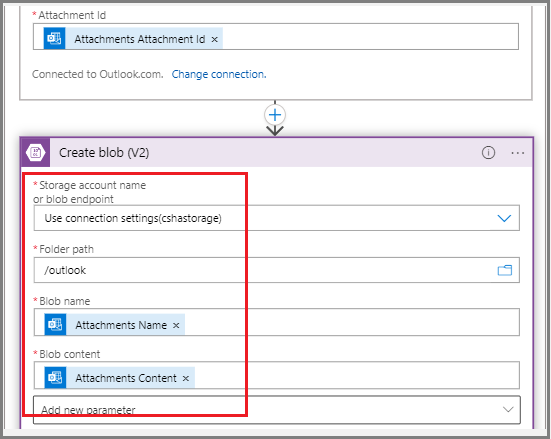
- Then, specify the Attachment ID, Folder path, Blob name, and Blob content.
Step 7
Configure Email for the reply mail.
- Search for send a mail
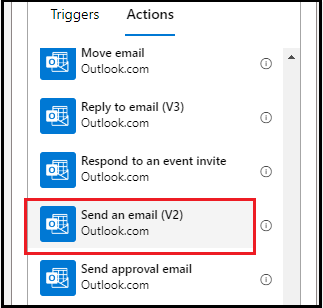
- Choose an operation
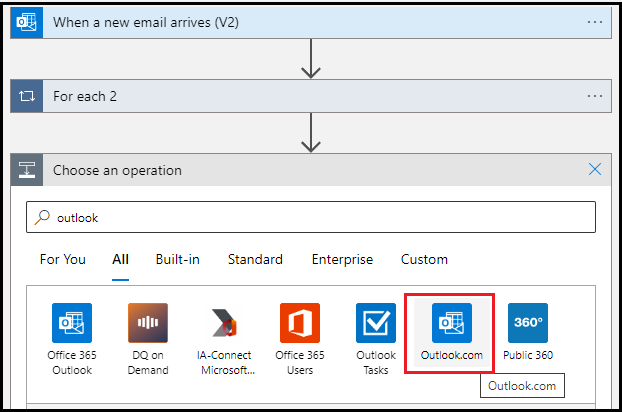
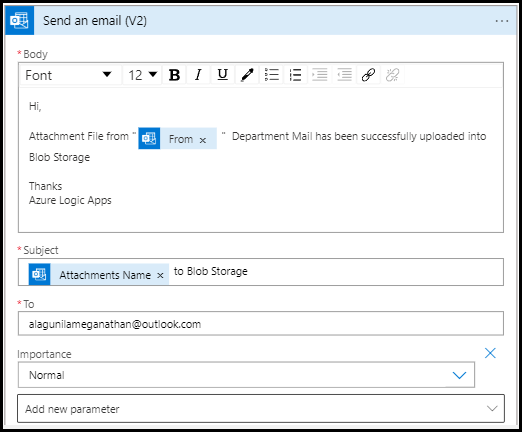
- Create the mail format with body, subject, and To address
Step 8
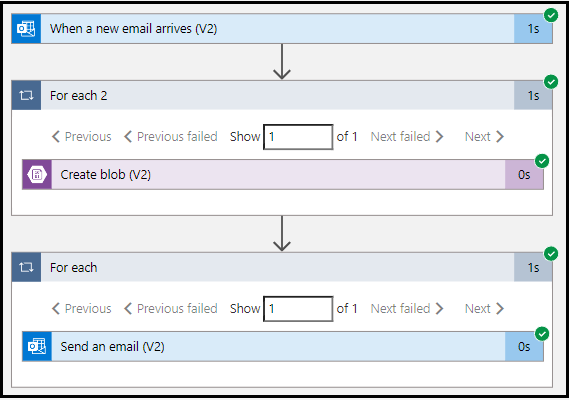
The final workflow will look like this.
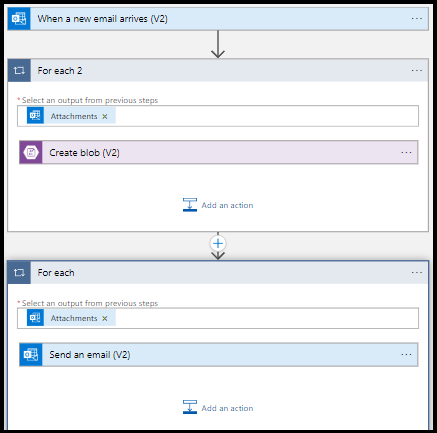
Next, save and run the workflow.
Output
Execute the Logic App.
The process runs successfully.
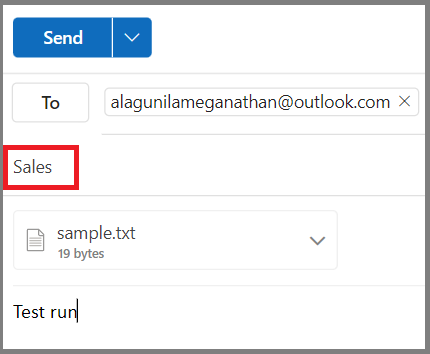
Send a demo email with a specific keyword and refresh to view the outcome.
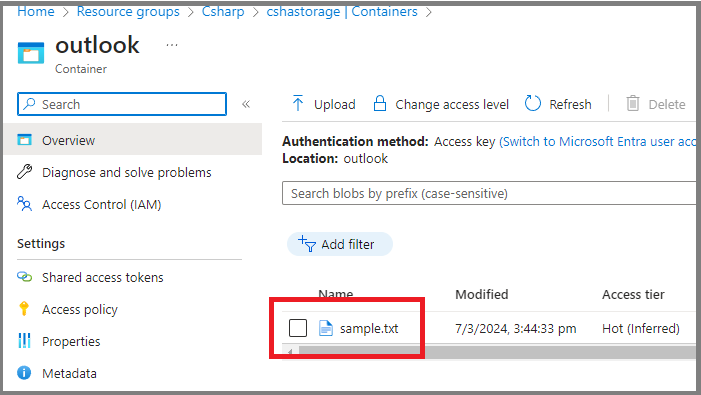
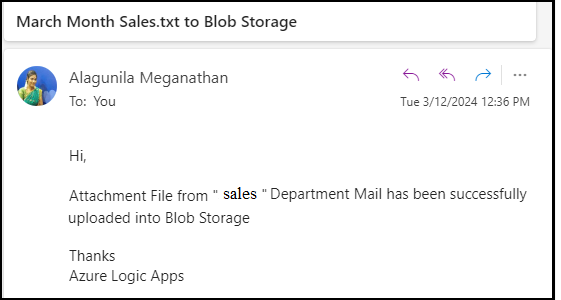
Successfully, the attachment-specific email has been moved to the blob storage container folder.
Additionally, a notification email has been sent to the specified email ID.
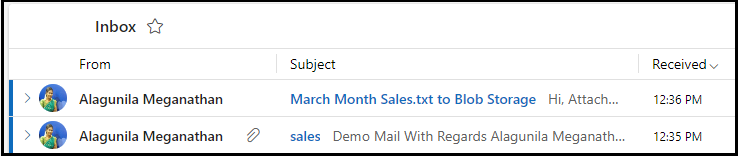
Lastly, the reply email opens up successfully in Outlook.
Summary
Understanding how to receive notifications when a specific email attachment is transferred to Blob Storage using Azure Logic App has been explained. Stay updated for more articles related to Logic App.
Learn more about Skrots at Skrots. Explore various services offered by Skrots at Skrots Services. Also, don’t forget to check out our other blogs at Blog at Skrots.


